I am using white resin V4 for a year now printing hundreds of dental models with normal tank, directly on platform. Never ever had an issue.
Today I tried Model Resin V2, and my new LT Tank. I printed 3 models (two separate prints) and got the result you see at the photos. The tank seems worn off at both sides left and right but when I installed it it was pristine clear!
Any ideas?
p.s. As I mentioned never had an issue with normal tanks, and white resin before so it is not by any chance an issue that has to do with printing directly on platform, I had only successful prints with my previous set up.
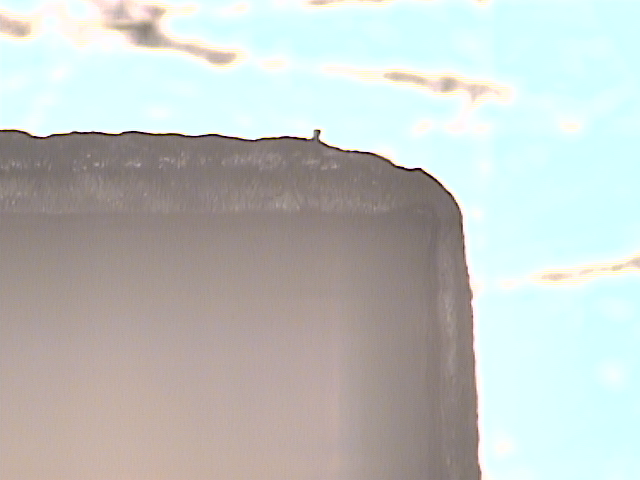
These “flashes” around the base of the model are typical of light bleed / laser power issues mostly due to contamination on the optical path of the laser.
Yes, it is possible that the optical path is contaminated despite your models coming out “fine” and it is possible that only the base of the model is afflicted with these flashes because the first few layers are compressed and over-exposed which exaggerates issues otherwise not visible.
It is also plausible that due to different resin profiles between the previous resin you were using and the one in the photo, that the issue only manifested itself now.
As a first troubleshooting step I’d check the cleanliness of the bottom (outside) of the LT tank, as well as the optical window.
If you have never had to clean the optical window, the main mirror and/or the galvo mirrors, contact Formlabs support they’ll guide you through it.
The irregularities in the black part of the LT tank is “normal” in the sense that all LT tank have this. This is not an area that is used to pass the laser through.
Thank you for the info will try the tank and optical mirror first, and try to print another model to see if that was it. Hopefully I won’t need to go further inside to the other mirrors…
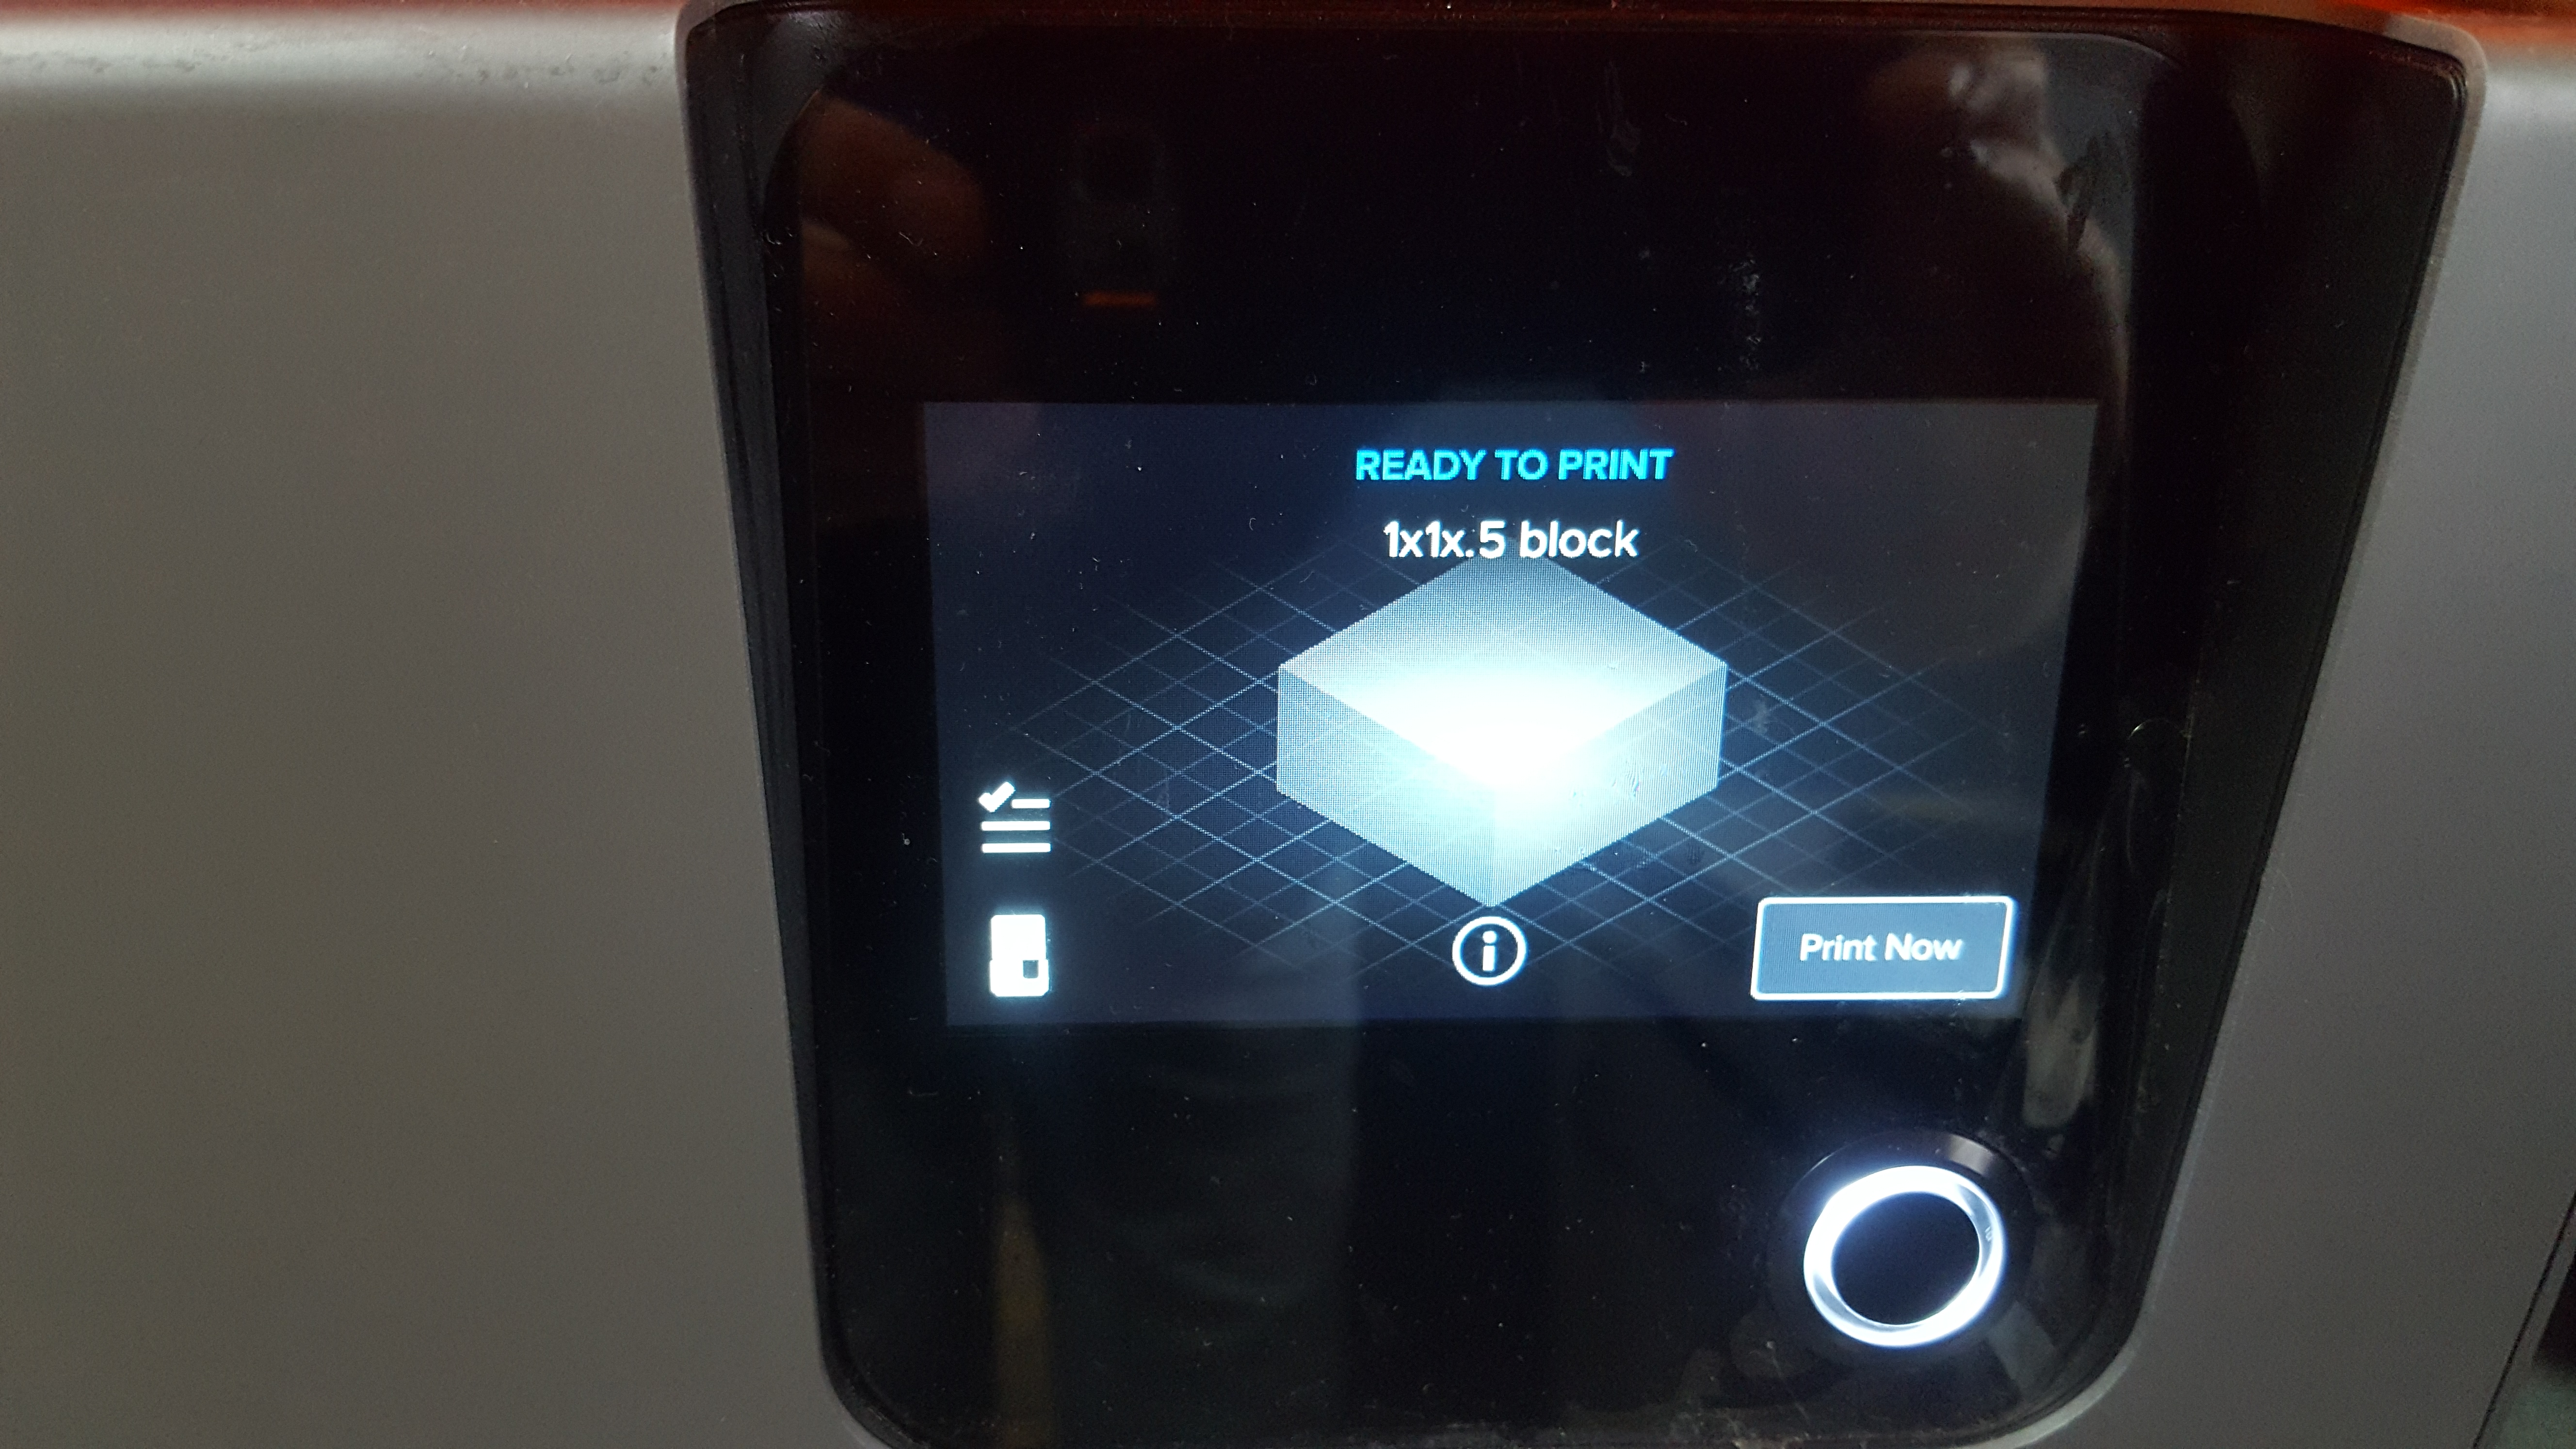
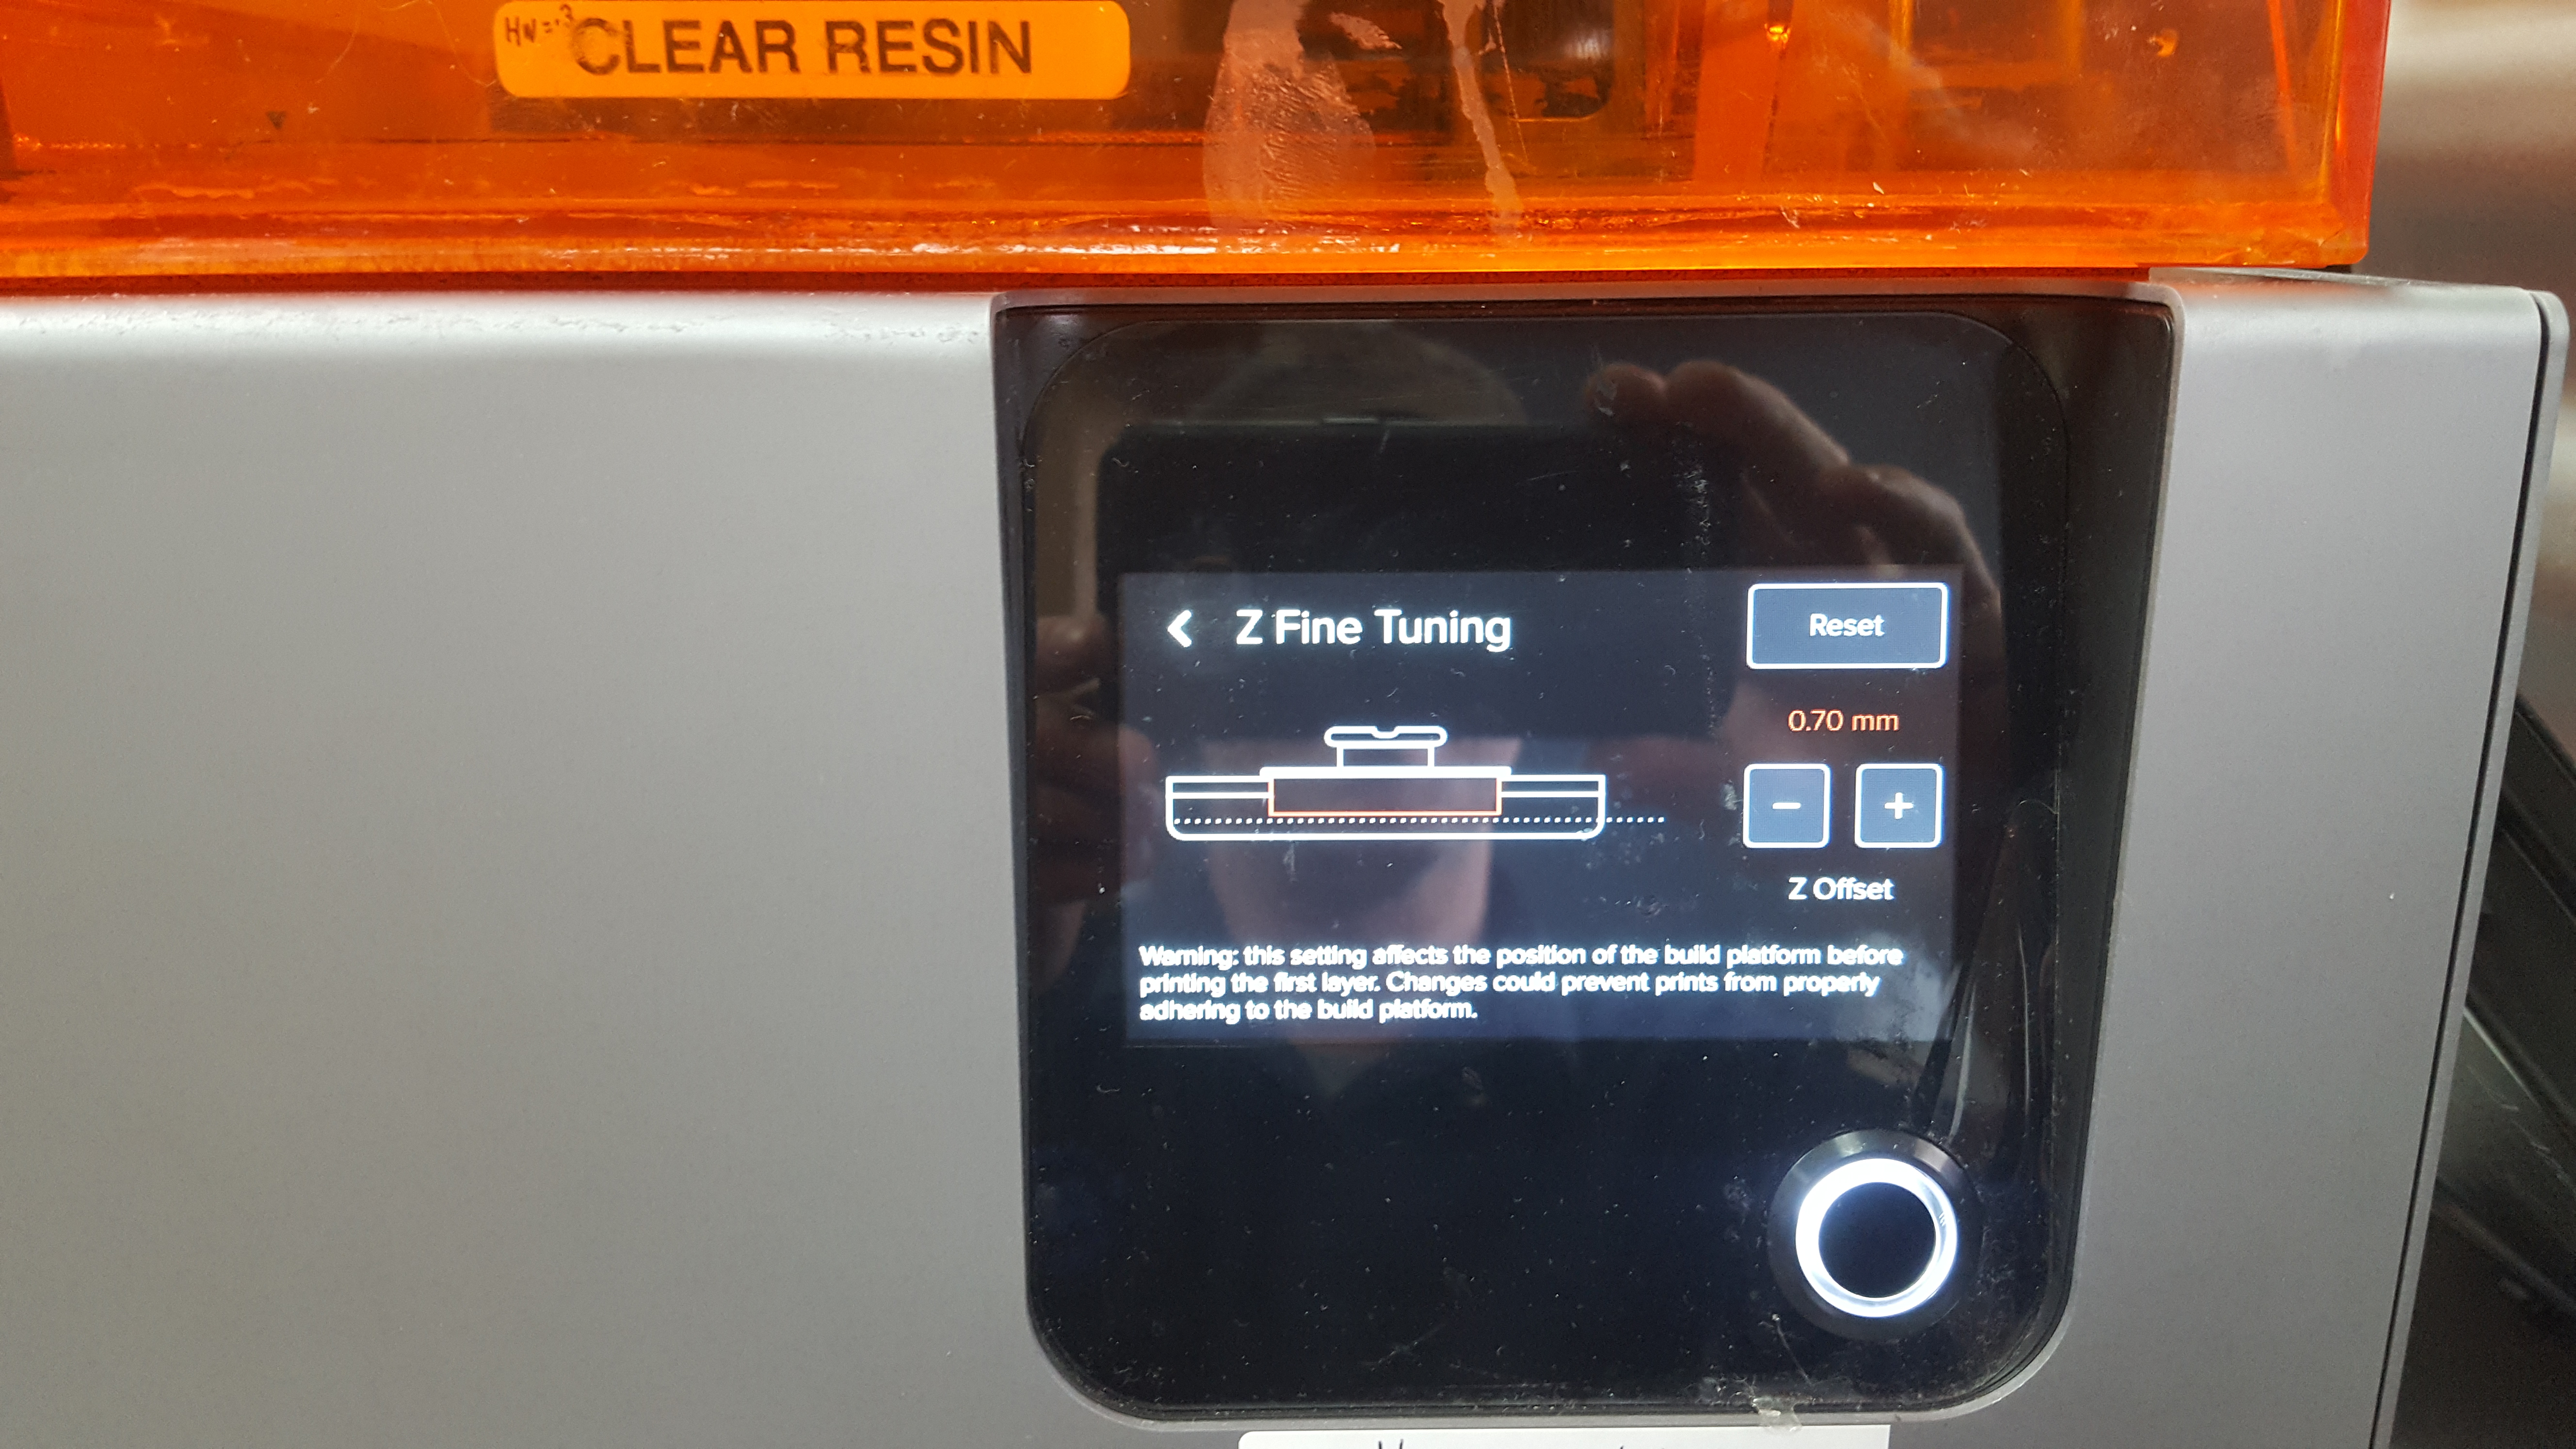
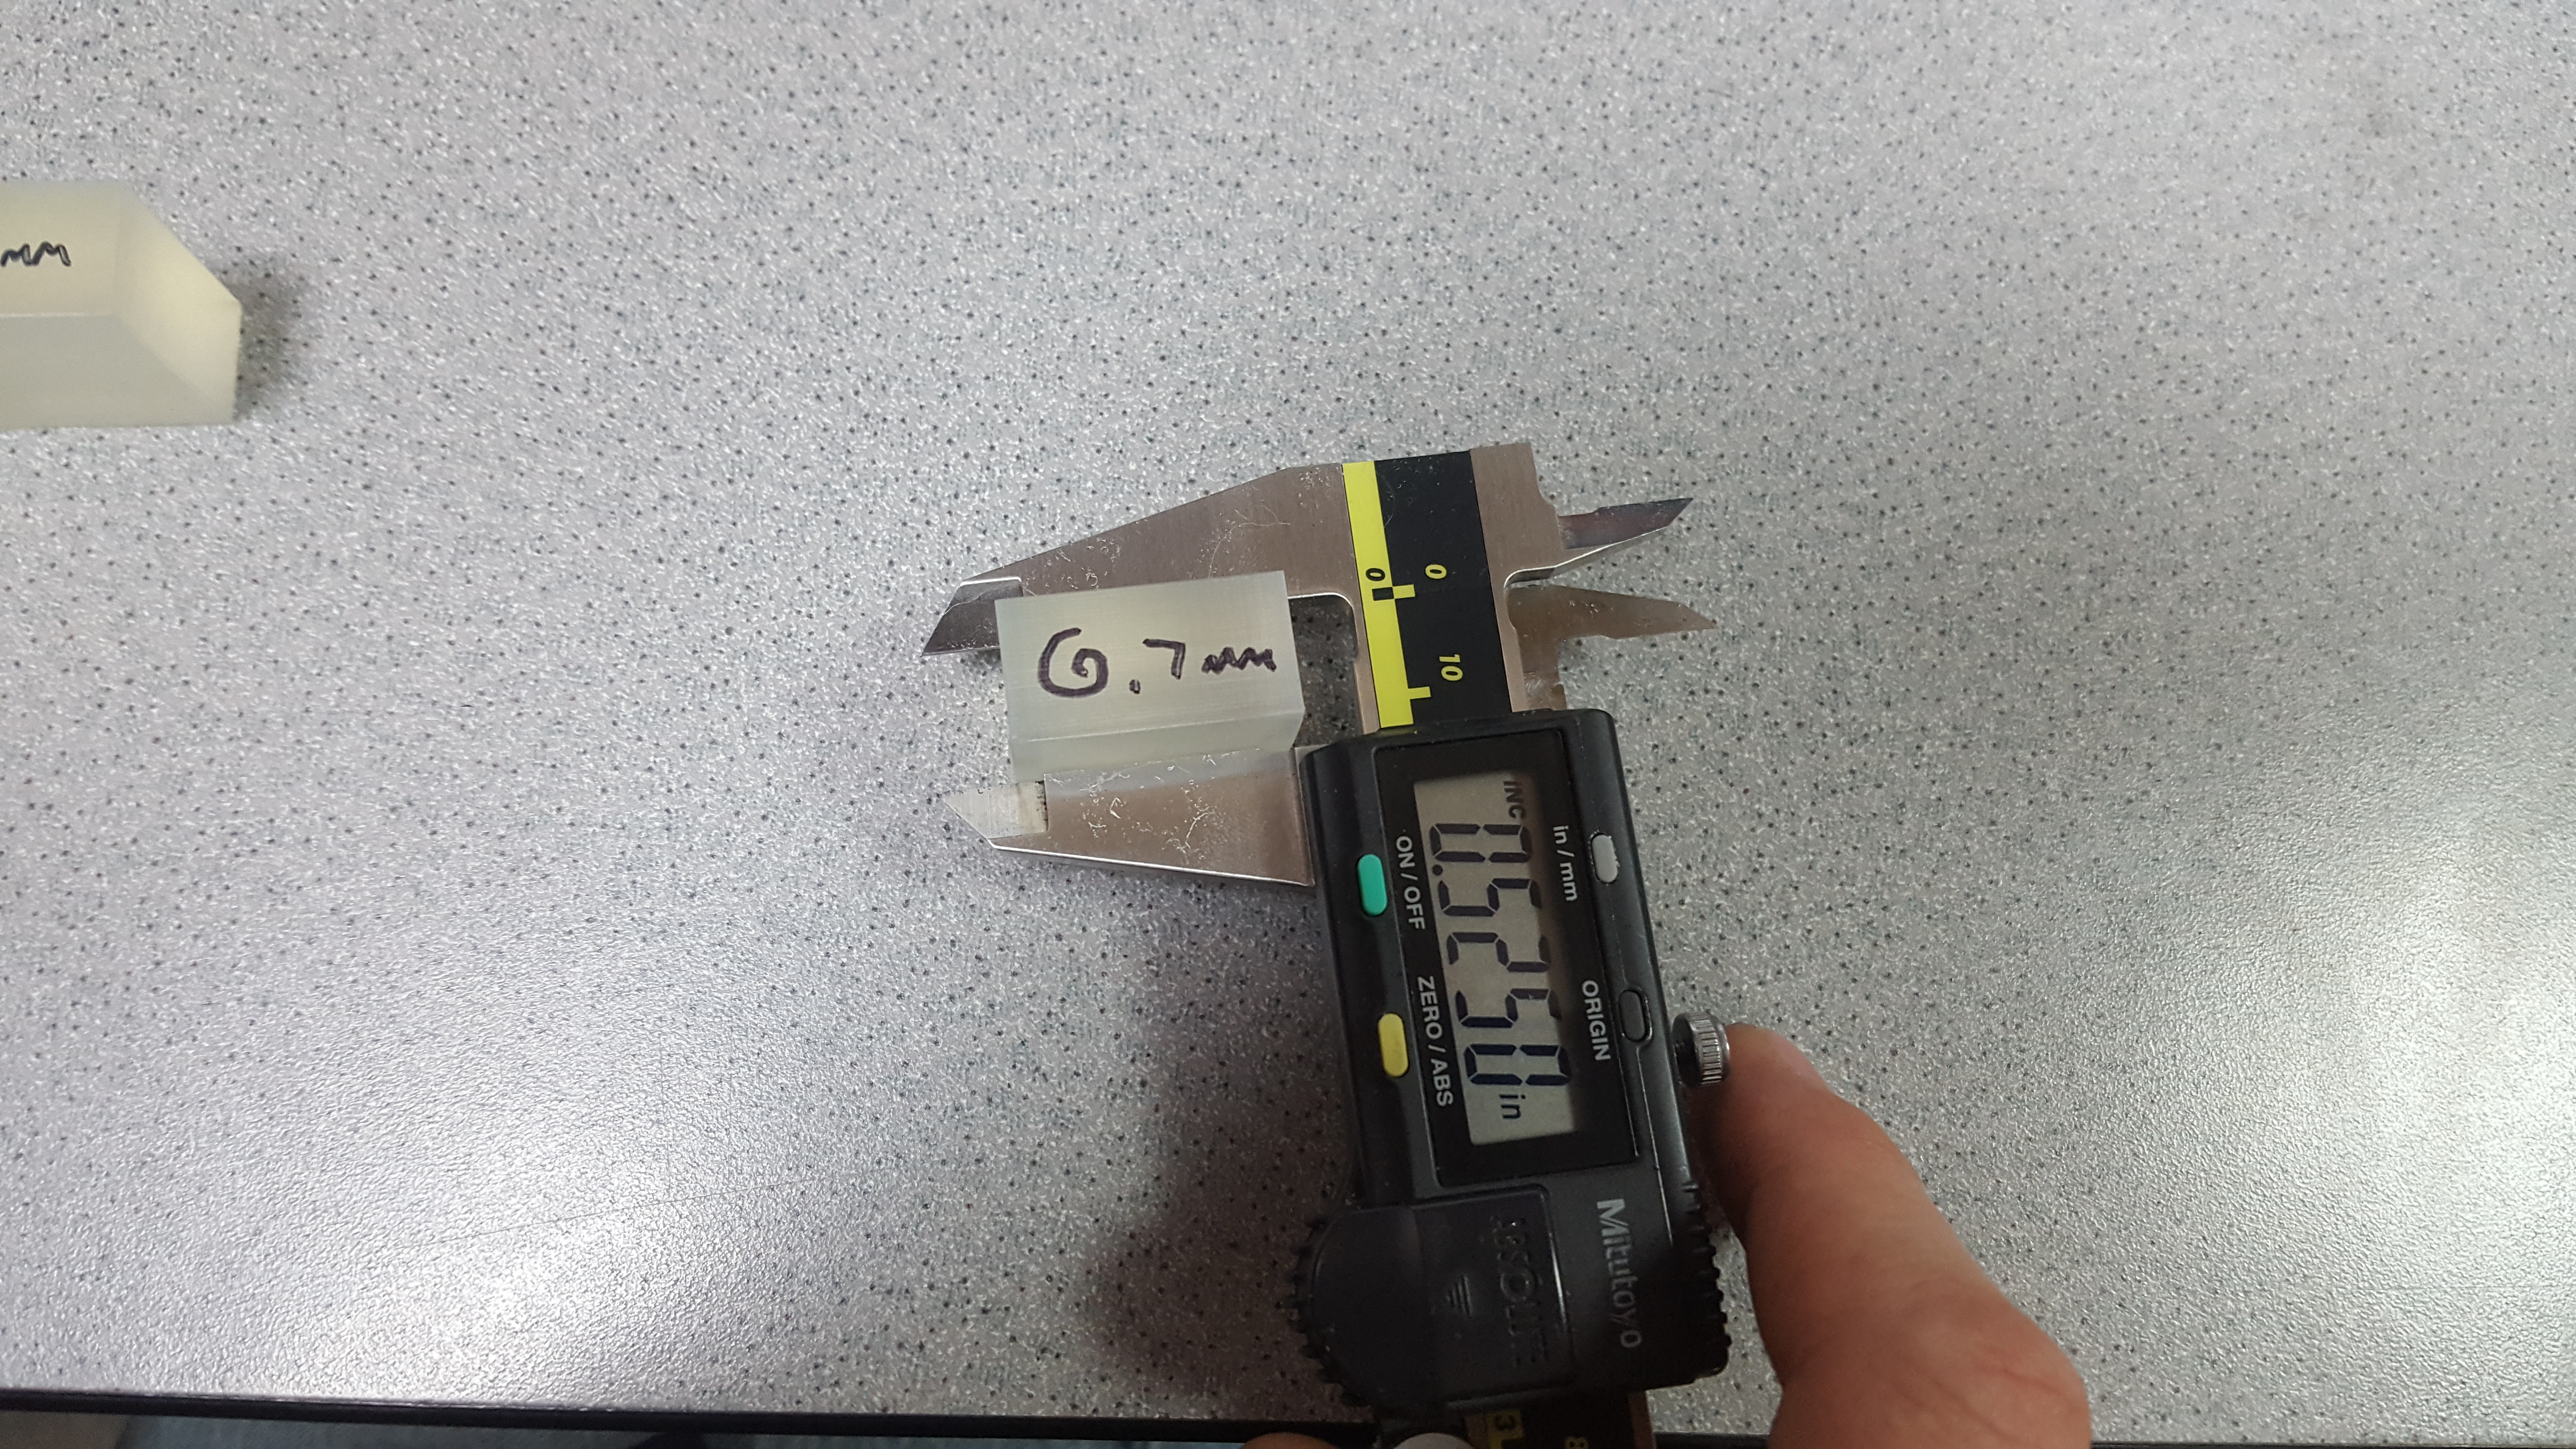
When I used my first LT tank i had the same issue. Bad flash and bad compression of my parts when printing on the build plate. I found that the LT tanks seem to have a thicker coat and I was able to correct the issue by adjusting the Z on the platform. I have since started using different Z adjustment for the 2 different vats. Standard vat my Z is set to .3 mm offset for my LT vats my offset is .7 mm. You may want to try to raise up your platform. I used a 1 x 1 x 1 cube to calibrate my X&Y adjustments & my Z adjustment as i almost always print directly on the build plate and need my parts to be as dimensionally accurate as possible.
Thank you for sharing, I will be changing my optical window and try to print another model (my window has some wear (fog) on the inside), If that does not fix the issue completely I will then add the offsets you mentioned. Just a side question, do you always use an offset for your prints? Do you know if that is printer related meaning if it has to do with the calibration done on each Form 2 before shipping? I would be very interested to know from Formlabs if they would encourage to correct the Z-Axis if you want dimensionally accurate results.
Z offset has absolutely nothing to do with dimensional accuracy. In short, it has to do with the amount of pressure the machine is puts on the first layers to guarantee proper adhesion and avoid having the part stuck on the tank.
Adjusting the Z offset can make the part stick more or less to the BP, the ideal situation is to find the point where it sticks just enough to print but is easy to pop off. This is tank, printer and BP dependent which is why I prefer to find a safe middle ground and thus not have to modify Z offset with different tanks, printers and resin tanks. This way I can print on any of my 2 Form2 with any combination of my 3 BP and slew of tanks without the risk of forgetting to change settings on the printer.
When printing directly on the BP, you loose a bit of height (Z) due to “compression” but modifying the Z offset will only have an effect on the first few layers of the part, it doesn’t have an effect on the whole model like the XY calibration. As such Z offset should not be used to change Z dimension of the part, you should rather add or remove 0.1mm or more at the bottom of the model to compensate for the deformation which occurs in this area.
I see. Personally I have printed hundreds of models literally, on the BP and I only had one falling, which was due to the stl (was send to me by a friend and I didn’t check it to be completely flat. Hopefully the optical window will fix the issue so I won’t have to change the z-axis. Sidenote: all my prints so far were with normal tank never used an LT tank until 3 days ago, when I got this issue, however I think it has do more with the Dental Model Resin been more sensitive to the laser light, because all my previous prints where with white resin V4 (and the optical window should have had the fogging for some months now…).
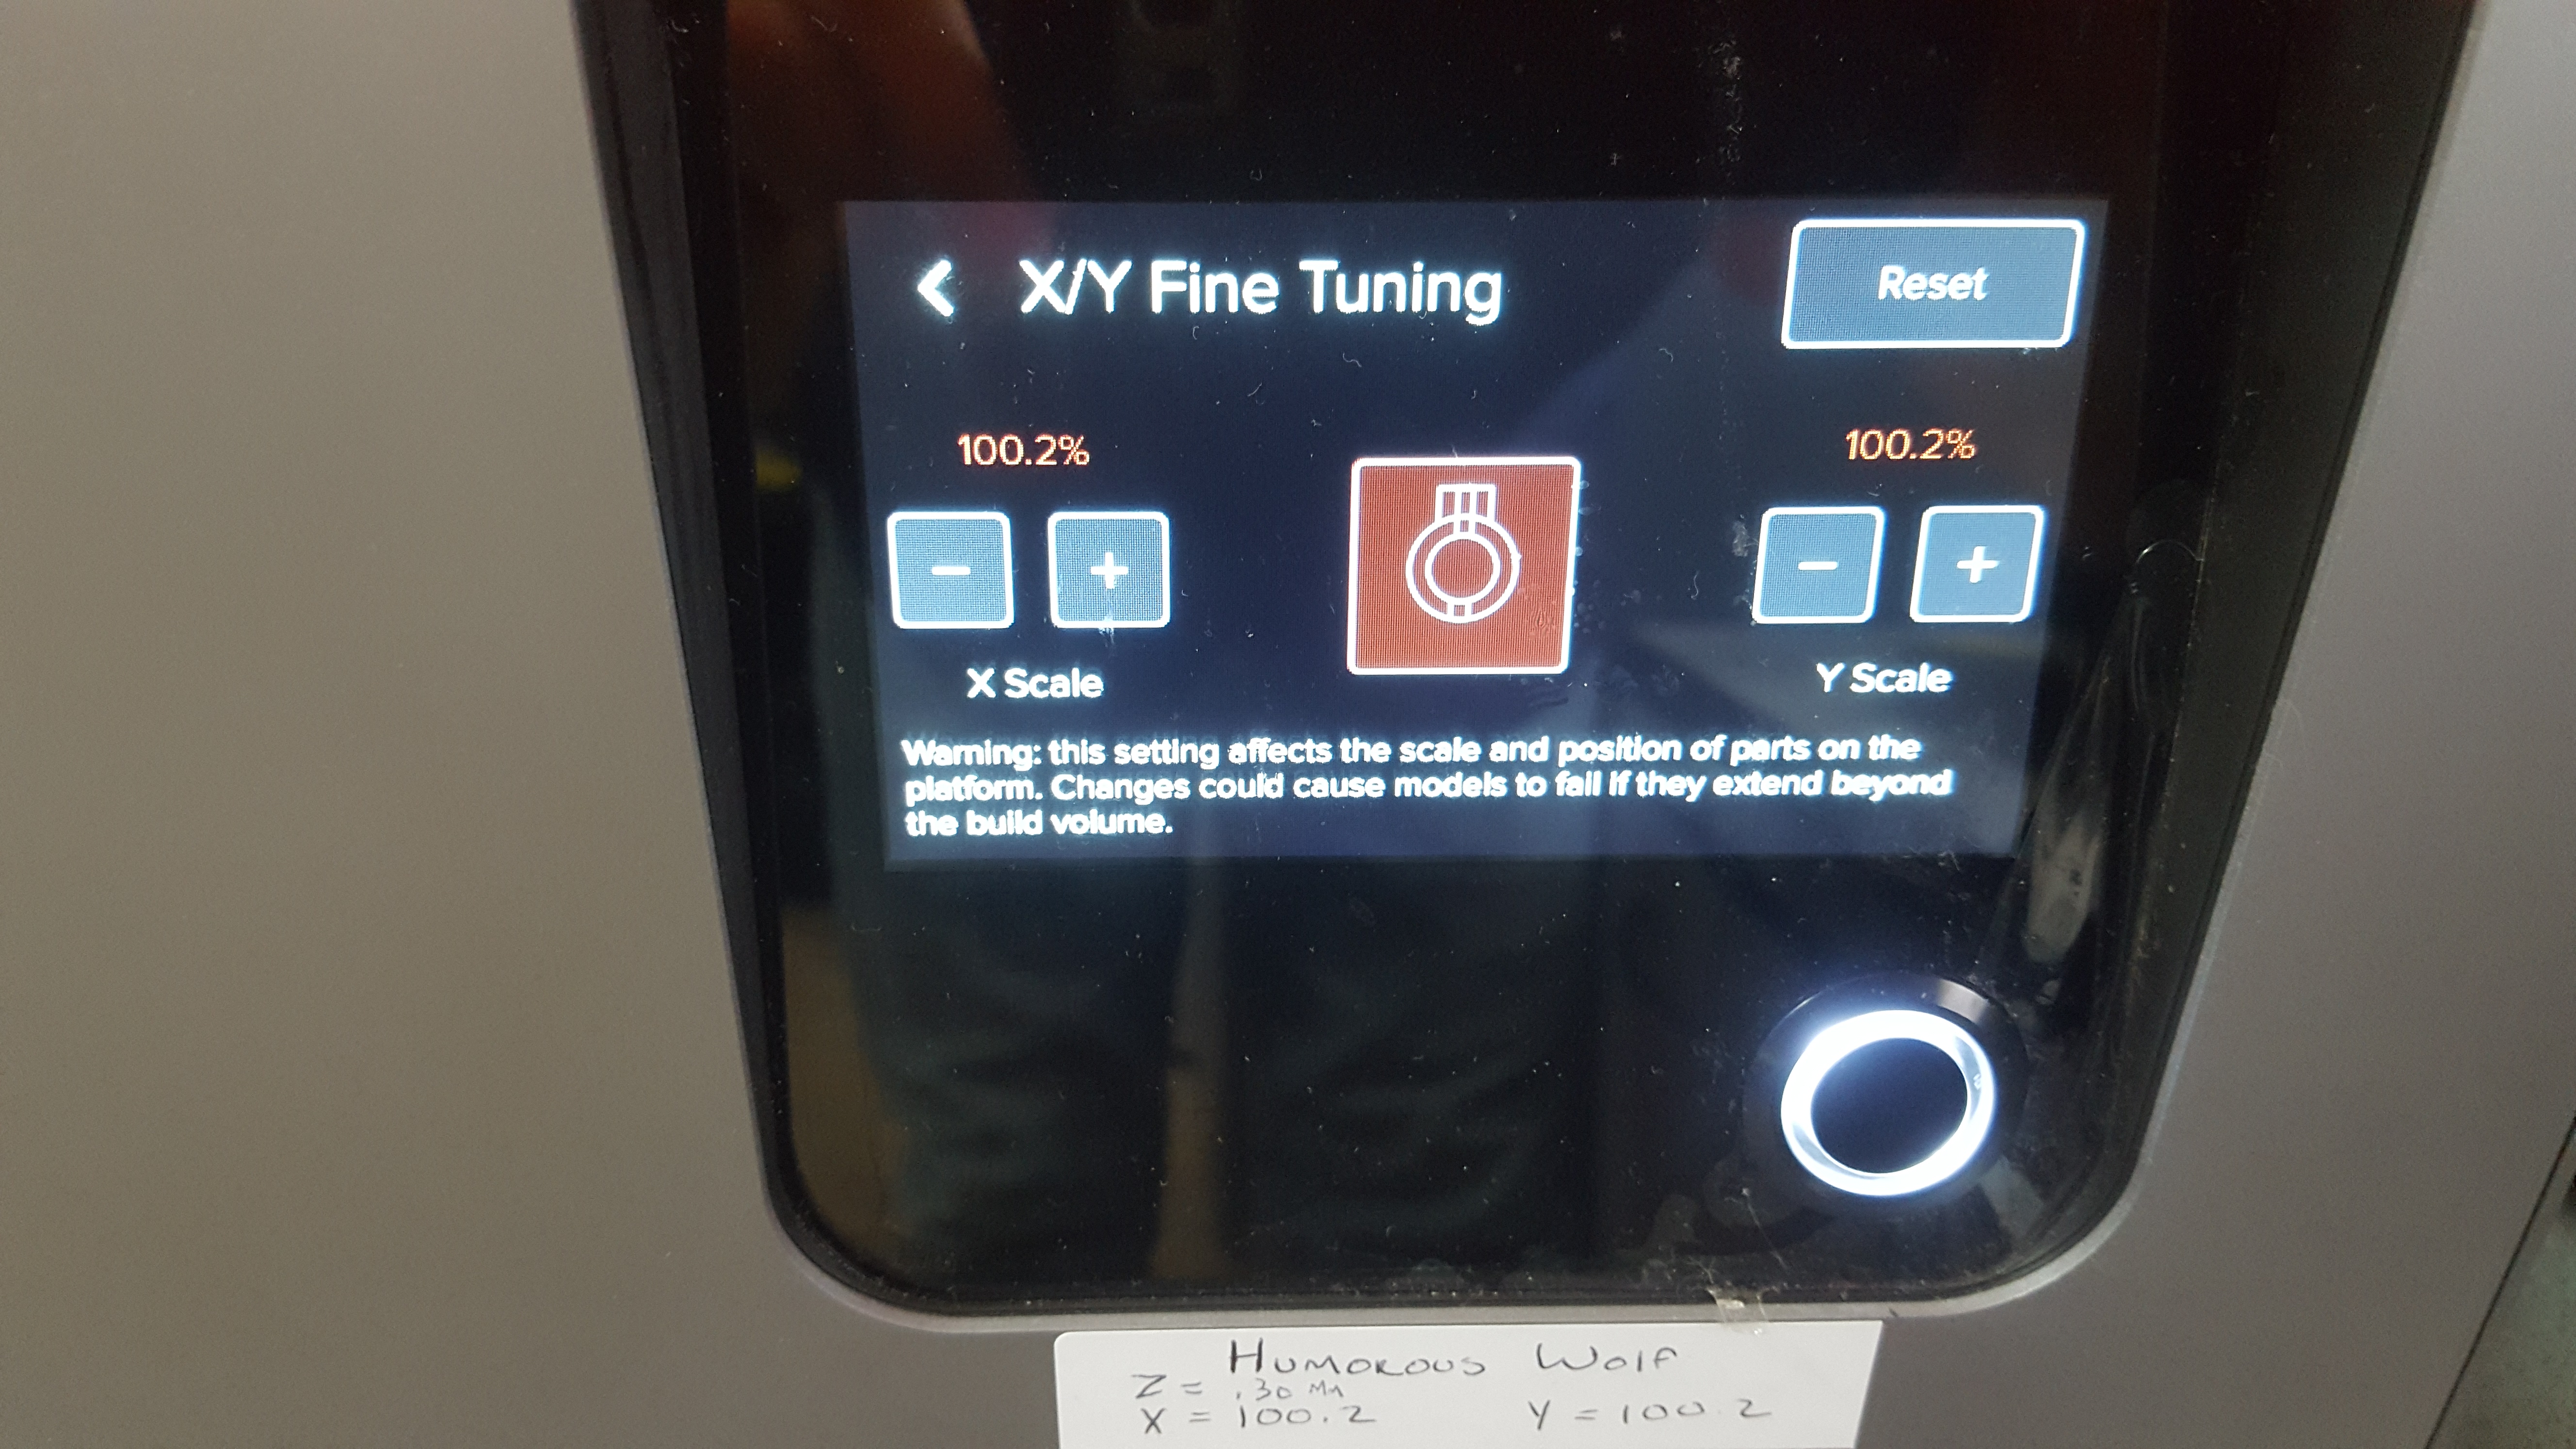
I can tell you from my testing on the 2 form 2’s we have that z-offset can grow or shrink your part in Z when printing on the platform. (I will post some info soon to show it) Our 2 form 2’s when they came in new were off by .030 in X&Y. adjusting X&Y using a 1x1x1 cube to measure I had to adjust and now I’m within .003 in X&Y. So ours didn’t come in calibrated at least for my tolerances. I have had no parts fail from printing on the build plate since they added it… only fail dimensionally.
That was the way I started … adding the compression to the model. That didn’t work consistently and was a big pain in my butt.
I Agree x&y calibration has nothing to do with Calibration of Z when printing on the build plate.
I understand that DGalakt’s issue may not be a dimensional issue but with the difference I have seen between the two vats I would start there.
I am running my samples again, taking pictures and will post soon for you non believers.
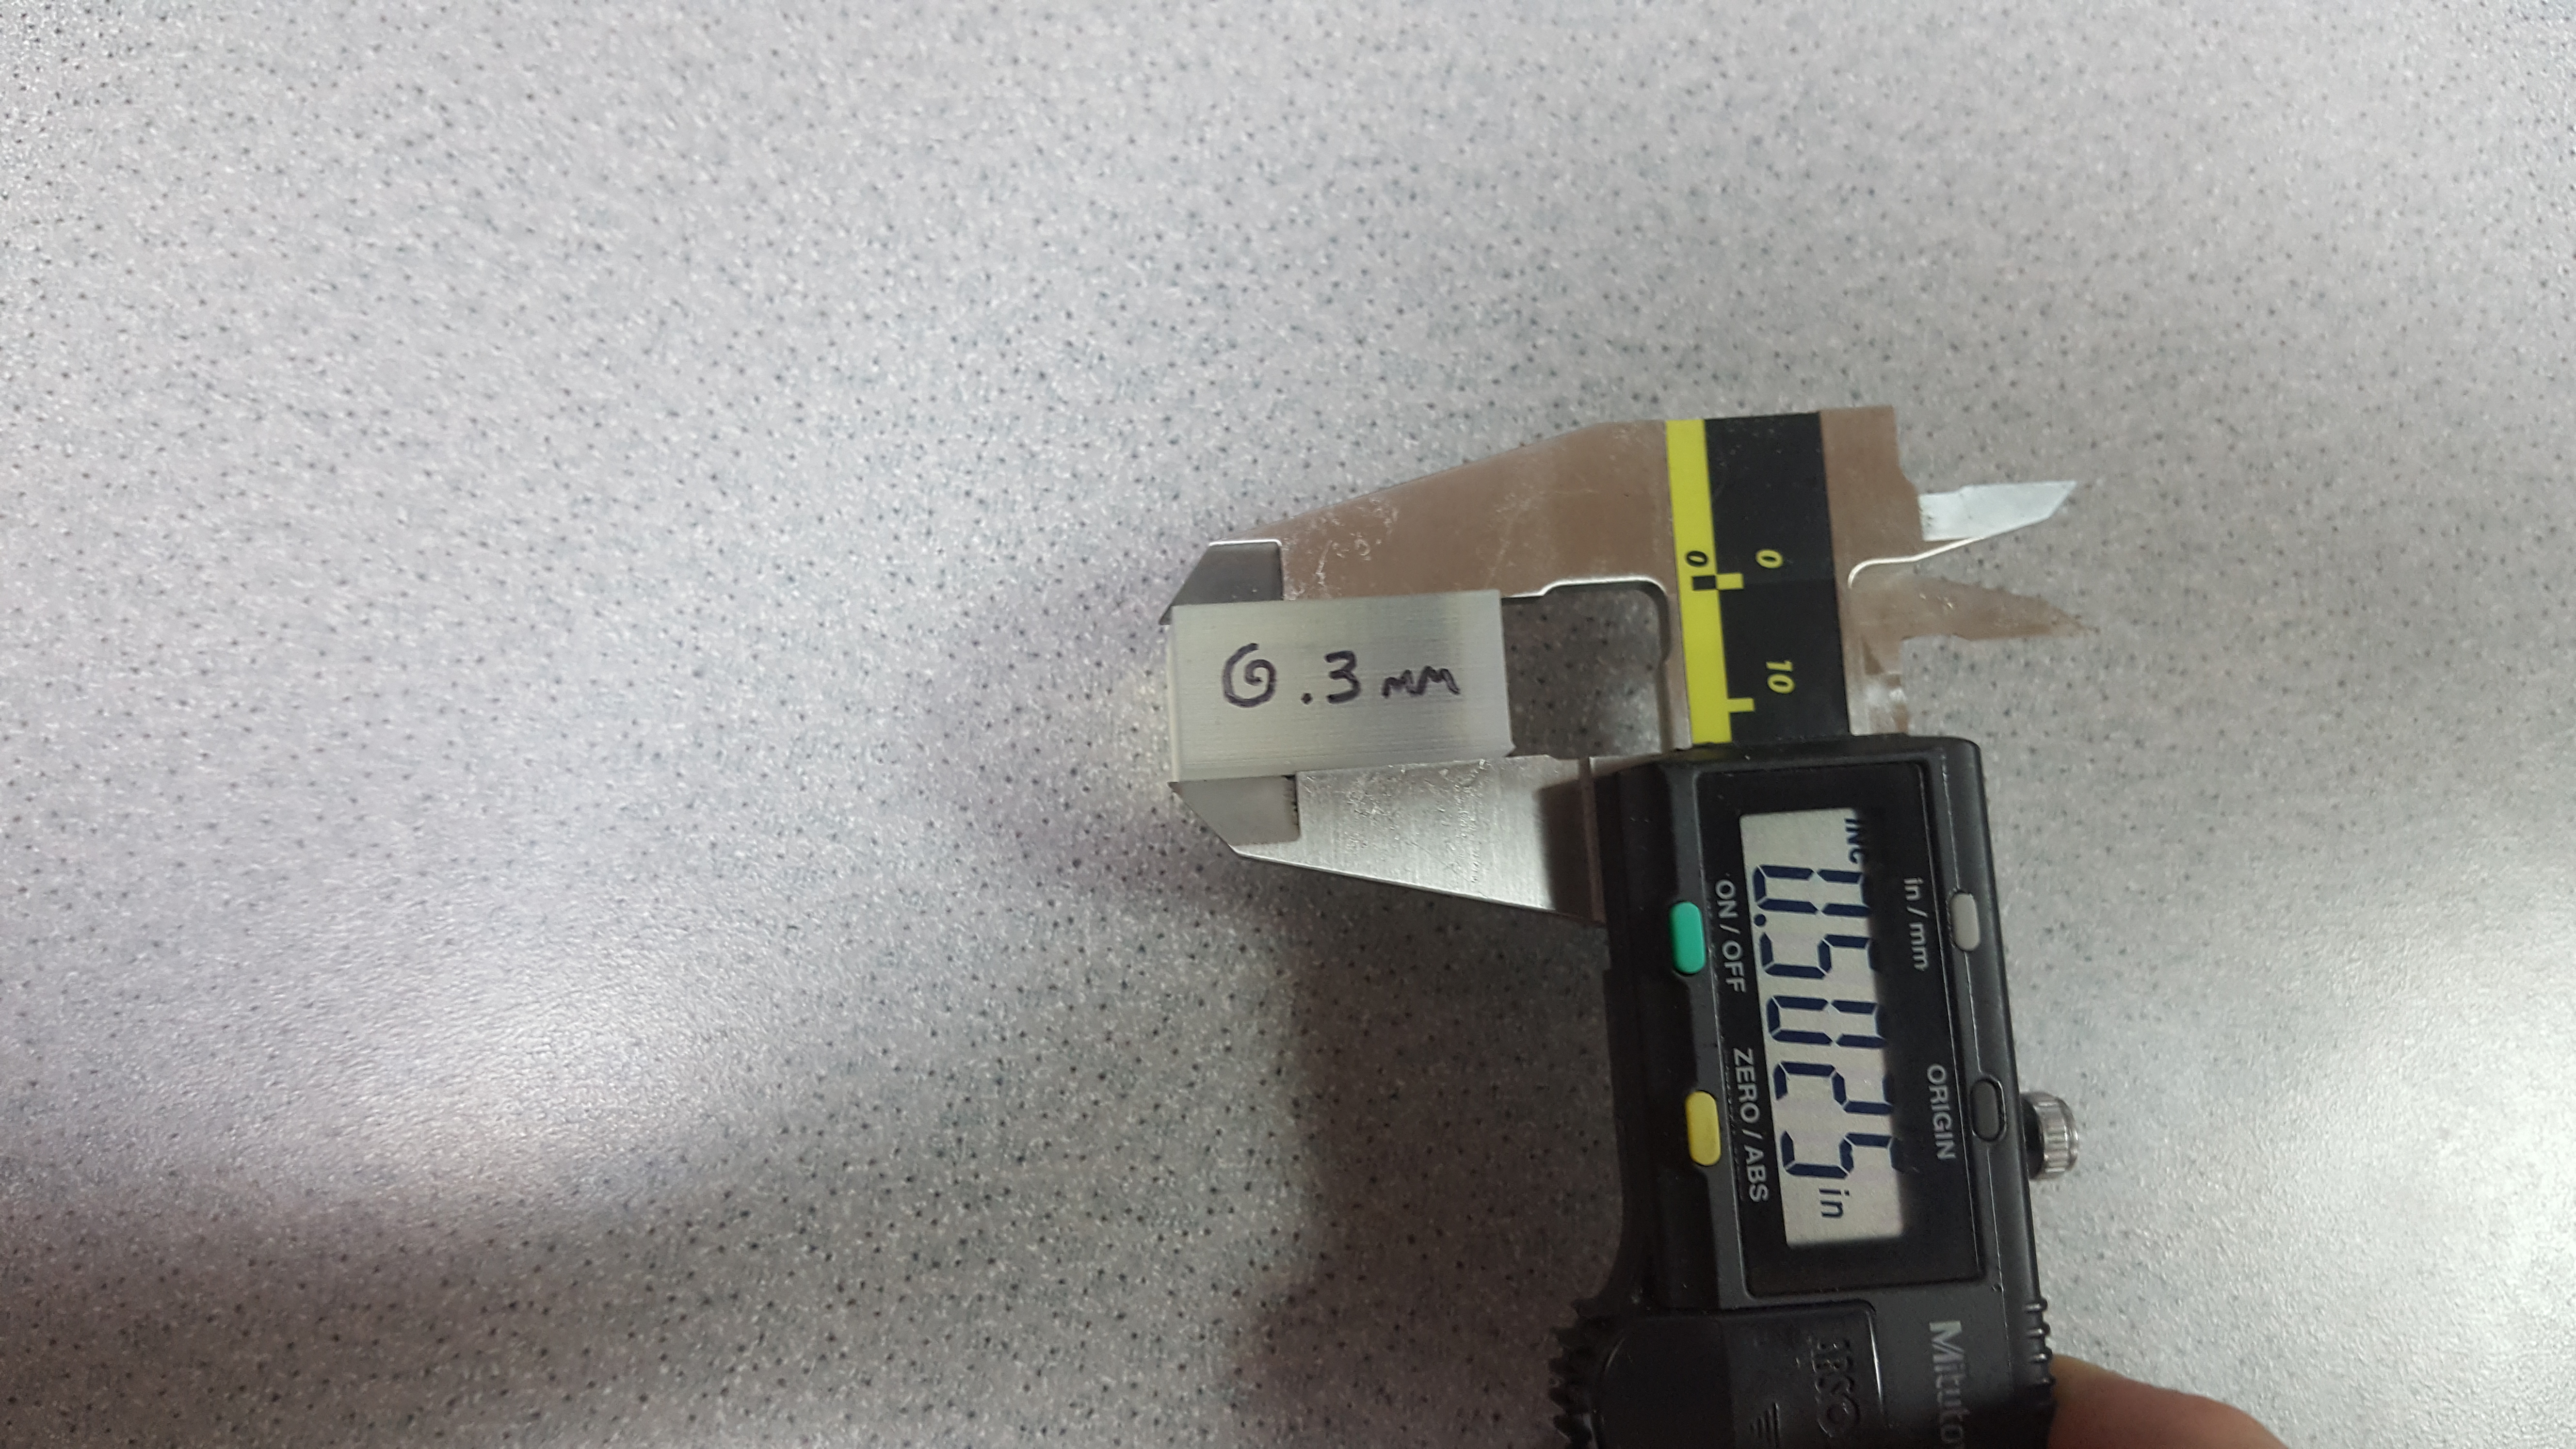
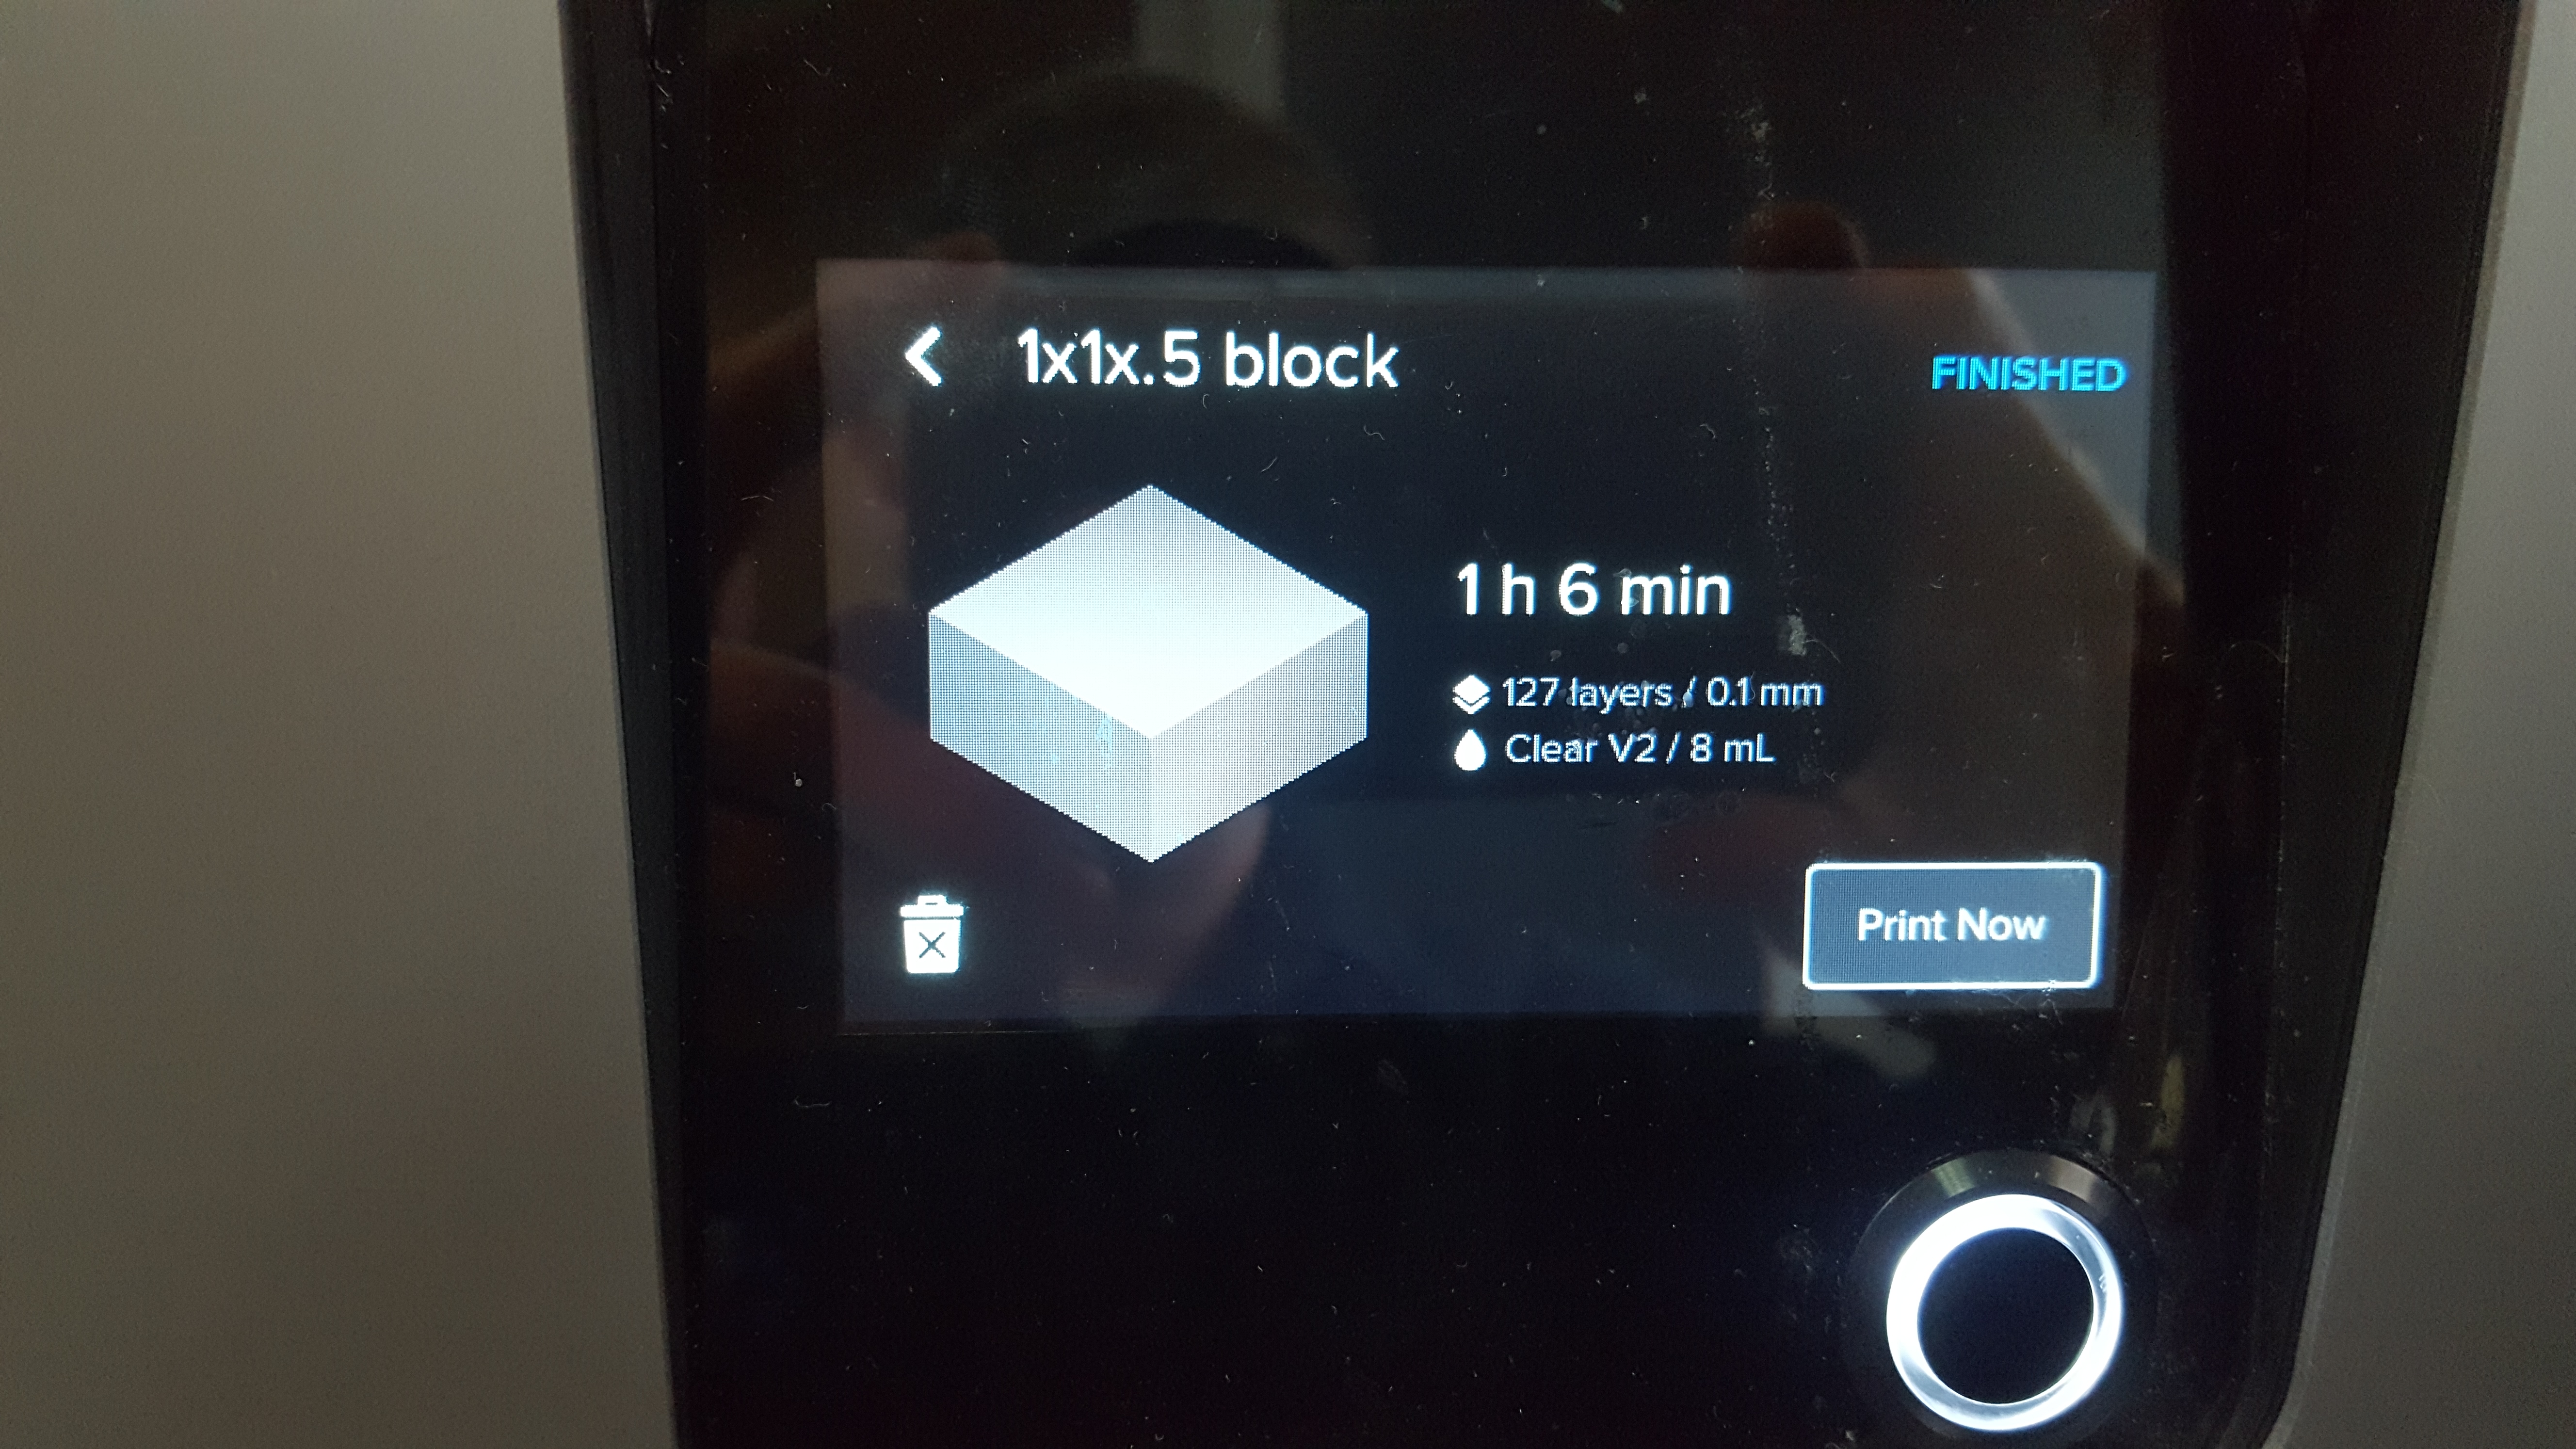
Ok here it is 1 cad cube measuring 1 x 1 x .5 same model printed 2 times on the same machine. Model Printed @ .1 mm layer height directly on BP, cleaned for 15 mins & cured for 15 mins.
First one with a Z offset of .3 mm (this is were my machine is closest to cad around .003 - .004 difference from cad.
You can see Its a little over my cad in Z by .025
The compressed lip around the base measures .114 from side walls.
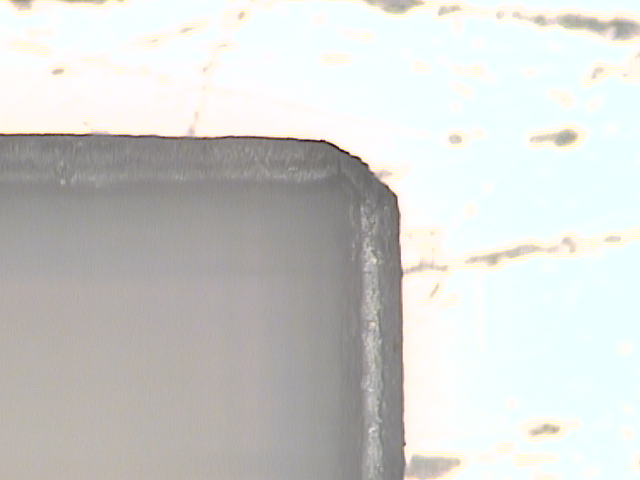
Second one with a Z offset of .7 mm.
As you can see from the pictures the Z offset increased the part in the Z direction by .0225
The compressed lip around the base measures .229 from side walls.
So if you ask me if the Z offset has anything to do with the dimensional accuracy of Z when printing directly on the build plate I would say absolutely!
Z offset has an effect on the compression of the first few layers, and as such it will increase or decrease the size of said layers, but it had no effect on the geometry of the part on the Z axis outside of these first few layers.
If you make the same experiment with a “cube” of 1x1x2 or 1x1x5 instead of 1x1x.5 you’ll see that the Z height changes by exactly the same values. As I wrote in my previous post :
Z offset will only have an effect on the first few layers of the part, it doesn’t have an effect on the whole model like the XY calibration.
As such, you can use Z offset to change Z height but really you shouldn’t, because the correction will change depending on the BP, printer and tank (even resin), and if for whatever reason you need to adjust Z offset due to adhesion issues (it’s intended purpose) you’ll throw off your dimensional adjustments.
If you do so and print on the BP, yes, but Z offset isn’t a tool to adjust Z height which is my point to begin with. You can hack it and use it as such but saying plain and simple that “Z offset” can be used to correct Z height of the final print isn’t a good idea without proper understanding on what’s happening and it can be detrimental to other users who read this and don’t go into details.
I print dental models, the first few layers are of the “gum” so in other words I don’t mind the compression there I need the teeth to be accurate dimension wise, so I think that I won’t be messing with Z-offset since I never had adhering issues when printing on the BP. Good to know though both of you gave some valuable info regarding printing on the BP. Thanks!
Yeah if you don’t care about the geometry under the teeth, Z offset won’t help you. There’s a scaling option in Preform that allows to set scaling for XYZ individually, which is the only way to mess with Z scaling with the tools provided by Formlabs. TBH this kind of adjustment should be done in the CAD software and not in preform for technical stuff like you print, scaling in preform is more useful and suited for model makers printing scale models or artistic pieces.
Please Let us know what your solution was for your issue when you find it.
I am curious. New vat needed? Z offset adjust? Material bad? LT tank?
Also you can only scale uniformly in the preform software.
You can’t only scale up X only or Z only.
Alright, I solved the issue with the dental models first layers been printed with a film of cured resin around the base. It was the optical window that was fogged. I bought a new optical window, but when I removed the old one, I could actually clean it and put it back in (the fogging was on the inside).
That problem is common from what I have seen at the forum, however what was interesting is that with white resin v4 the fogging did not manifest at the printed models, only when I changed to Dental Model Resin V2 the issue was presented (probably something to do with the model resin been more photo cure sensitive than the generic white resin).
Regarding VAT I didn’t change anything, still printing on the same LT tank. I was told from FormLabs that this fogging you see on the sides of the tank, is there at every LT tank, and that the laser beam does not go through the sides of the tank ever.
What I would like to know is what causes this fogging of the optical window especially on the inside, since I have seen it happening again and again from other Form 2 users.