Any ideas why this failed? We’ve previously printed successfully with Grey Pro.
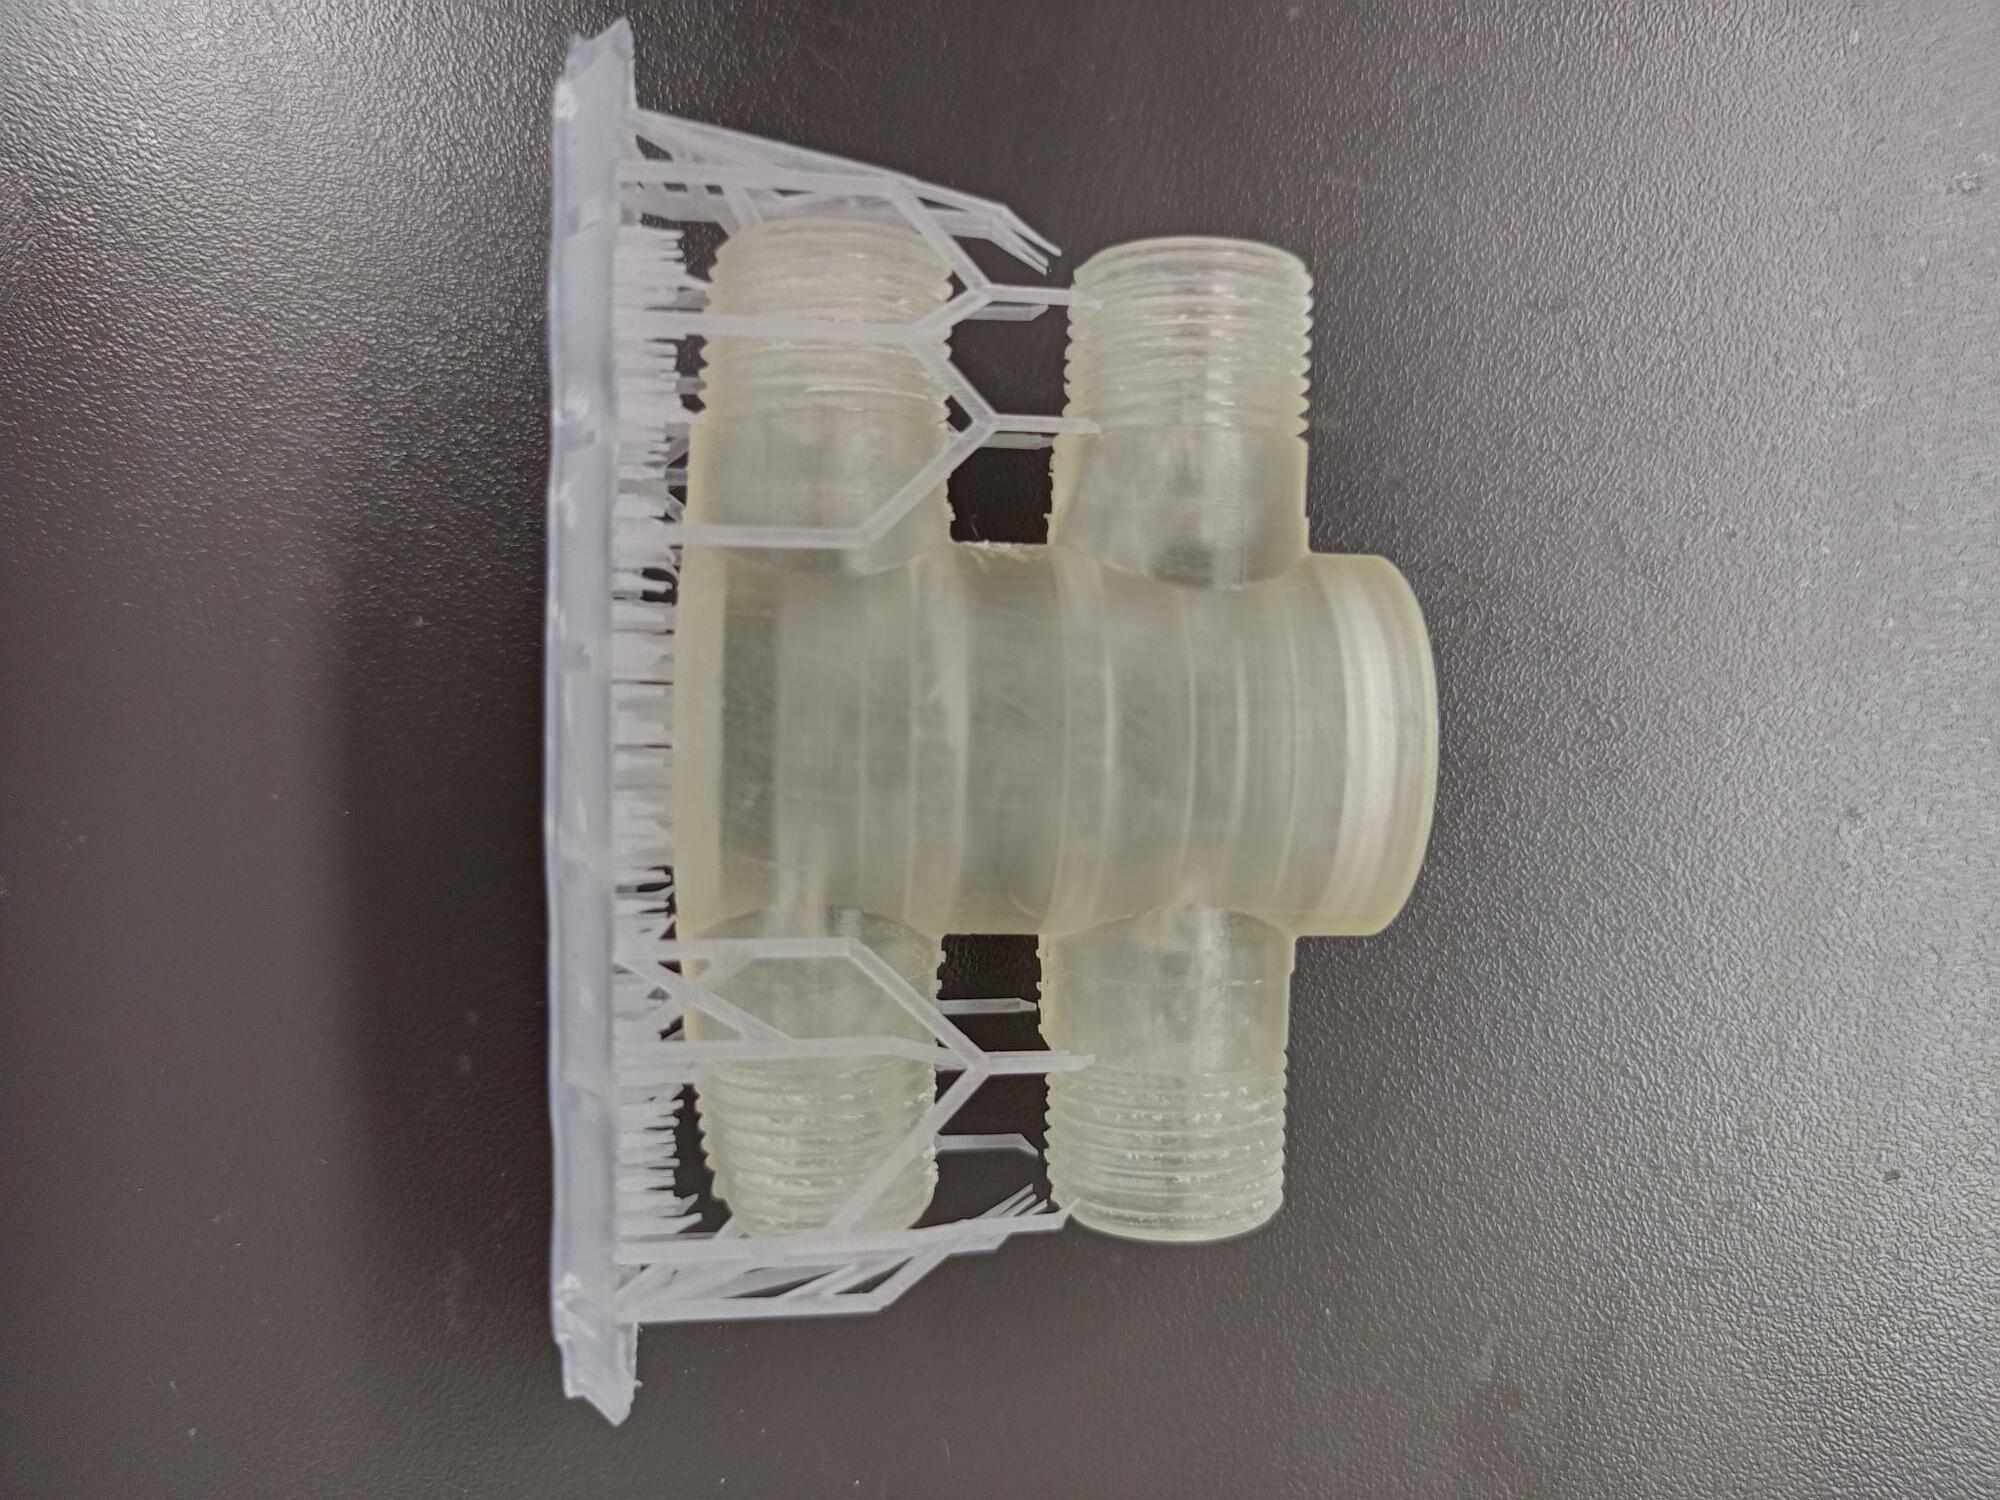
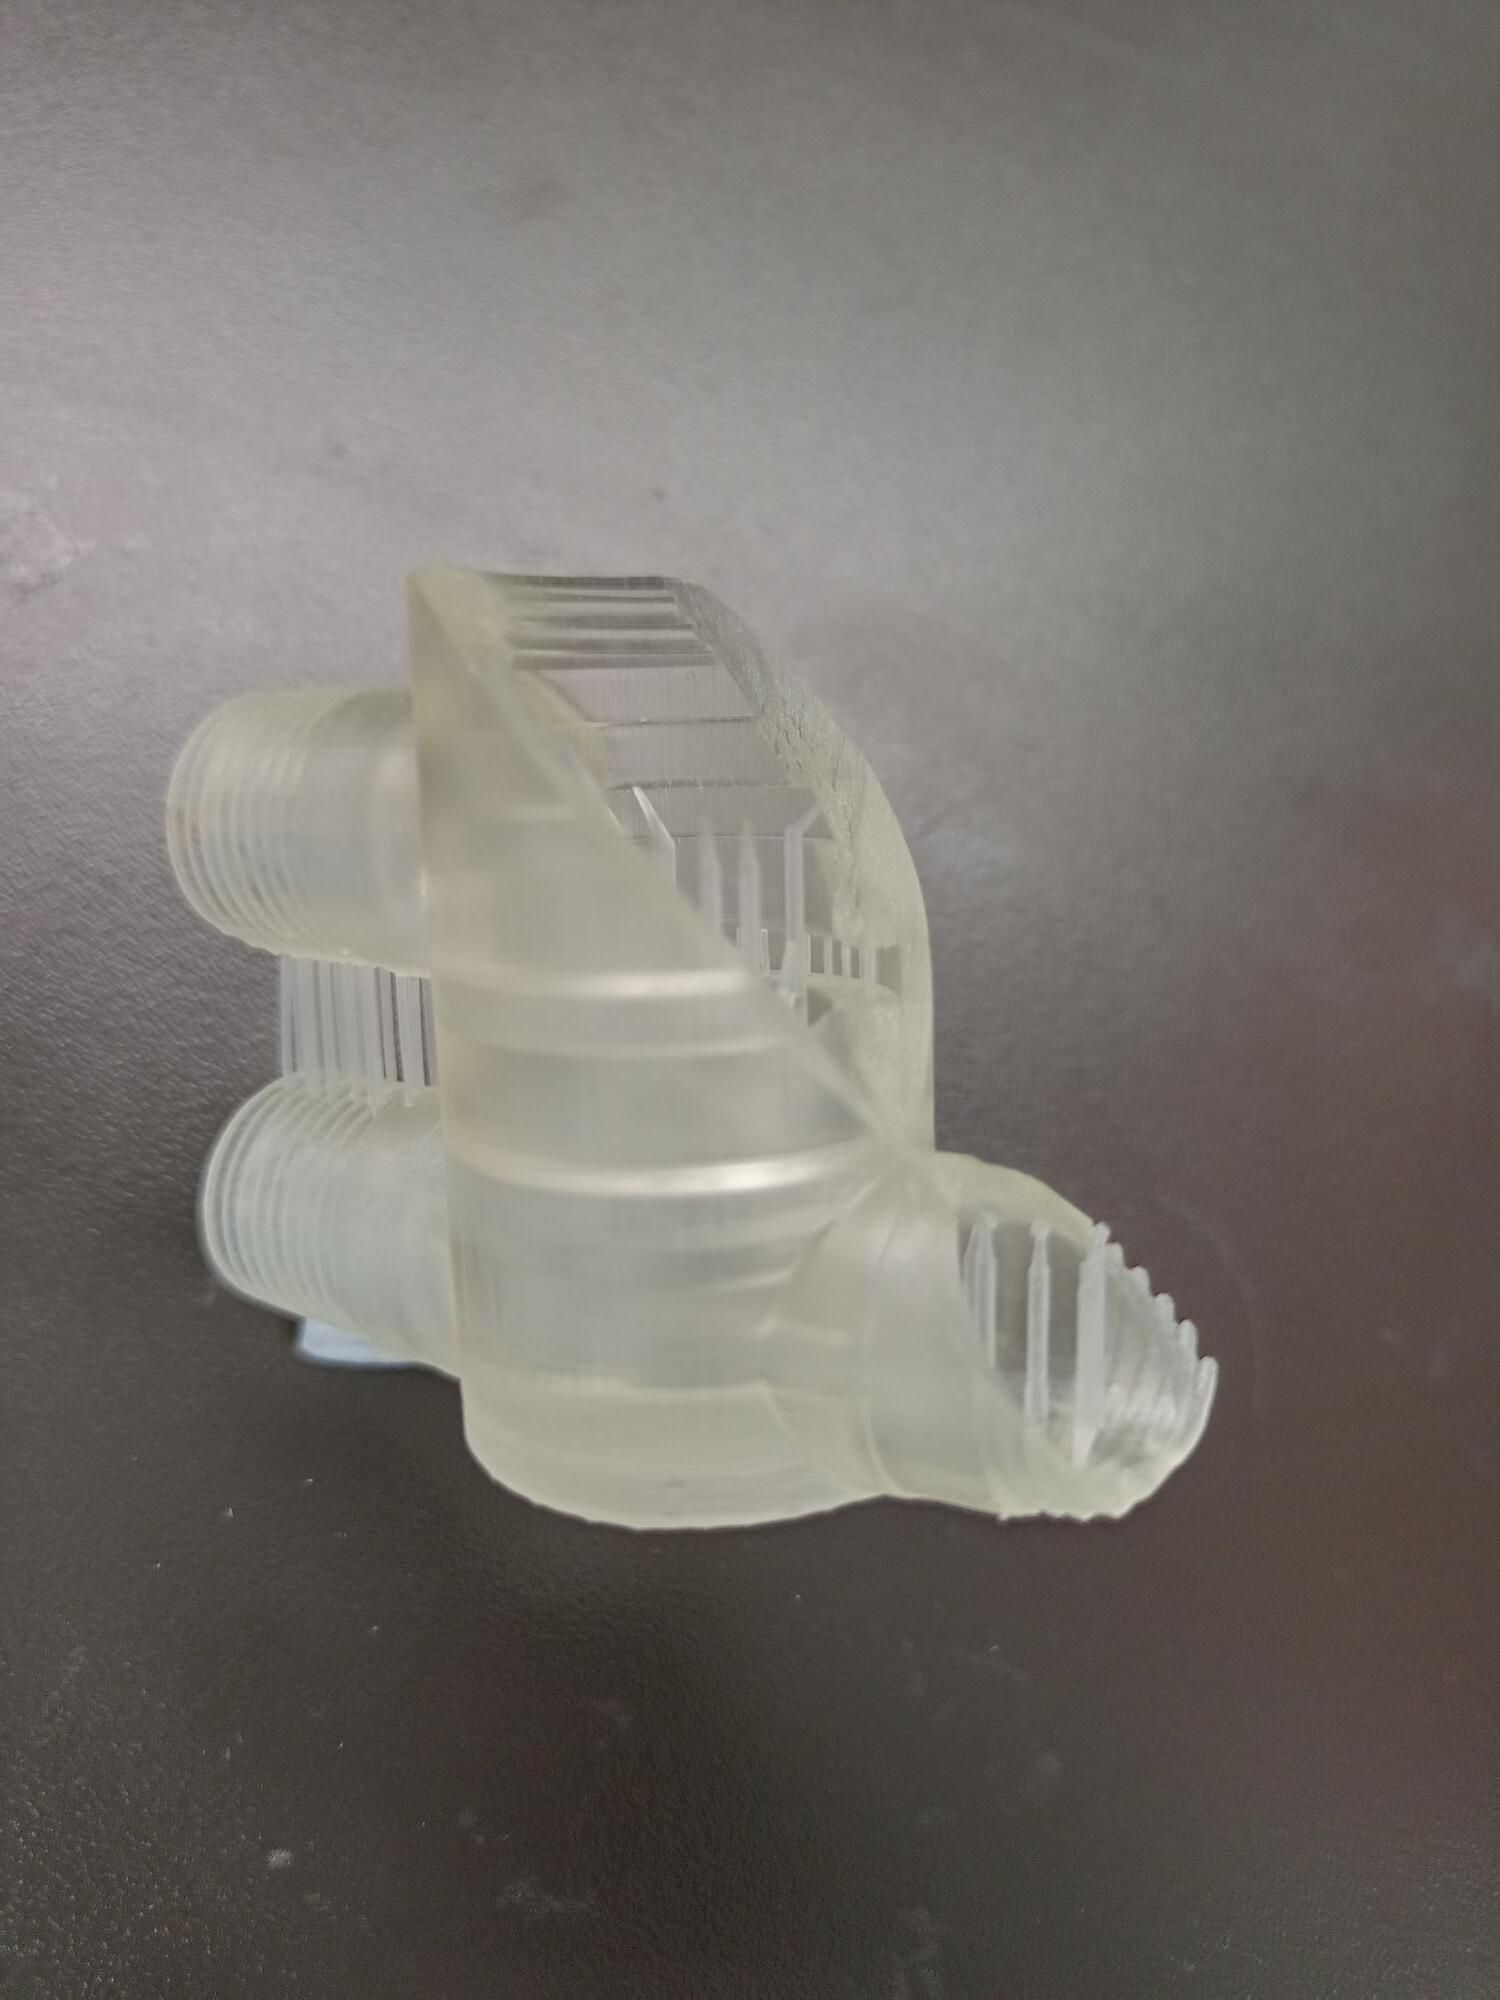
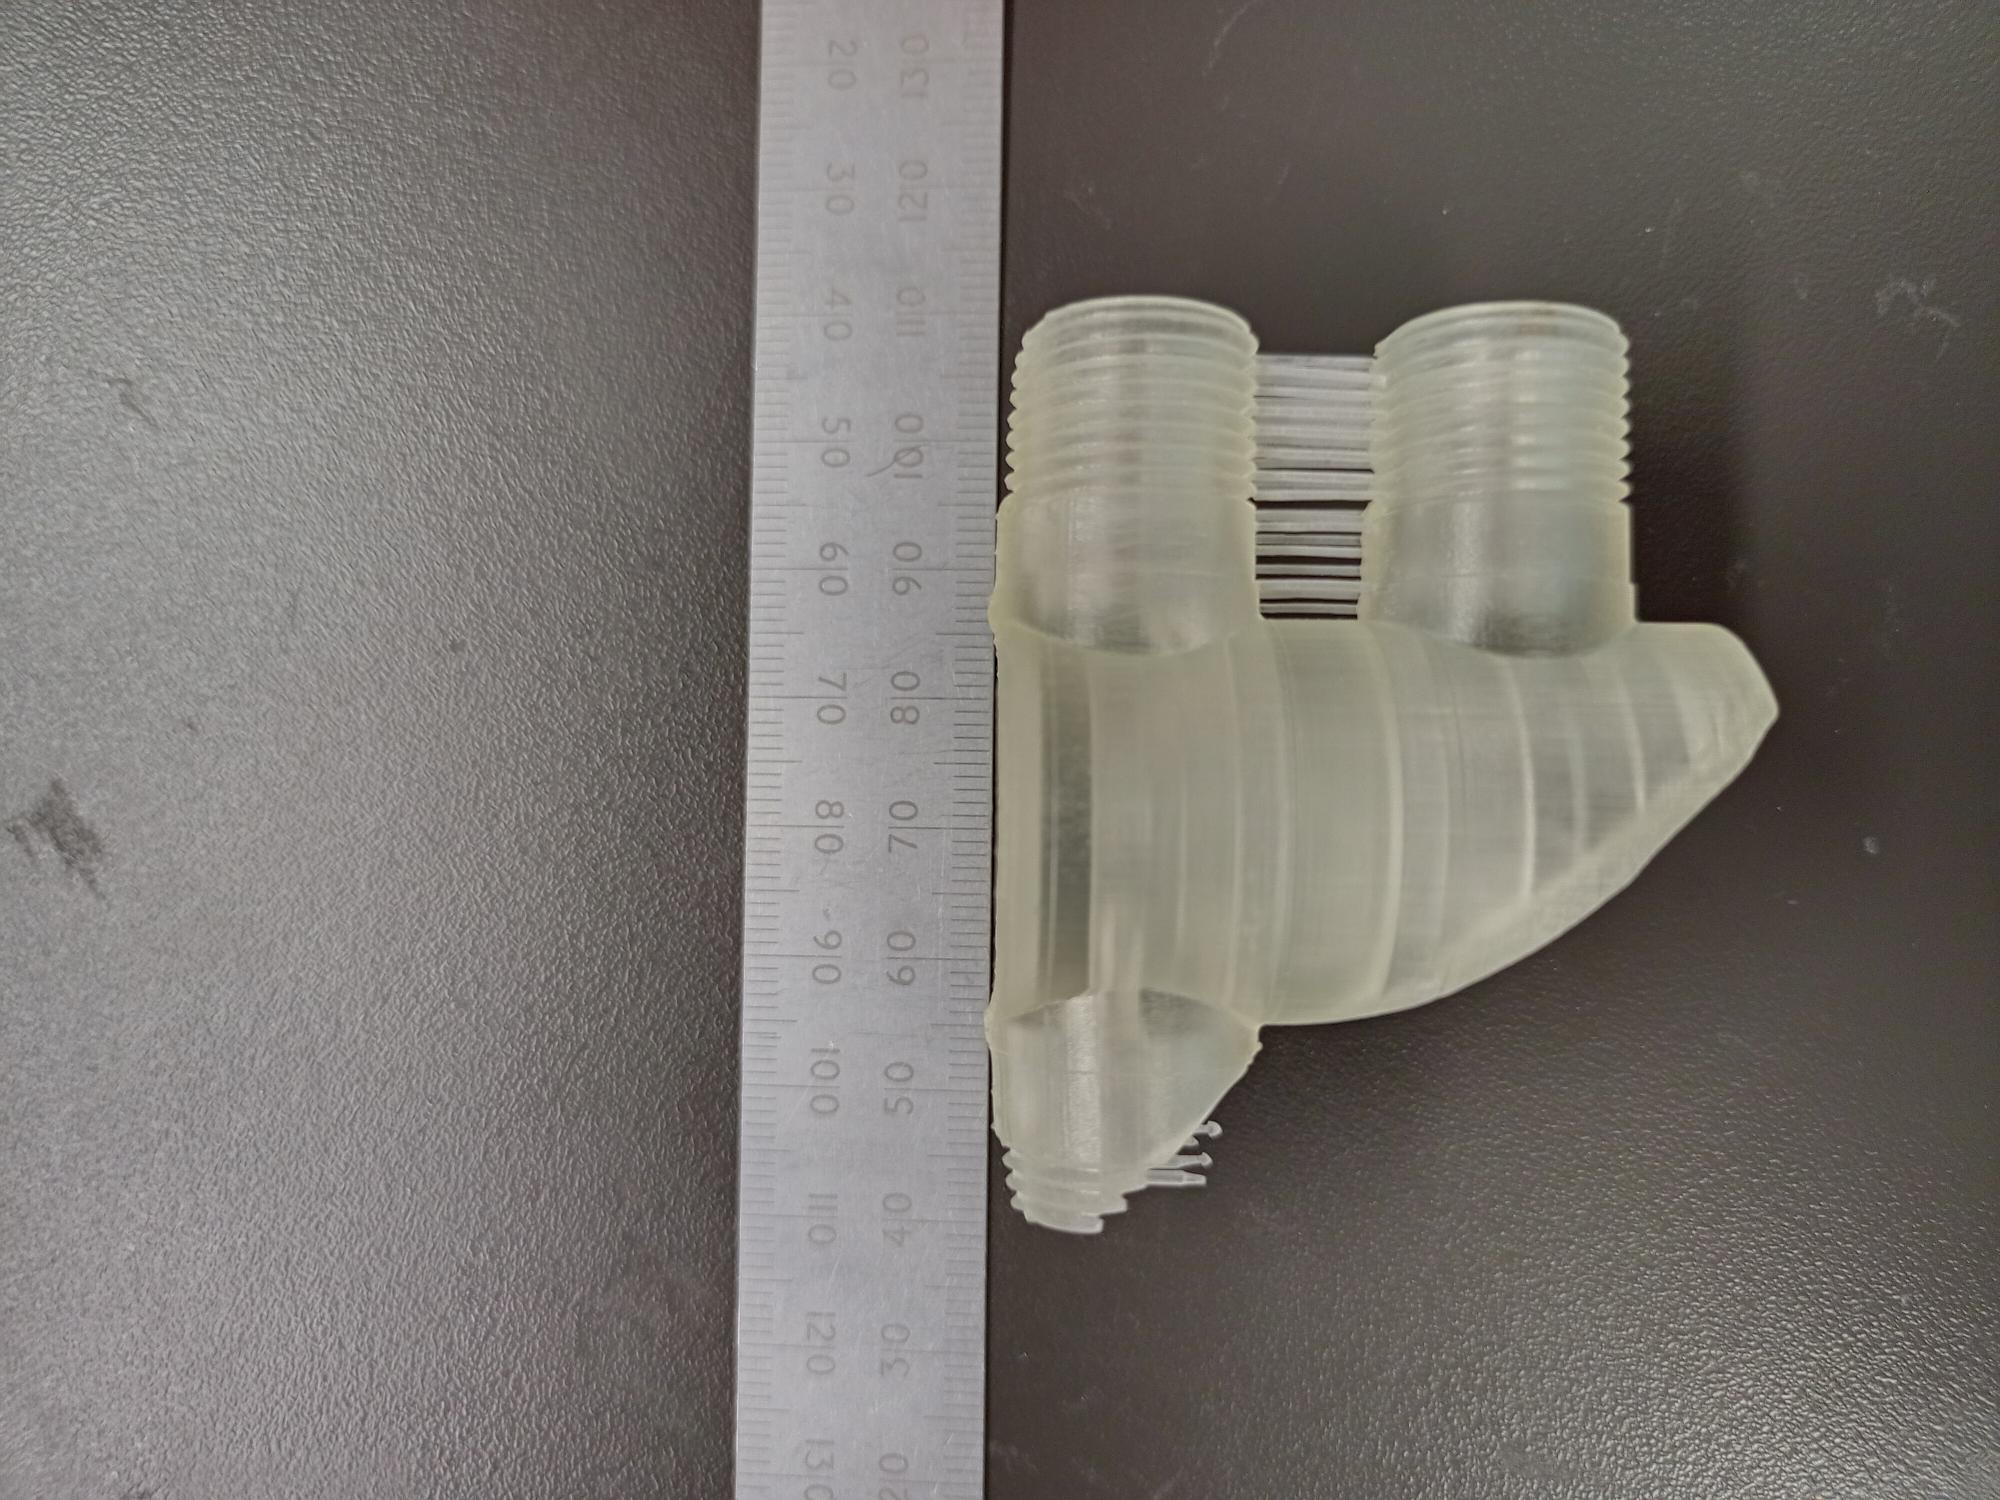
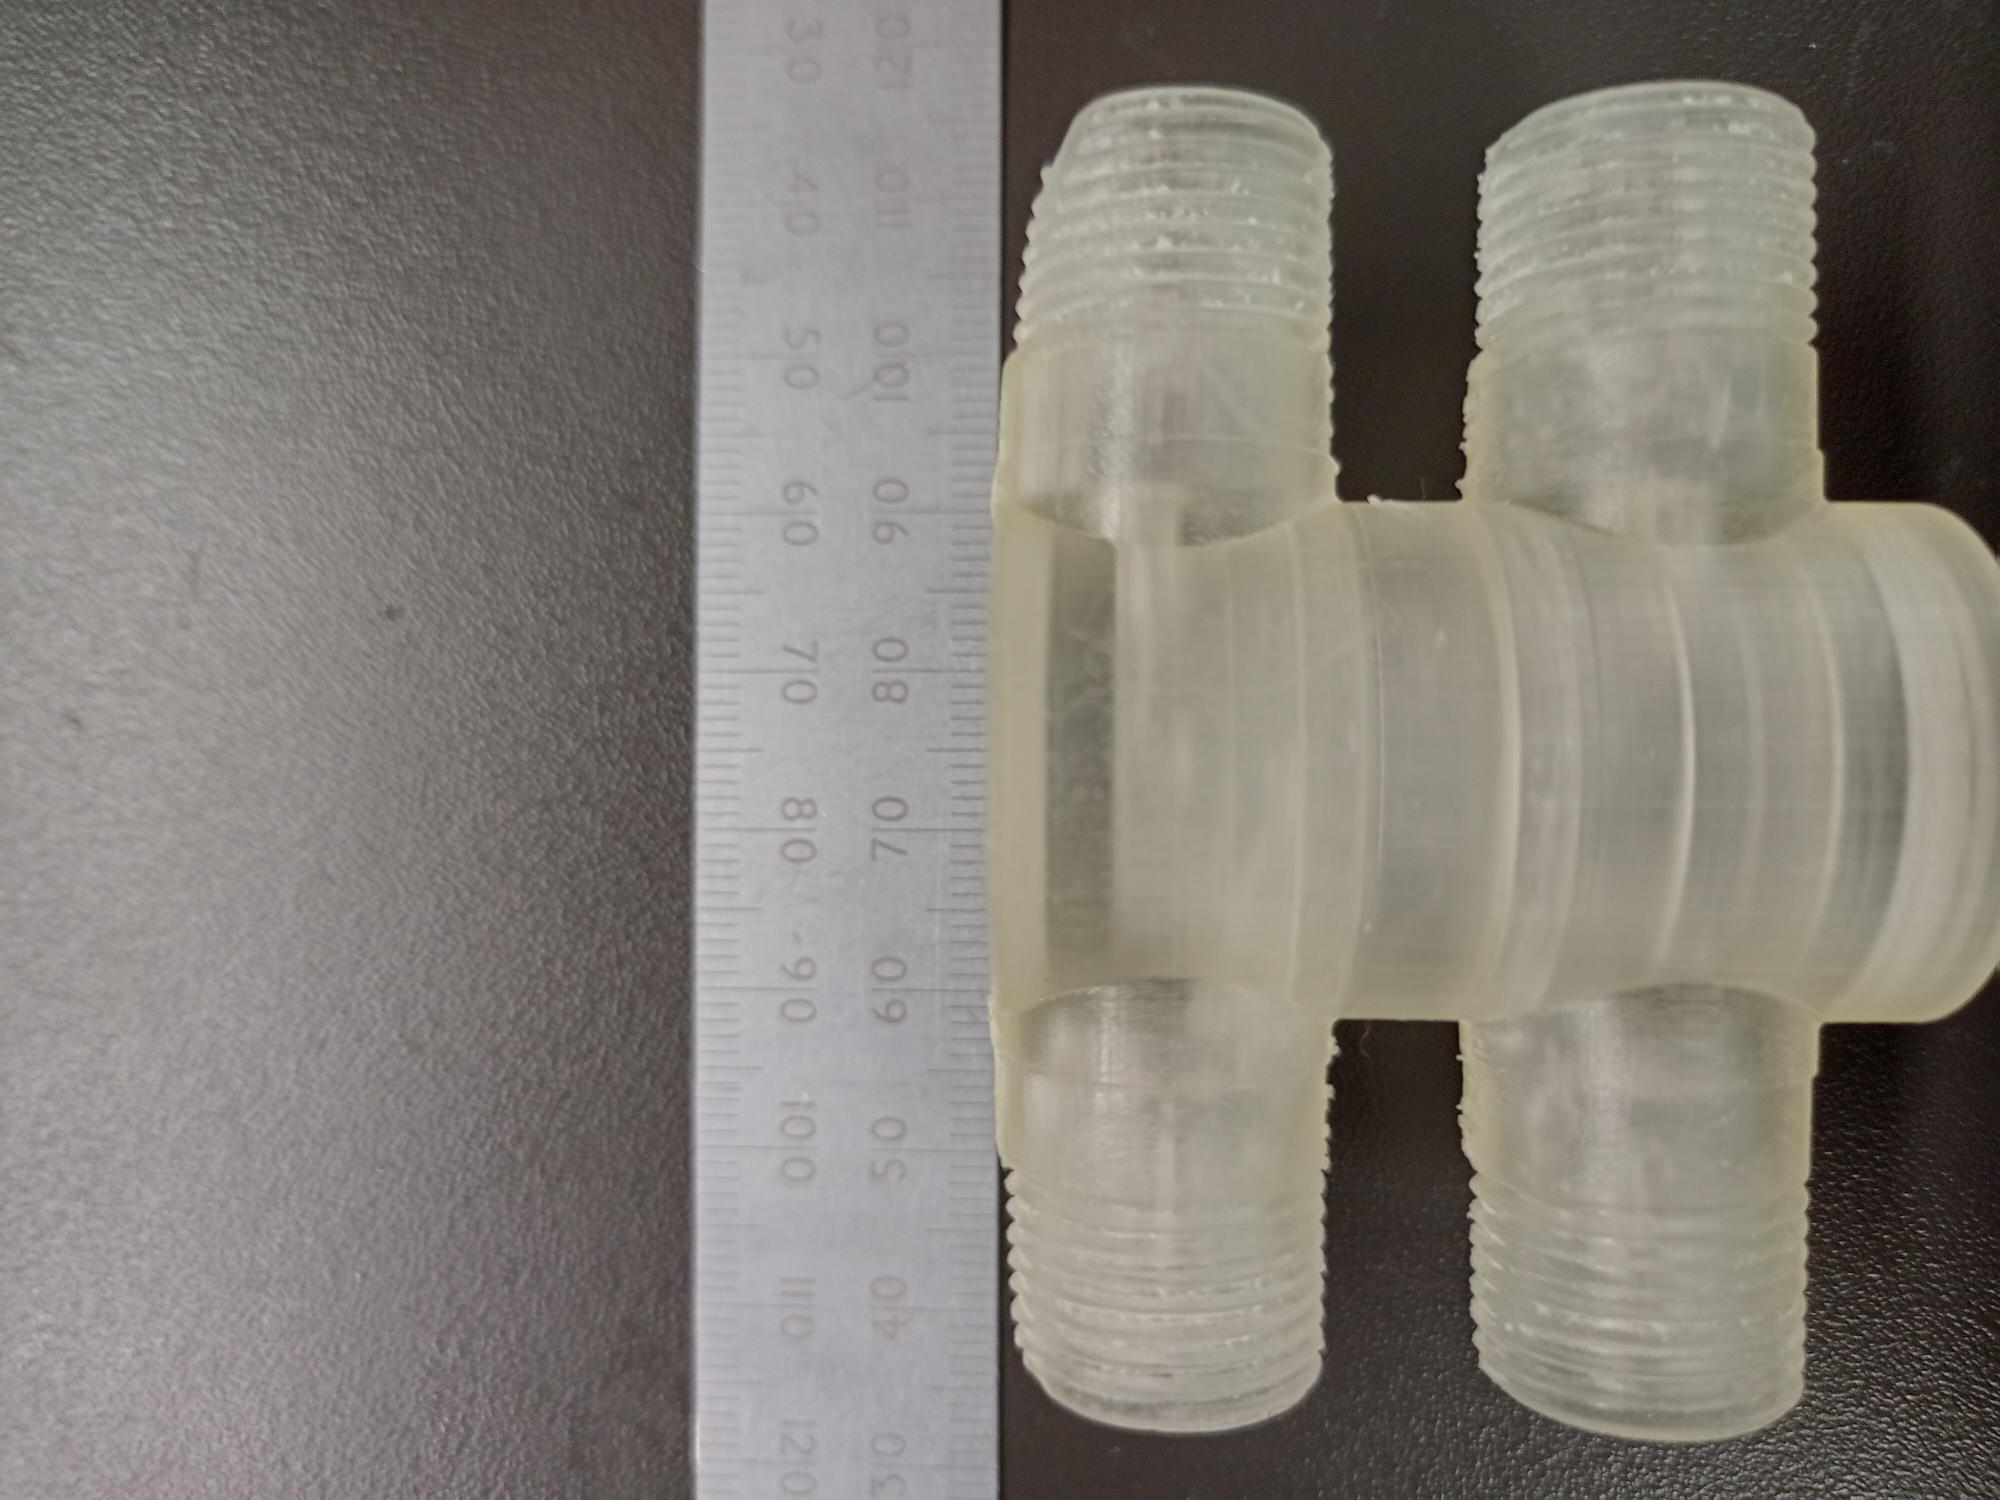
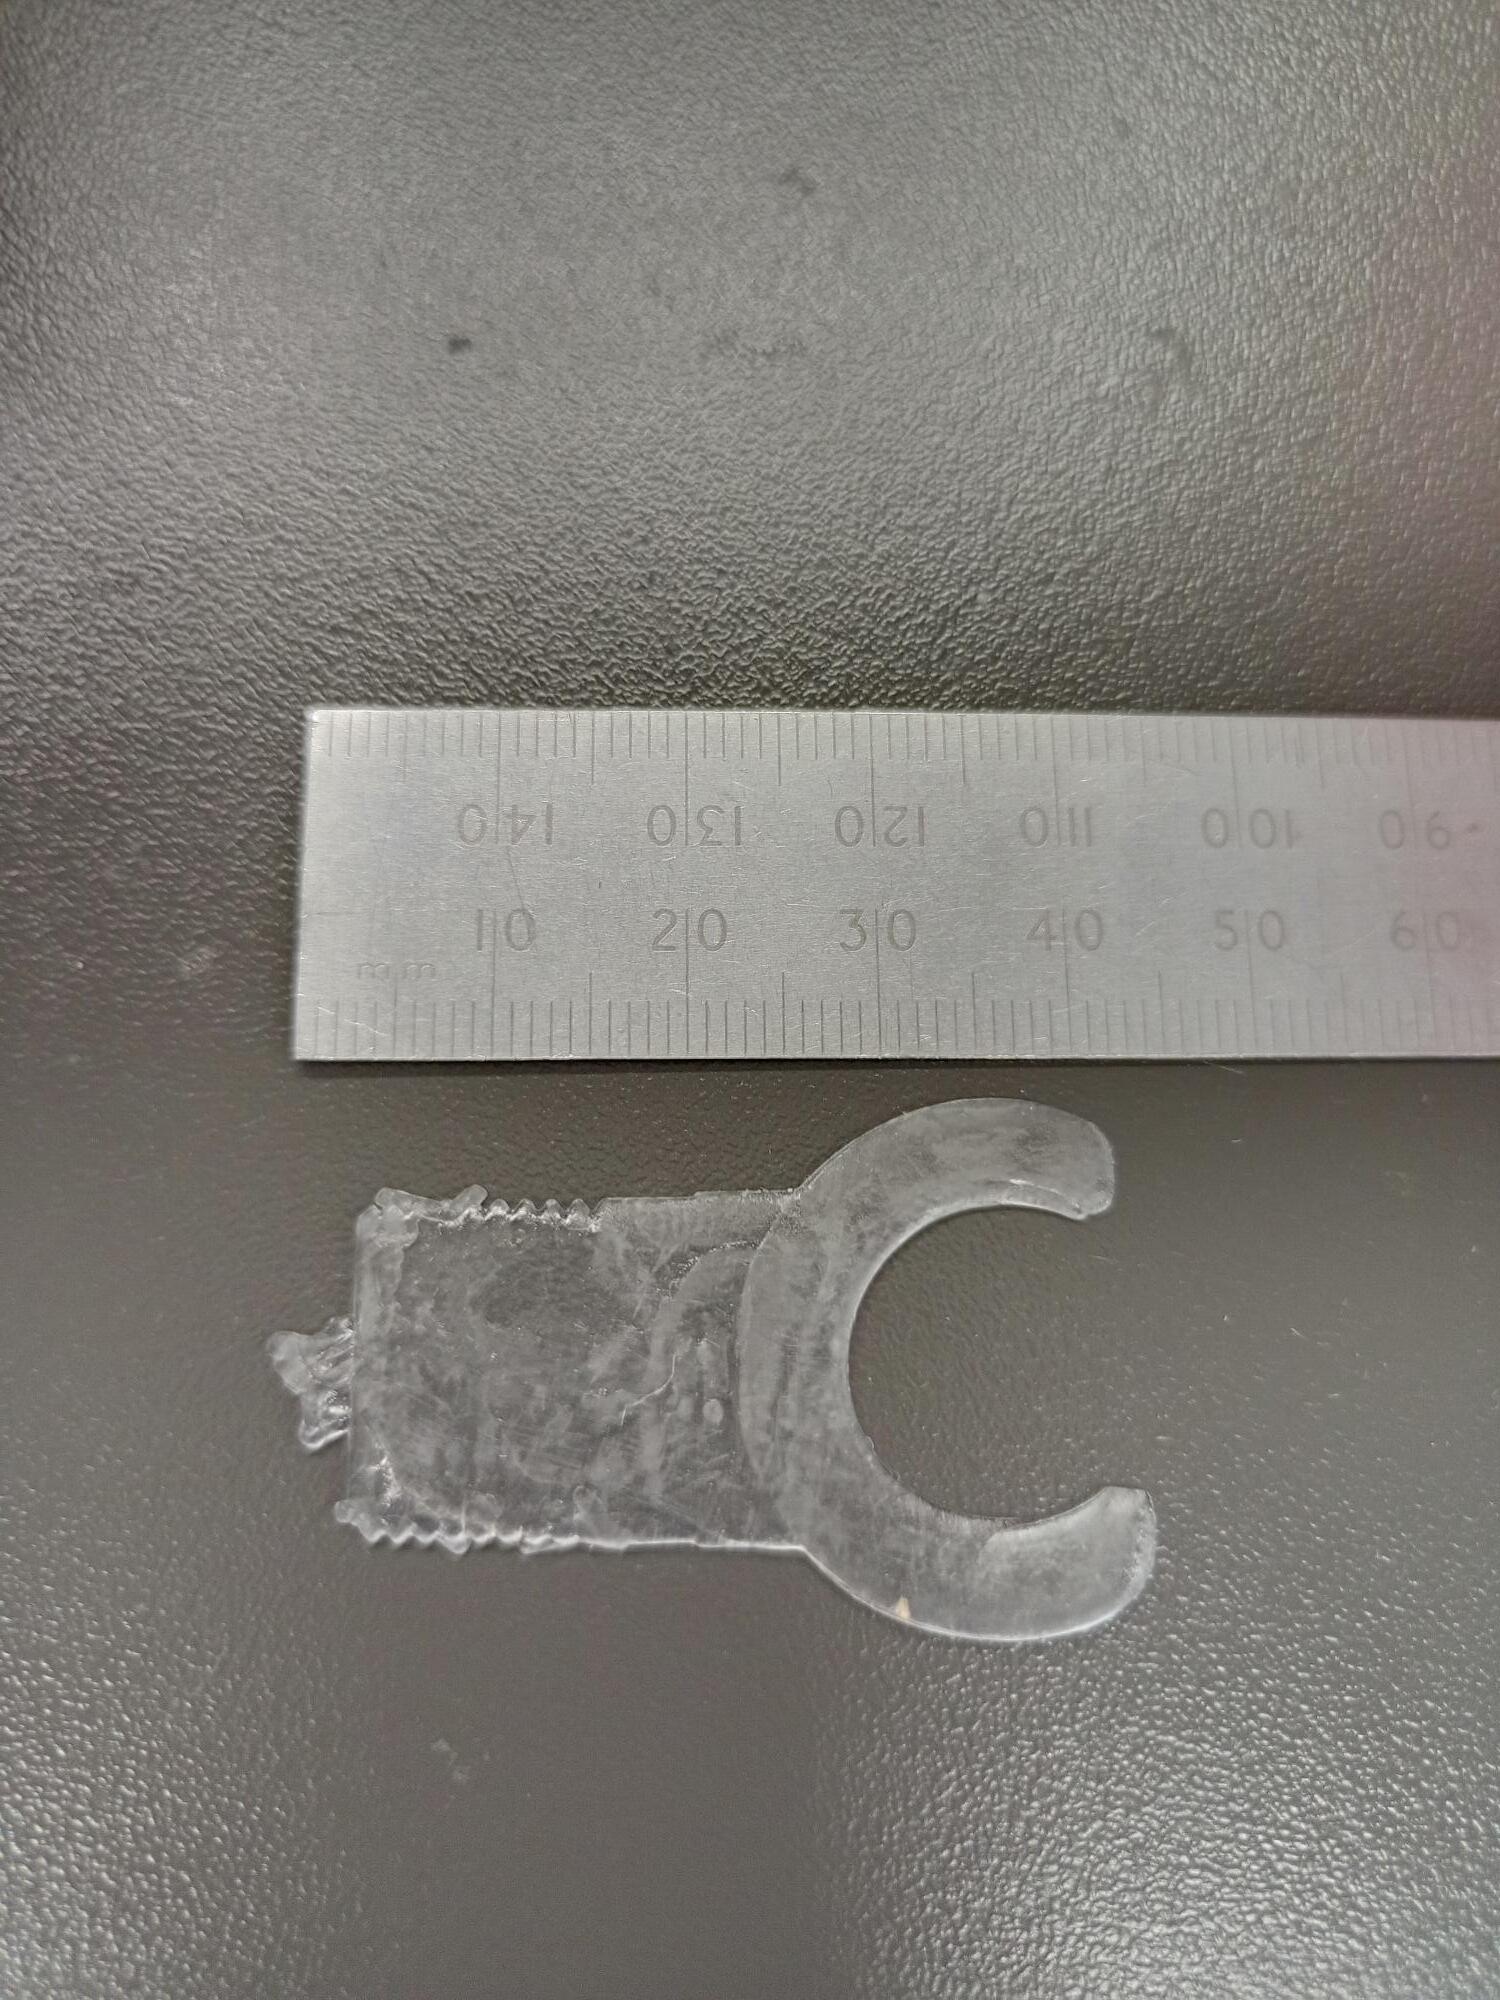
2 Problems, a large part of the print is missing, the second is on both parts there is a section missing. It looks warped but it’s not, there is no material there.
Thanks.
Hi @Andrew_W,
It is hard to tell the cause of the explosion (or large missing section) without also taking a look at the .form file orientation. If you could please open a support ticket, our Support team can troubleshoot further!
Also, as a general rule, objects aligned “orthogonally” with respect to the build plate will print less-well. Looking at this object, I’d have rotated it at least 45º so those threaded fittings were pointed more up/down than exactly horizontally.
In my experience, success printing with a particular orientation and a specific resin don’t always translate to another resin. So “it printed OK with Grey Pro but it doesn’t with Clear” doesn’t necessarily suggest an issue with the resin.
I suggest you rotate the part (or just let PreForm choose the orientation) and try another print.
But… because the print you tried failed, you have to filter the resin that’s still in the resin tank and you also need to scavenge the bottom of the resin tank to make sure the missing portion of your print isn’t stuck to the bottom of the tray. If you don’t do this, and there’s remnant cured resin in the tank, your next print may fail because of that…
3 Likes
I thought there wold be something in the tank also. But it’s clear resin and I could see there was nothing in the take at the end of the print.
I set the orientation this way to get the best result for roundness of the main body for the o-ring surfaces. I’ll give it another go with a slight inclination.
I’ve already opened a ticket using the failed print QR code that came up on the printer. Is this a sufficient ticketing method?
You’re not necessarily going to see anything. It’s clear resin when it’s liquid and it’s clear resin when it’s cured… you need to take the scraper thing that came with the printer and "probe/sweep
" the bottom of the resin tank to make sure there’s nothing stuck to it…
The orientation you’re using will be likely to result in the least-round prints. The printer produces better dimensional accuracy when objects are randomly aligned to the surface of the build plate. If you started 3D printing with FDM, you might be inclined to use habits developed for that type of printer, but that’s sub-optimal. SLA has different rules from FDM. I’d cant the object at a fairly steep angle, 30º or greater, with tilt on both X and Y so the fewest surfaces of the model will be orthogonal with respect to the build plate surface.
On closer inspection of the tank I did find the failed piece. Thanks for pointing the above out.
1 Like
There may be flakes or blobs still in the resin. Ideally, it should be “strained”. When I started SLA printing, I stole a coarse flour sifter thing from my wife, a basket shaped stainless steel mesh maybe 6" in diameter, and I pour resin from the tank through that after a failed print. Failures don’t happen a lot, I’m glad to say, but straining the resin after each I’ve had has always yielded some surprise partially cured goop.