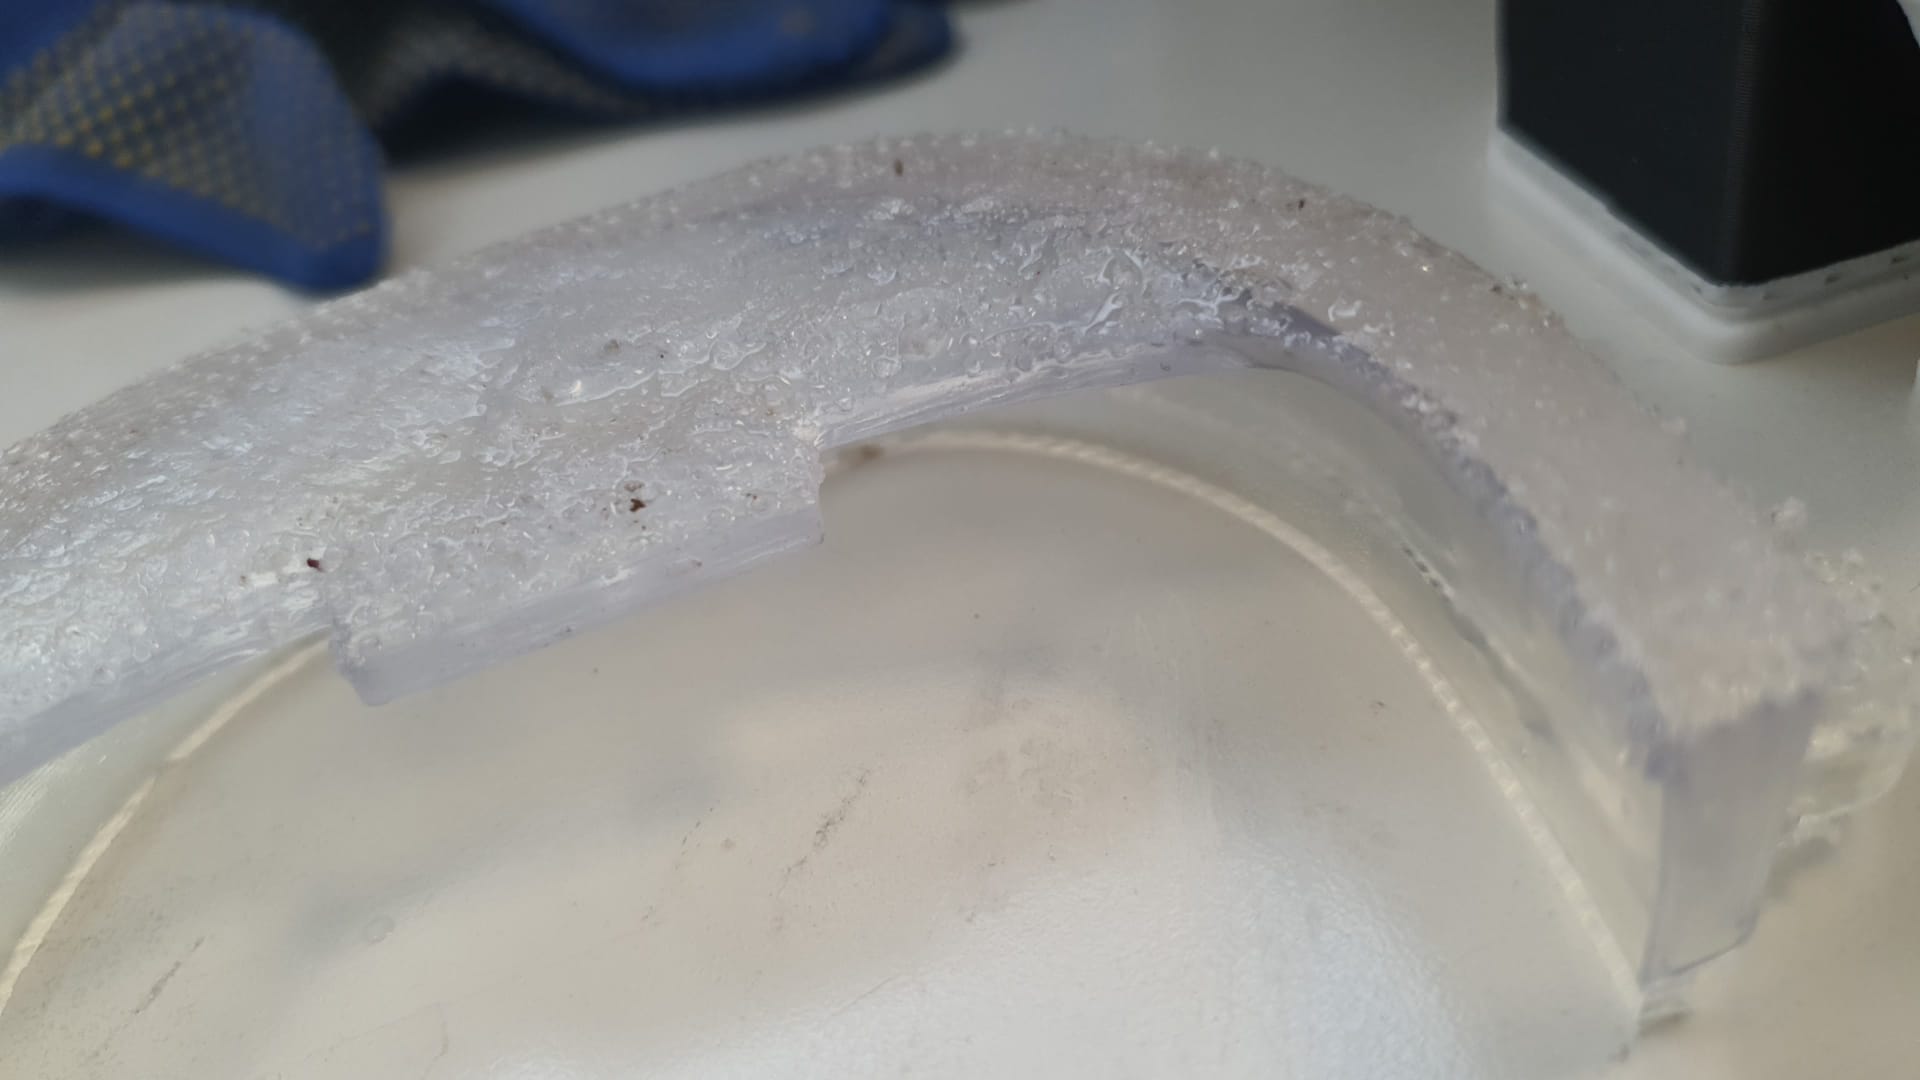
Did anyone find that supports are so dense (with standard density) that they form a compact mass glued to the part surface? In fact there is no more surface but just a melted sticky surface after removing what we can of the supports. This happen the same trying before or after curing the part.
Angling your part with the prongs upwards a little bit (10 degrees counterclockwise in the perspective of your Preform screenshot, perhaps) may help get your supports a little further apart on the part surface for less of that compact gluey mass symptom. Another option would be to try printing the part flat on the build platform with no raft, and just generate supports for the overhanging features, which might be a little more manageable by themselves.
I also see this on Flexible 80A and Elastic 50A. Tilting up like @Ike suggests will help, but then you’re also battling with deflection on soft materials. There’s a maximum for how tall/tilted your part should be for 50A and print failures and/or cosmetic issues can increase in probability when your part is taller.
I agree and think you should just print this flat on the build plate.
My print settings for Elastic and Flex are typically 0.8 density and 0.4mm touchpoint sizes.
Preform doesn’t seem to have a “minimum spacing between points” in the algorithm which kind of sucks because this can be problematic on Flex/Elastics (or if it does, it should be increased on some resins). I find that I often go in manually and make sure there aren’t touchpoints generated really close together.
I’ve had this same issue for Elastic50A and Flexible80A resins.
Have you considered manually placing the supports yourself? That’s what I tend to do and it helps massively. A few suggestions based on my experience with the 2 resins (I know I’ll be repeating what people have said above, but I might add something new too):
Angle your parts to reduce the magnitude of peel force your part is subjected through during the print, and avoid deformed/warped structures (for elastic50 and flexible 80A, I was told by formlabs to angle parts between 15 - 25 degrees. However, depending on the structure, such as the one you’ve posted above, I wouldn’t go higher than 15 degrees as it probably won’t yield a huge difference in quality, but definitely angle it between 5 - 15 degrees, as this should help.
when manually adding supports, use different point sizes (i.e. on large sections where it’s easy to remove the support, use up to 0.55 mm (depending on the size of the part you’re printing, you could go a bit higher), and for delicate regions or if you just want additional peace of mind, add in supports with point size 0.3 - 0.4, as this will be much easier to remove and decreases the likihood of ending up with a part that has a completely ruined surface finish.
For example: scatter some supports with point size 0.55 mm all around your part in locations where it can be easily removed (so they aren’t close together, and where the surface is flat so they can be easily removed with flush cutters), then decrease point size and add more supports to finer details, such as close to edges etc.