I am a jewelry manufacturer and personally have over 10 years of mass production casting experience. We just cast our first batch of models from our new Form 1+. Each of the models were exposed to a 32 watt UV lamp for a minimum of 8 hours. We have had problems casting resin in the past so I wanted to make sure these models were as cured as possible. Some of the models were cured for half the time in water as I had read that this may help curing.
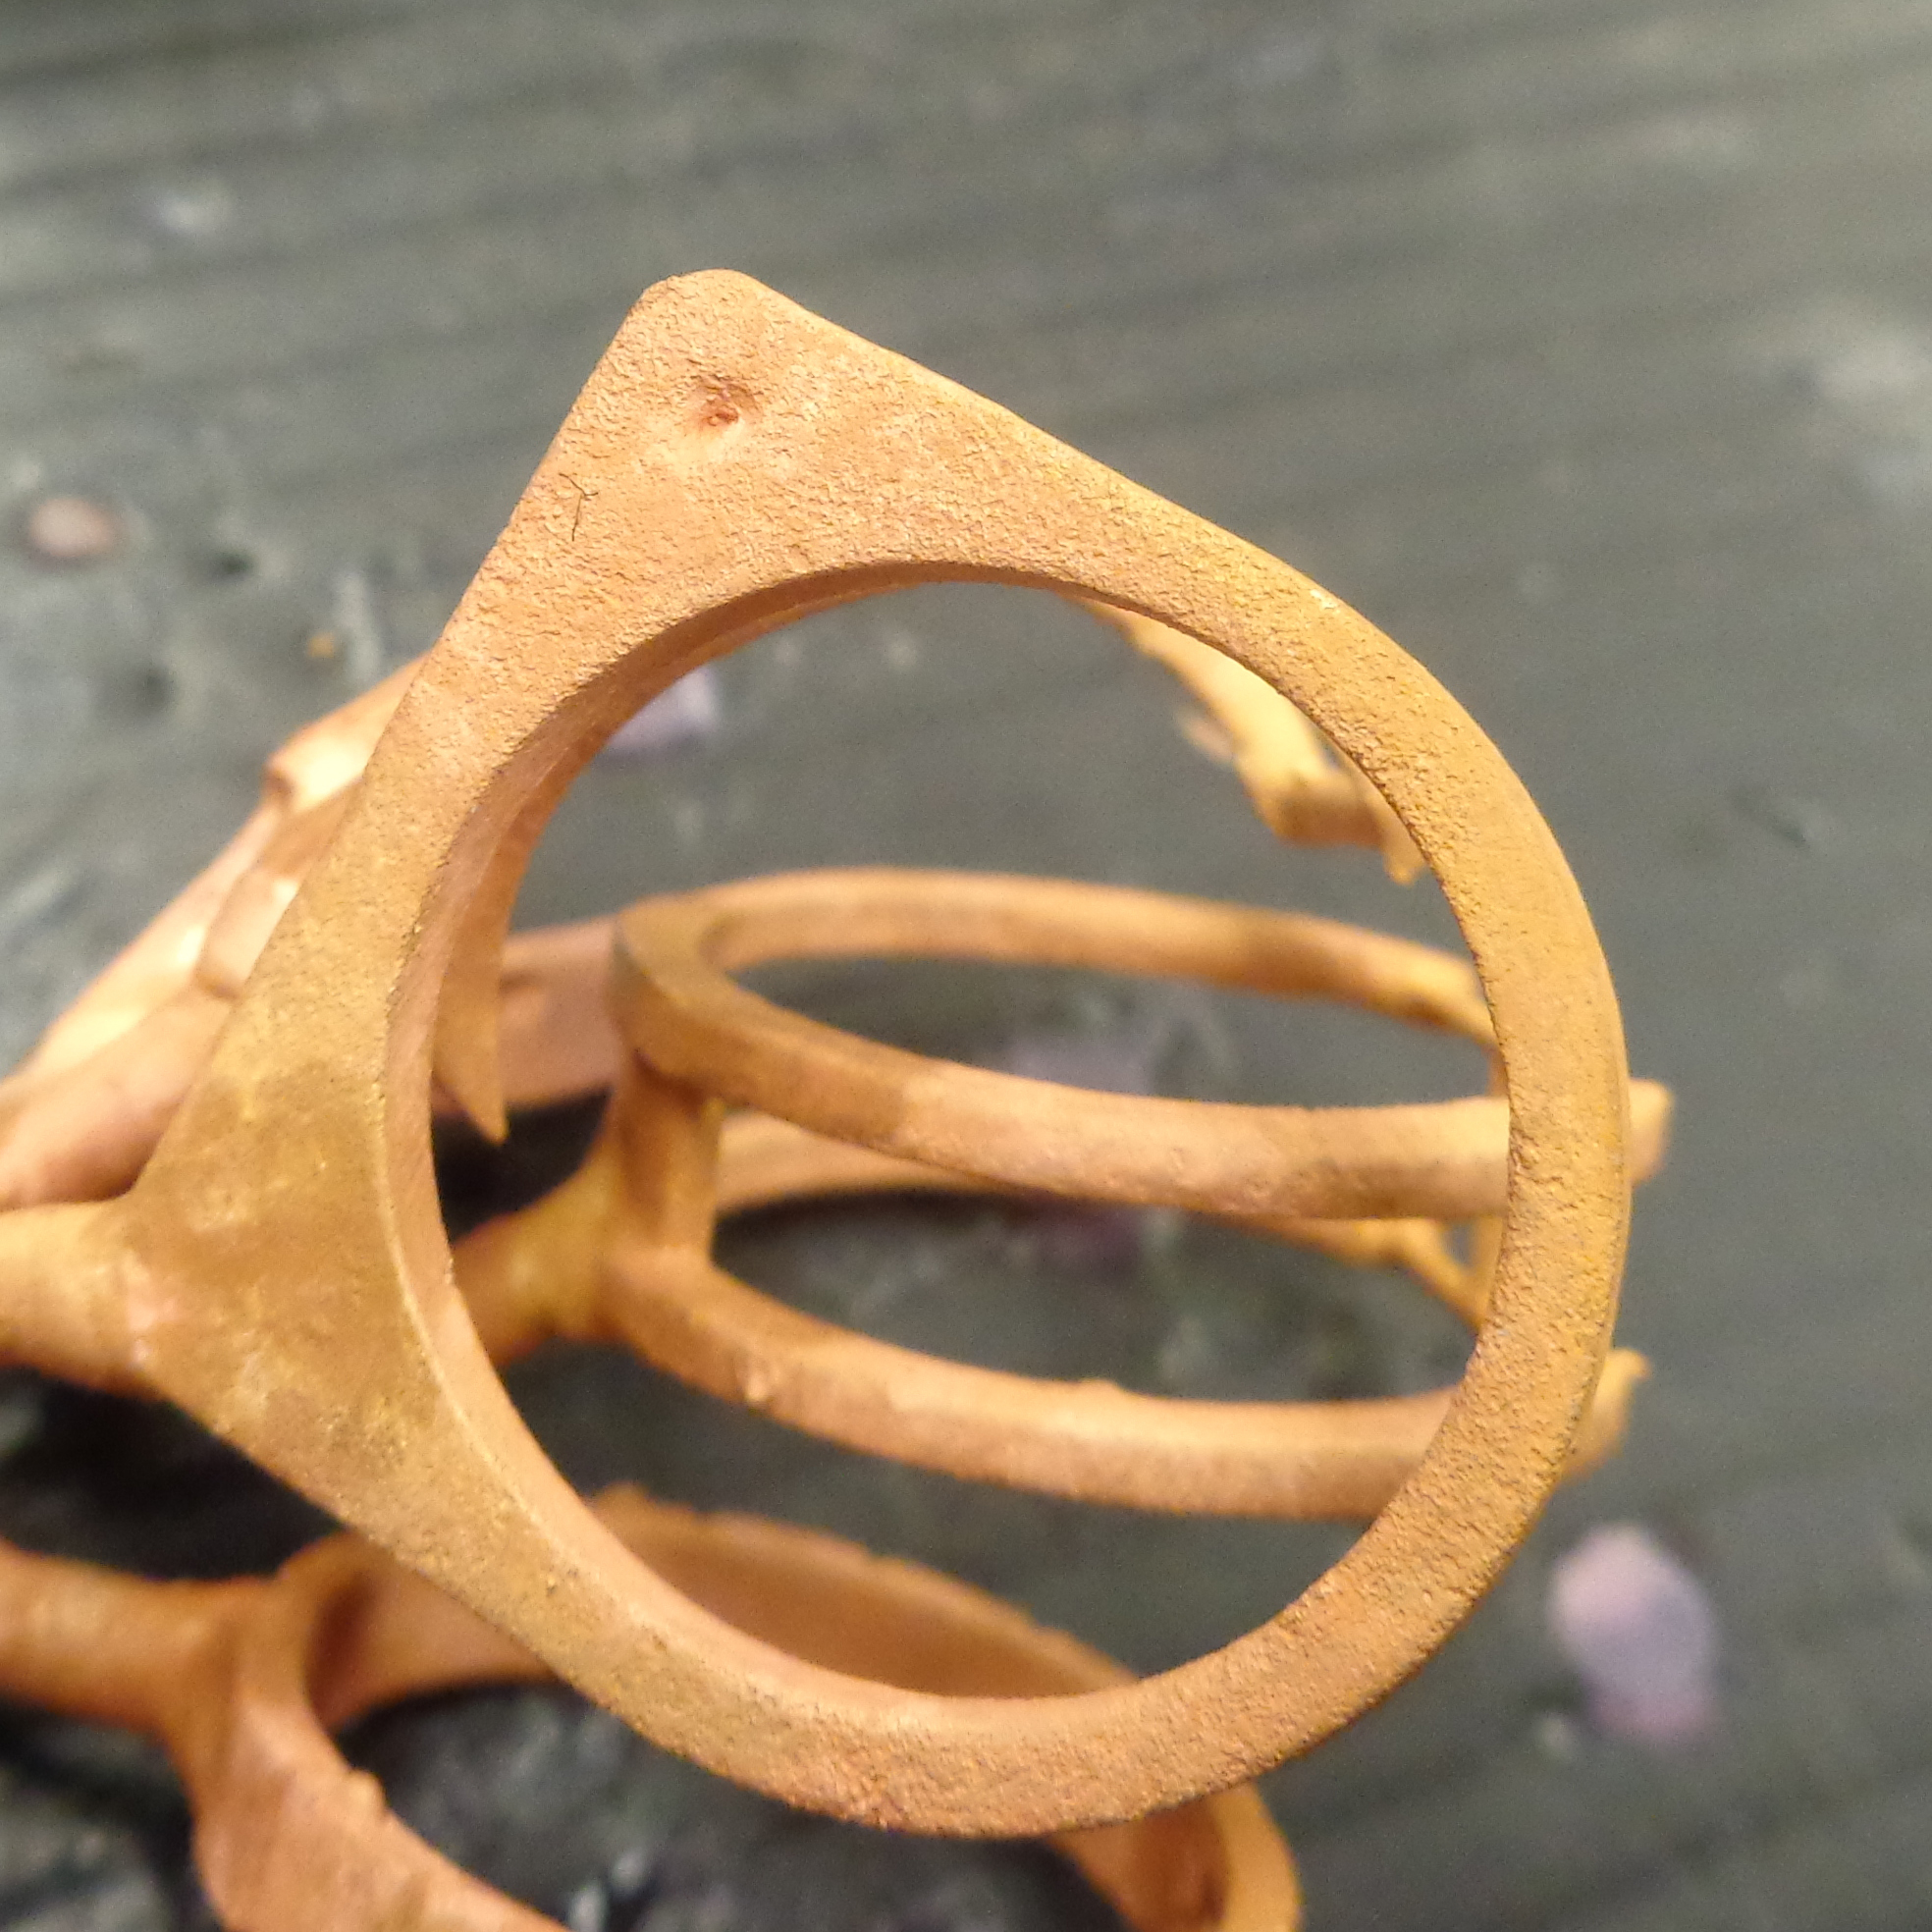
We cast the models using Plasticast with the recommended burnout schedule. We cast them in multiple metals. All of the models showed a similar amount of surface porosity/ roughness that seems to be characteristic of the resin interacting with and breaking down the investment. The surface issues were not as bad as I have seen with other resins but still present. I’ve attached images of the 18k rose, 18k white, and 18k green gold. It is much harder to see on the silver.
It seems as though the models were not completely cured. They were not tacky at all but still slightly bendable. The thinner areas on some of them even discolored as if they were sun bleached.
What can I do to make sure the models are completely cured?
How can I tell when they are completely cured?
I had read on another post that possibly extending the burnout time at 290 degrees will help. Has anyone tried this?
It does sand off but not only does this waste gold, it would be unrealistic with a very detailed model.
What has worked out well for me is to spray laquer after curing the model.
You will not get that “surface porosity/ roughness that seems to be characteristic of the resin interacting with and breaking down the investment.”
I have mentioned it here on the forum but I don’t know if anyone has tried it.
Evert_Gonzalez - Thanks for the reply. I will try that as a last resort but I’m not sure how efficient of a solution that is. It would likely fill in small details that we would want to keep.
Jory - I’ve read that thread. I believe that is where someone suggested modifying the burnout cycle. I’m hoping for feedback from others who have tried it.
Today I did a curing test. I took half of my models from the same print and put them outside in the sun for 5 hours (though it is only about 50 degrees here) and put the other half under the UV for the same amount of time. At the end, both were still slightly tacky and the ones that had been under the uv were turning green. I put some under the uv and intend to let them sit overnight just to see what happens. Then I will likely cast them all with the suggested modification to the burn out cycle and see what happens.
If your spraying distance is less than 12 inches you will have areas that get too much laquer in high detailed areas.
12-18 inch distance will lay a nice mist on the model and you will not loose the high detail on your model.
On the picture the prongs are .3mm and if you can see the beads thay are much smaller. The setting is for 1mm stones.
It looks like you do some pretty detailed models. I have been very impressed with the level of detail this printer can do, However, I have another question for you. I have a ring that has small details (small prongs, millgrain, etc) on all sides. I’ve noticed that the side facing the build platform looks washed out/ less crisp. Is this something you have noticed as well?
Malissa
Yes I have noticed distortion similar to what you are talking about.
I think what happens is that there is always a little over exposure on the layer as the next layer is cured,
Does that make sence?
Can you put up some picture of the ring or a sample, maybe some one has done something similar that
has been successful with such model
Here one of my recent models. It is a planar surface. On one side of the model it is nice and flat but the side facing the build plate it is wavy. I’ve noticed that prints are not as crisp on the plate side. I’ll try to take pics of one of the more detailed models that shows this too.
For your casting porosity problem , Maintaining above cure time and perfect casting cycle i dont get any porosity without any lacquering. Investment powder is way important that you use plasticast or srs cad cast Or any similar ones. Most important is that let investment rest for 4 hours ( which i do for each and every-time now) . Also must check for burnout furnace temperature variation and also rate of increase variation (especially old furnaces as thermo tends to degrade overtime and shows wrong temp ). you could see my work on this link Castable resin casting problems. does anyone getting this?
all are mixed up but many pieces i do is cast able resin especially bigger ones even like bangles and bracelet.
1st rough ones were that rough from my jewel cad file as those files tends to become like that when repaired but believe me i get as good surface as print nowadays. would post some pics from first whenever i would get bit time to do so.
I did a test with items that cured in the sun for 5 hours, UV lamp for 5 hours, and UV for 15 hours. Some of each group were also sprayed with workable fixatif (acrylic spray). I used plasticast and the recommended burnout cycle. All of the castings were better than the last test. As expected, the longer cure time improved the finish but there were still areas of porosity. The items that were sprayed did not seem to be significantly better than items that were not sprayed. The main difference between the two castings was that I did significantly less sanding on this batch. I did not sand off the support marks and the only areas I sanded were areas that I first coverd in wax to fill in/ smooth out some of the surface inconsistency. Naturally the areas covered in wax did not have any casting issues. Saturday I will be casting with the extended burnout and long curing time. I will report my results.
p.s. We cast nearly 2000 pieces a month in gold and silver. Our thermocouple has recently been changed and all other equipment is well maintained. We vacuum cast an use an electromelt so casting conditions and metal temperatures remain consistent between castings. Since we have seen no change in our other castings and have not had these problems with standard wax castings that are cast in the same batch with the same investment and burnout, I believe it is safe to assume the issue is with the resin and not the equipment, investment, or investing process.
Update: Saturdays casting went surprisingly bad. There were significantly more surface issues than the last casting and even more than the first casting. The models were cured in UV for approximately 20 hours but still felt slightly tacky. Nothing else was done to them. They were invested in plasticast as usual and were allowed to sit for nearly 3 hours. I extended the burnout out cycle to hold at 290 degrees for 4 hours. This was the only change. All of the castings are unusable. I am flummoxed. I have tried all suggestions and there doesn’t seem to be any consistency. Is it possible to over-cure? While some of the parts can be used, the success rate not good enough for frequent gold casting and the amount of clean up necessary on the salvageable pieces makes it impractical. I would be hard pressed to call this “castable”. When following the manufacturer suggestions, the product is not consistent. To be honest I have had more consistent results burning out random plastic toys.
Don’t get me wrong, I love the machine and I think that for the money you can’t get better detail. However, I am under pressure to work out these casting problems.
The samples I received from envisiontec cast beautifully. Has anyone tried other castable resins with this printer? Do you think it would be possible to use EC500 from envisiontec (if they will sell it without having bought their machine).
I think my next try will be to use the envisiontec burnout. It is slightly different and I’m running out of ideas.
Additional note: The wax models we cast at the same time did not have any issues. So I am sure it is not the equipment, investment, or metal temperature.
Hi Malissa,
Have you read my advice ?
Describe actions step by step.
Somewhere there is an error.
I have a lot of the cast from resin.
Maybe I can help.
I’m sorry, English is not my first language.
Marek
Thank you for your reply. I had indeed missed your previous reply. Our next casting will be trying the even longer curing time and I have made raised platforms to raise the flasks nearly 2" off the bottom of the furnace.
I apologize for allowing my frustration to show. I am under significant pressure to make this work and have not been given much time to figure it out. But as I have learned in my 10 years in the jewelry industry, unrealistic expectations are the norm. I will likely not cast resin again until next week because of the Thanksgiving holiday. I will keep my fingers crossed and hope that this is the solution.
Malissa,
See also number 4 tips. I do not know what process you use? and how to bake.
I do not use plasticast and castings are correct. I think it does not matter.
See also the advice number 2. It must be a color change to black, thick prints require deep treatment.
Print must be thoroughly cured !!!. - Not only superficially !!!.
Remember, ideals are only in your head :(.
Regards.
Malissa,
Also I have a hot head, but each technology requires attention and humility.
Resins “Formabs” are great, but you need to use them properly.
I am with tips in the forum, I have no objection as per the resolution of the printer.
Marek.
Hello Malisa
I am a jeweler for 30 years, and I have enough experience with investment casting.
But he had never had much trouble as now with this resin.
I also have serious problems of porosity, roughness and unusable models.
I have spent a bottle without getting a single optimal piece.
Yesterday a friend gave me two pieces with printed with a DWS resind and i could cast the models without any problem, but my pieces were ussules.
I think the problem is the castable resin.
Please any help will be invaluable
Alfonso
Spain
I have a batch of items that have been cured 28-40 hours. I will be casting them tomorrow. I will keep posting my results until I get a system that works consistently. I read an interesting technical paper on resin casting and it at least explained why the porosity is happening. At least according to that paper, water to powder ratios and airflow during burnout are significant factors. http://www.ijesit.com/Volume%203/Issue%202/IJESIT201402_64.pdf
So, for this casting I am investing it myself (as opposed to my assistants) to make sure that I can control the water to powder ratio of the investment and doing all I can to increase air flow in the burnout.
I haven’t forgotten to reply. I just haven’t gotten consistent results yet. I had to beautiful silver castings and one mediocre gold casting. Though, I did not invest the gold casting myself and the investment may have been compromised. I will report more when I get a consistently good gold casting.
Even though, my gold casting was mediocre, I am able to use these castings with a tolerable but not optimal amount of filing/ sanding.
p.s. as soon as I posted this message it was immediately flagged as spam. I can’t imagine what is in it that counts as spam so I’'m not sure how to edit it. Clearly I have used some combination of words that made the
system angry.