I had a very clumsy spill and needed to remove the tank carrier to clean it. Could someone check the play between the carrier and the base and give me an idea of where to start form.
So far here is what I have come up with.
Procedure for adjusting Tank carrier after removal to clean spill
1 Unplug printer from power.
2 Remove resin tank from carrier.
3 Turn adjustment screws down until they stop then back off 1 full turn.
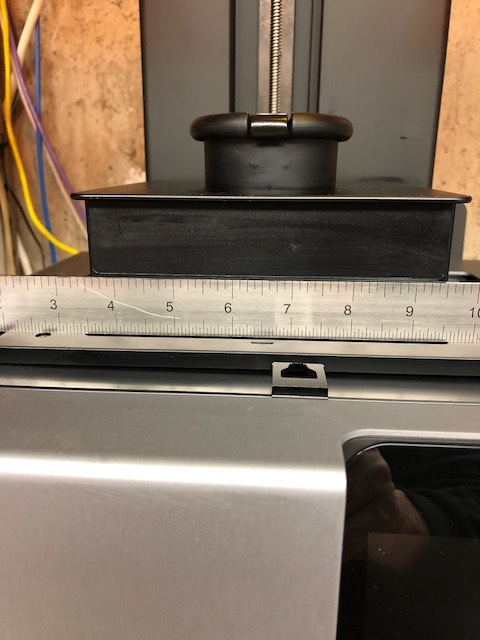
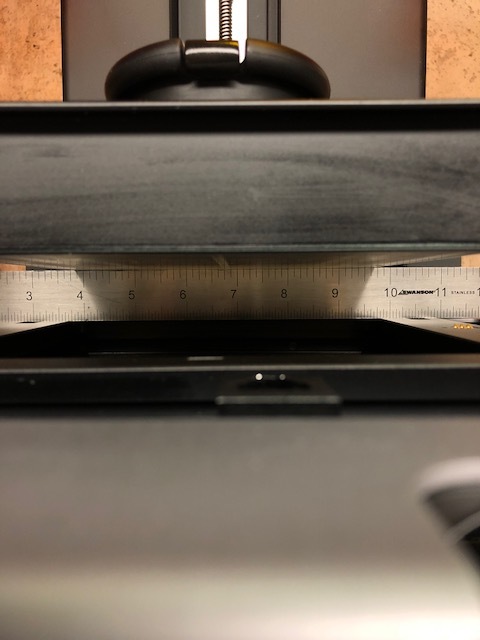
3 Manually lower build platform so that a straight edge (ruler) will fit between it and the tank carrier.
4 Now adjust the tank carrier so that the build platform and the tank carrier are parallel on all 4 sides.
5 Reinstall resin tank and confirm that it is also parallel with build platform.
I found it distressing that with the screws adjusted all the way down the build platform was not close to parallel with the tank carrier.
The right side of the tank carrier as you face the printer had to be adjusted up quite a bit.