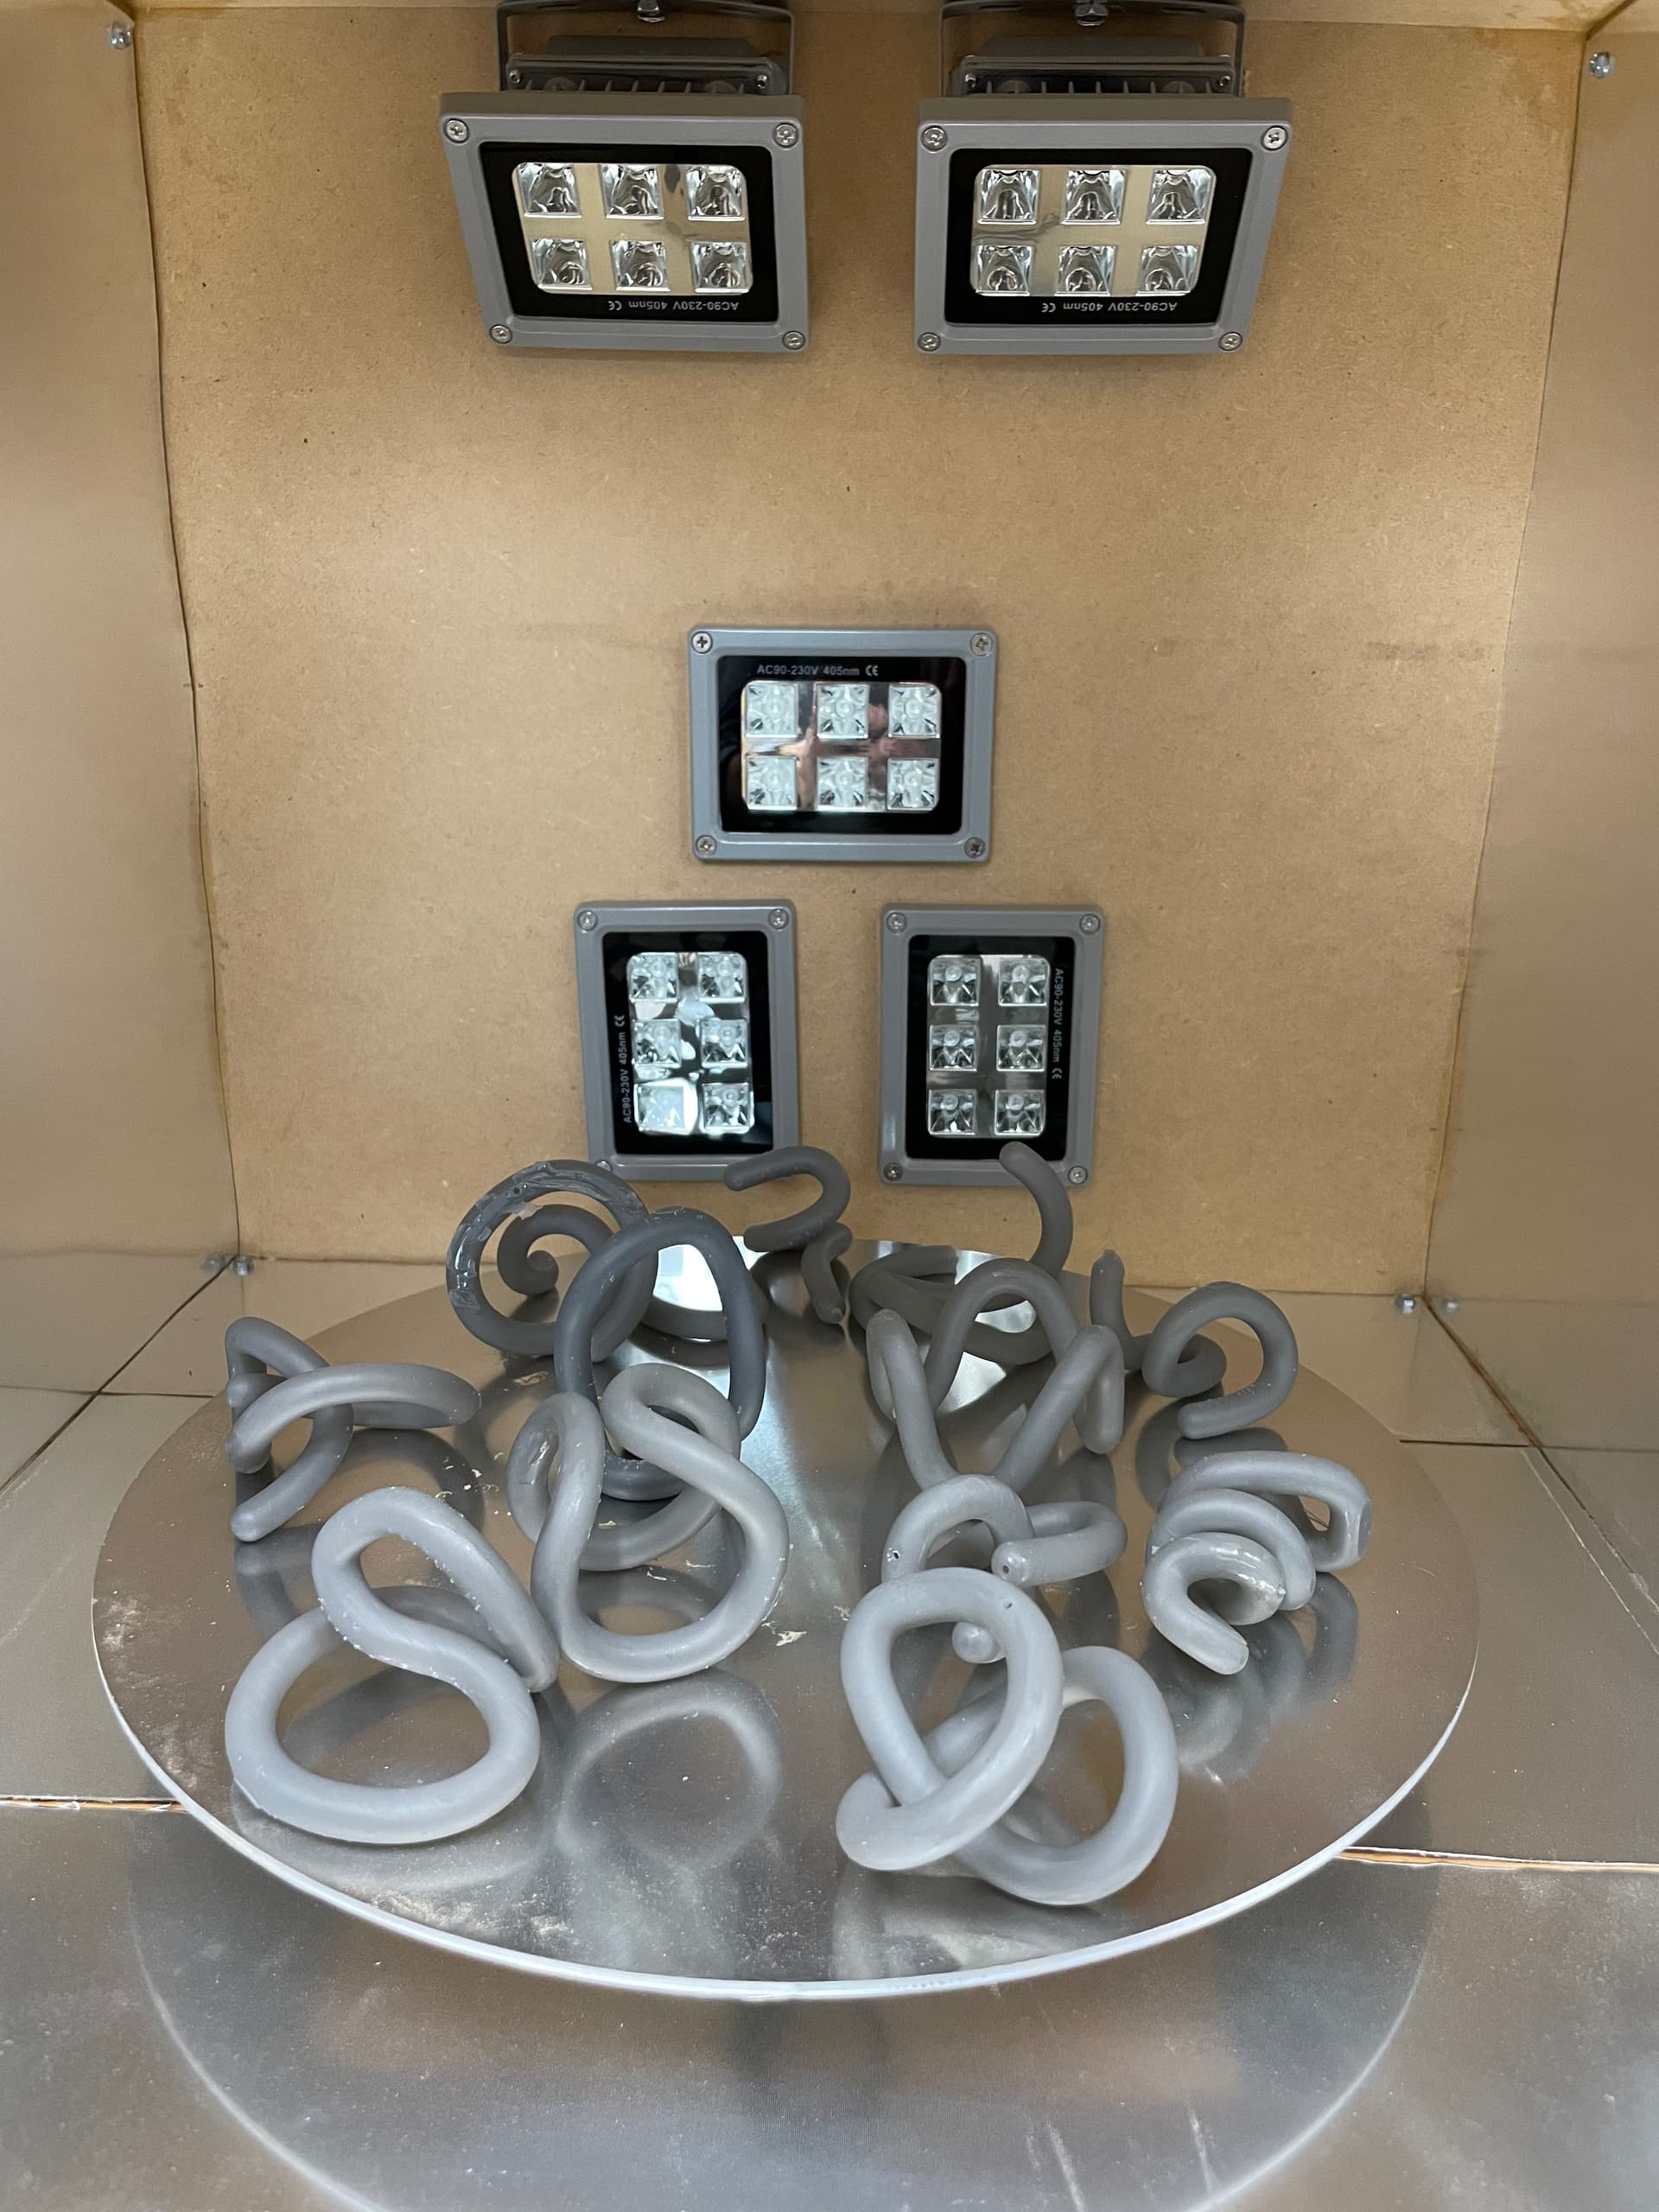
I built a curing box but have not had any luck curing the resin. The resin is Grey Pro and light puts off 405nm UV. I have left the pieces rotating on the turntable for 6 hours but there is still some sticky residue. I just ordered a heat lamp to raise the temperature. Any thoughts would be appreciated.

Hi @Tommy1,
Thanks for reaching out about this! I can offer a few suggestions:
- Our recommended Cure settings for Grey Pro are 15 minutes at 80 °C. Installing a heating method in your curing setup should decrease the cure time needed for your setup.
- Ensure that you follow our recommended Wash times and that the parts are completely dry before post-curing (30+ minutes of air drying).
If you find that issues persist, please feel free to get in touch with our Support team who will help you narrow this down further.
Hi Jesse,
Thanks for the information. If I am still having issues after installing the heating element I will reach out to the support team.
1 Like
Hi @Tommy1,
It also looks like there may be liquid resin / IPA leaking from the drainage holes of the parts leading to sticky areas; this may not be the only factor here, but wanted to point that out based on what I can see in the images you attached. Using a syringe filled with IPA can help flush channels like these.
Corey,
That’s a great suggestion to help flush out the channels, and I will definitely give that a try. I did notice that the IPA was having trouble getting into the interior cavity, but had thought of a way to get the IPA in there.
Sticky residue after curing (in my experience anyway) means you didn’t clean the part well enough and you left it with a thin, uncured resin coating.
The Resin won’t cure if it’s in contact with Oxygen. So you can “sanity check” this by immersing the part in a clear jar filled with water. That removes the O2 factor and if there is a thin layer of uncured resin still on the surface, it’ll cure now.
If you try that and your parts are still sticky, assuming you know for certain that the glass vessel you used for the water bath is not “UV blocking” glass, your LEDs are not the right frequency or intensity or both.
Randy,
Thanks for your input. I’m definitely going to clean my parts more thoroughly in the future, but interesting to know about the oxygen. The bowl of water seems like a pretty simple solution and am going to give it a try.
The CLIP “high speed” SLA printing method that doesn’t need to peel, achieves that feat with a tank bottom film that is permeable to O2. So the laser isn’t able to cure the resin in contact with the film, and so nothing sticks and no peel is required.
But I learned about this with Flexible resin on my Form1+. To post cure that resin, it had to be submerged in water or it’d stay sticky no matter how well you cleaned it.
Thanks for the link. That’s very interesting and it makes sense. Good to know the reasoning behind submerging the parts.
Randy, thank you for sharing the link along with your experience with this! As Corey mentioned, flushing out the channels using IPA with a syringe may also ensure your parts are fully clean from liquid resin prior to post-curing.
1 Like
Jesse,
After my last print, I used the syringe in the drainage holes, which made a big difference. I left the parts in the IPA for less time and didn’t have any drainage afterward. I also included a heater, (that would only go up to 45 C) but dramatically shortened the curing time.
Excellent - I’m glad to hear that you have gotten better results after flushing the drain holes and including a heater in your setup! Thanks for keeping us posted, and feel free to share if anything else comes up.
This topic was automatically closed 182 days after the last reply. New replies are no longer allowed.