I’ve been messing around with making some small milling media seives using Rigid 10k. It’s definitely not the “right” way to do what I’m doing, but it’s been good enough for what I’m working on for the time being. I printed a couple last night and this morning, and figured people might want to see an example of the anisotropy in printing resolution.
Print #1 - Last Night
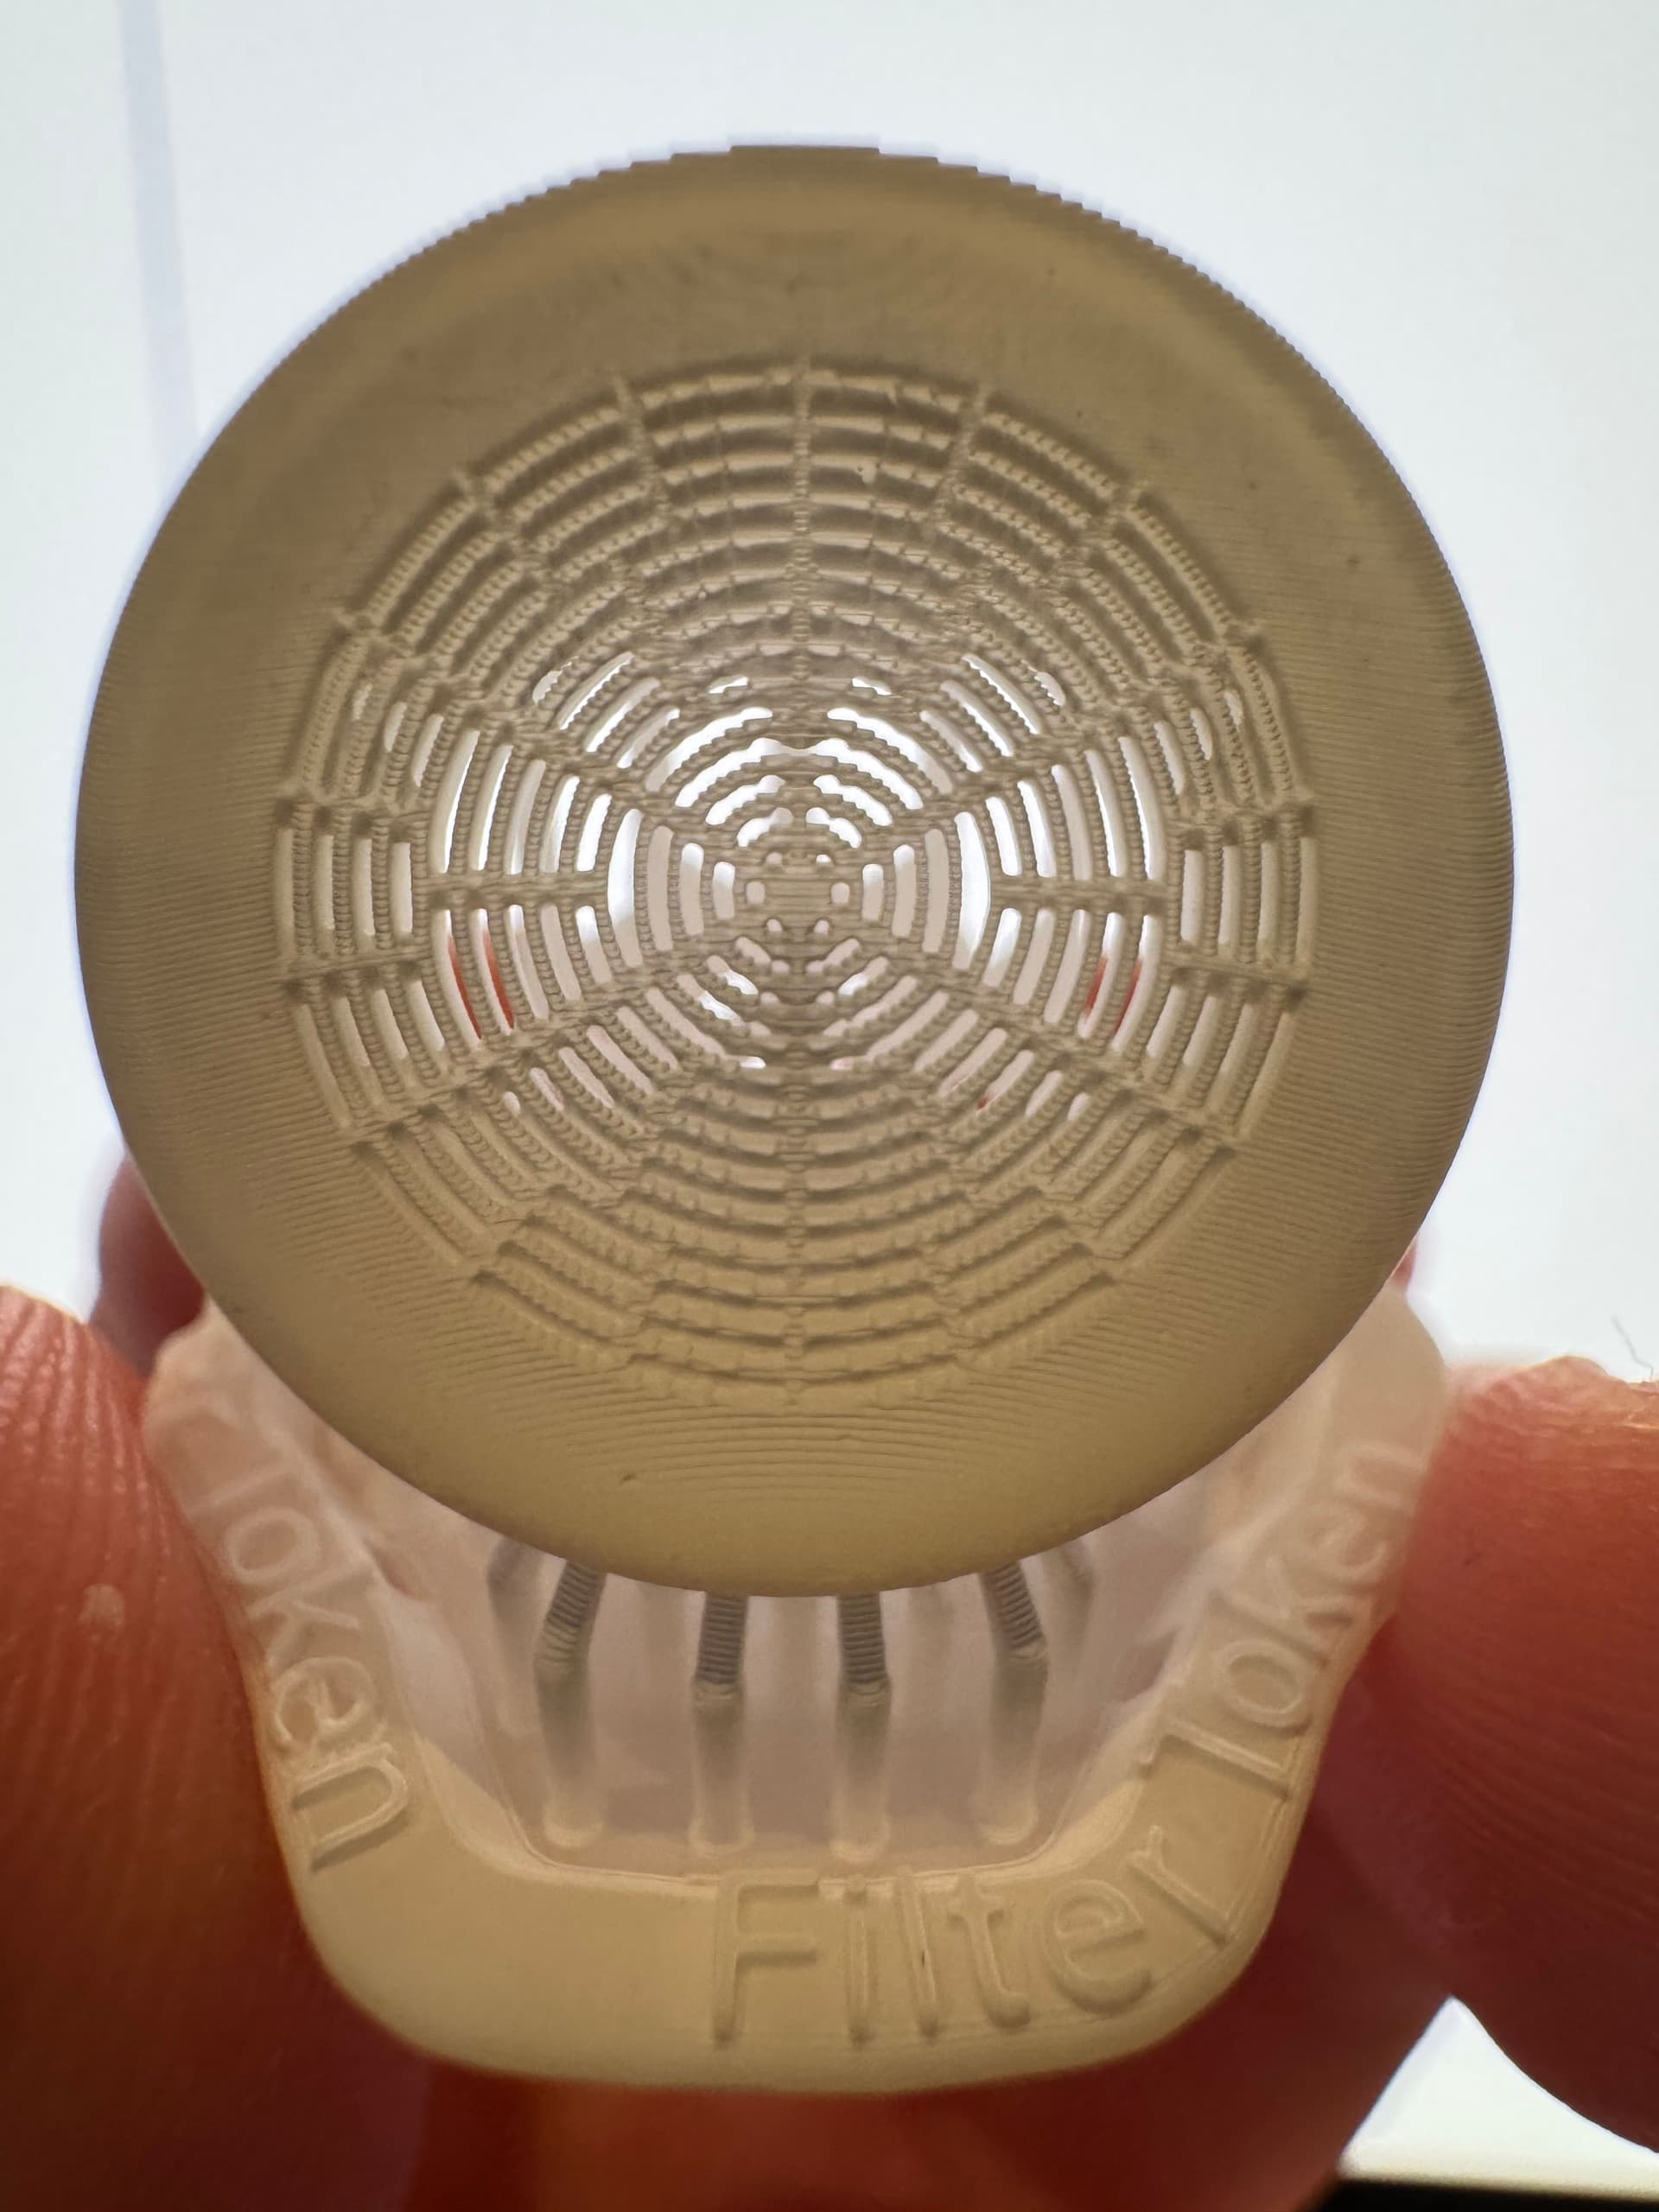
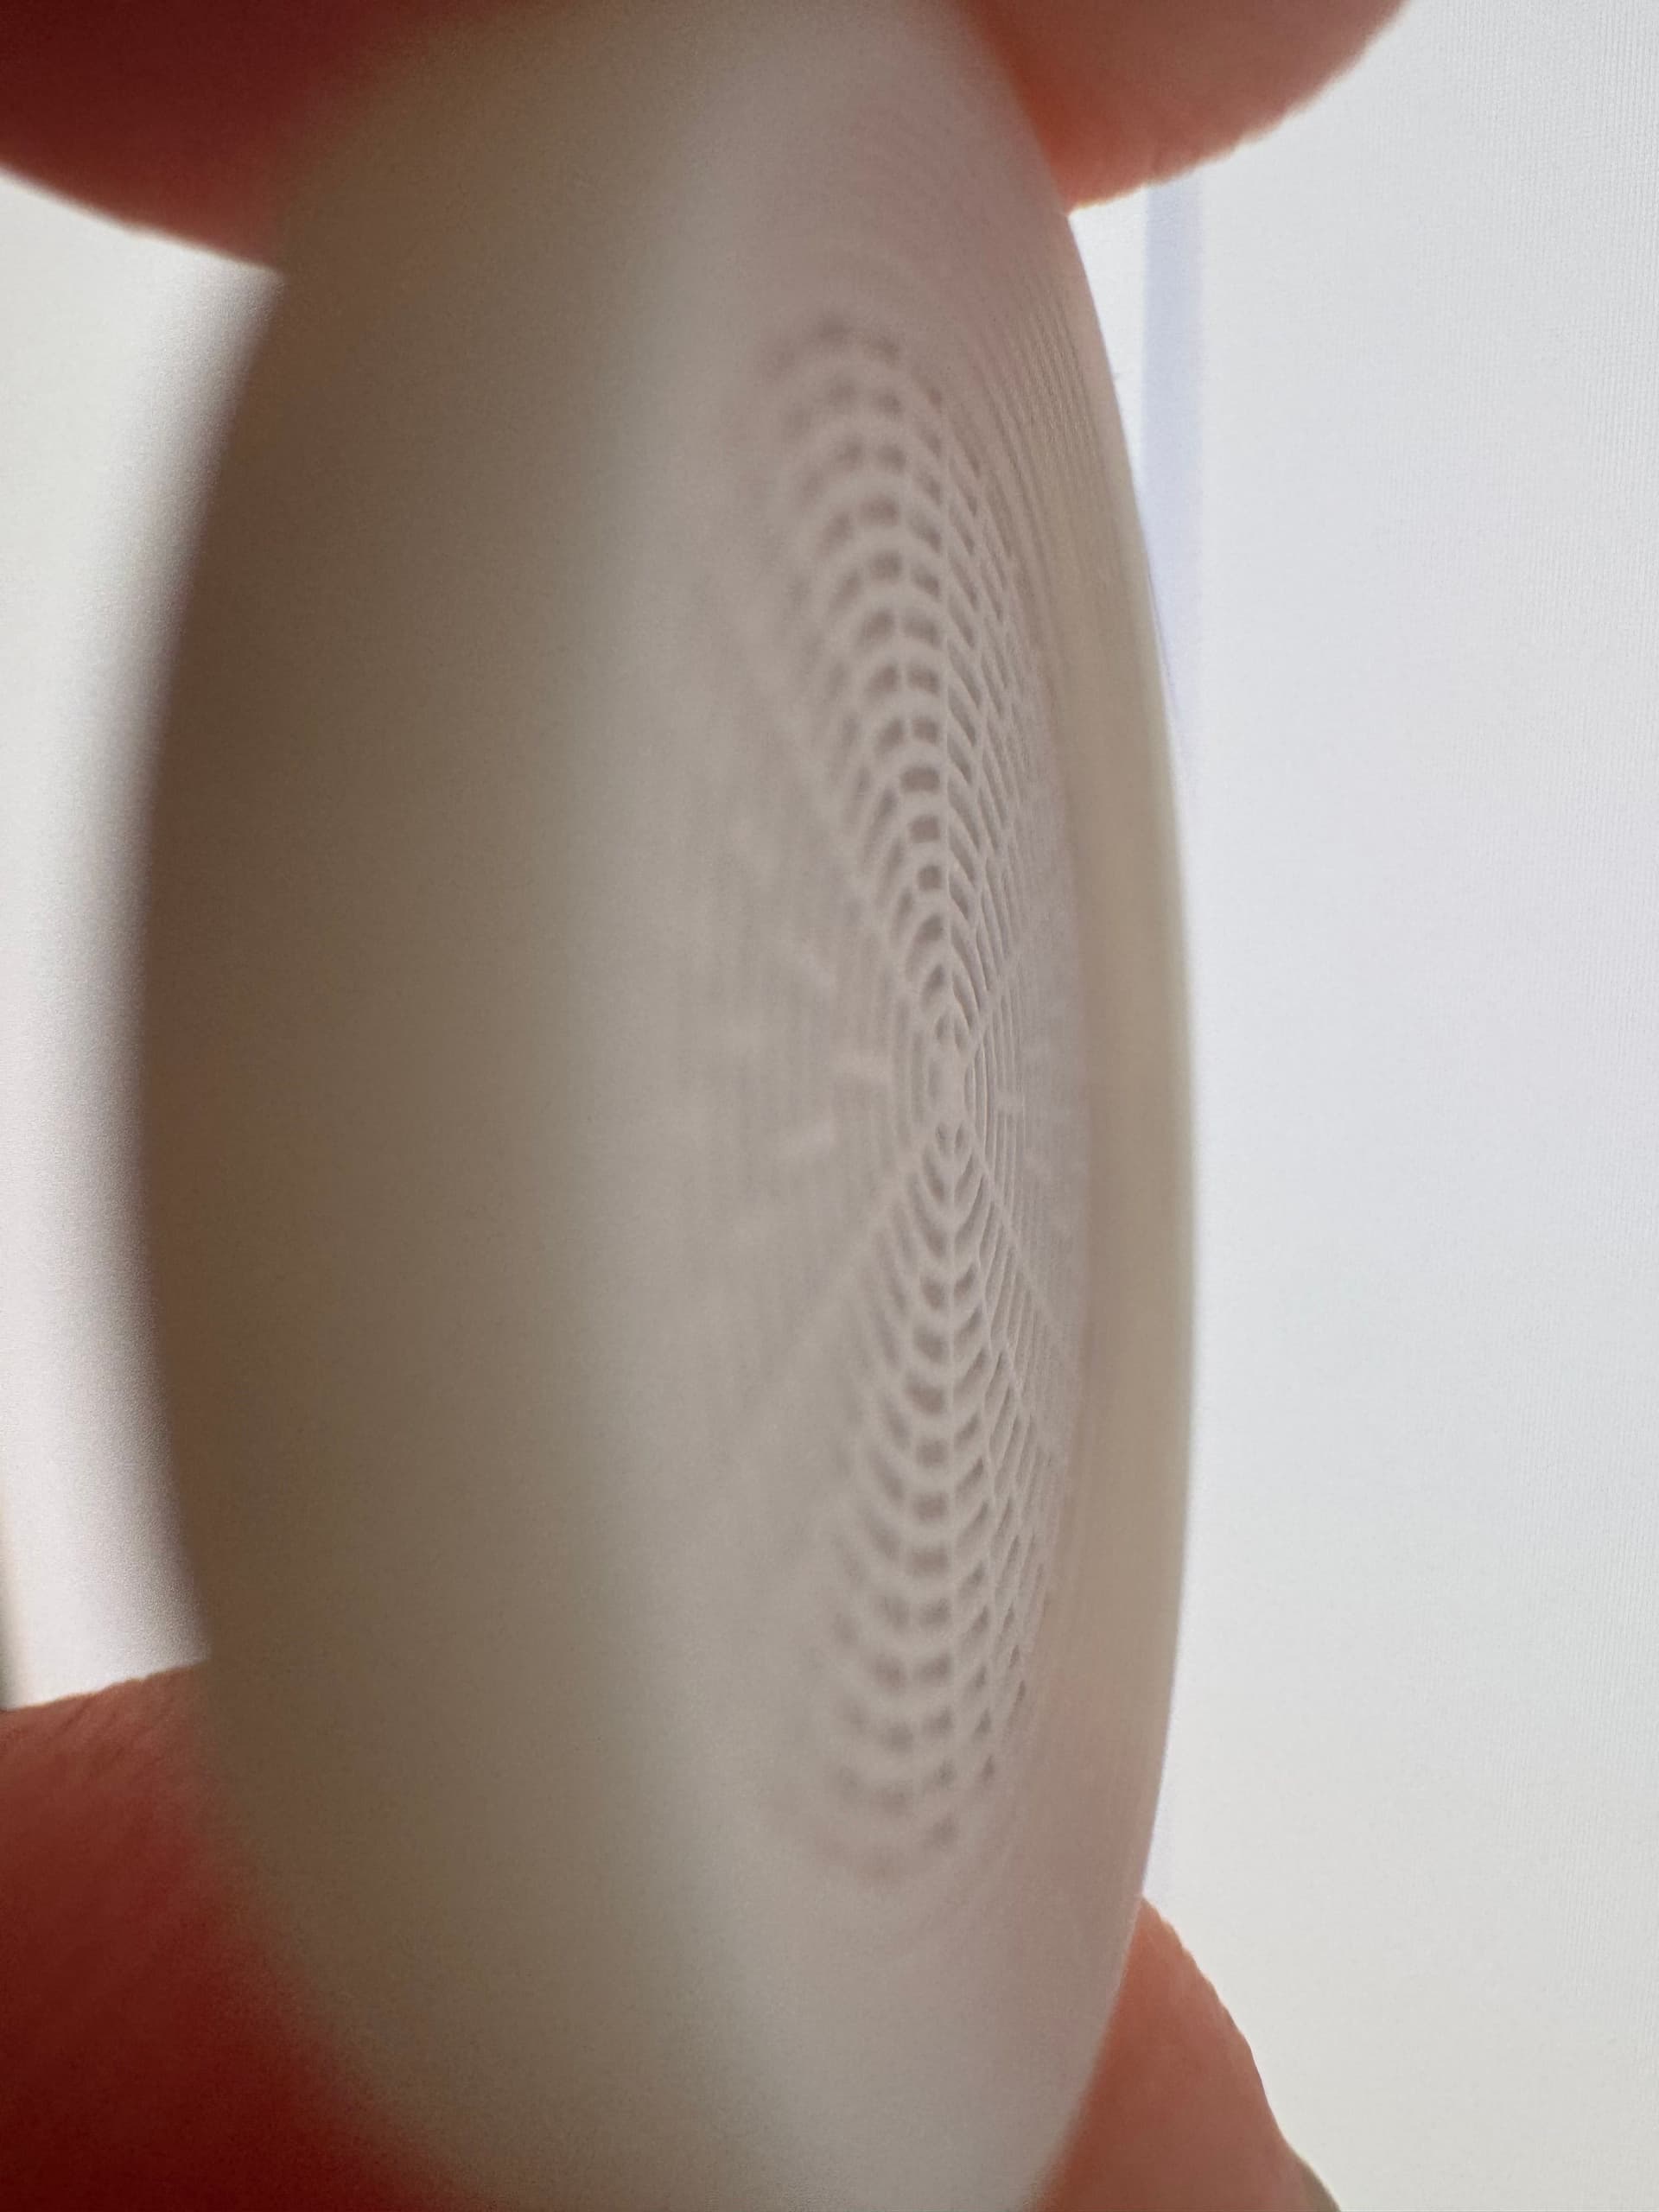
First, last nights print. Mirror symetric along the Z axis, so the inverted dome is on both sides. Supports are on the outside ring and on the center.

This turned out okay. Better than expected for a first run at this small of a resolution. I printed it in 3 orientations (sorry for iPhone capture. I don’t have this print set up anymore).

And the prints themselves after cleaning.
90 degree (radial axis horizontal).

60 degree (vertical).
0 degree (radial axis vertical [printed flat]).
Aside from the fact that I accidentally printed the center way too thin at literally a single layer (100um), the prints came out fairly well for a first go at this scale (I’ve done 5mm diameters before with this design and slightly larger slots and bridges).
I don’t recall when the center of the 0-degree print broke off. It believe it was after the print succeeded. Tthe 90-degree print center broke when I pushed on it to test strength (which is why it extends to parts of the print that were thicker than a single layer).
These were washed in FormLabs solvent on the From Wash v2 for about a minute on high, then hand-detailed in semi-transparent Rigid 10k-dirtied IPA using a fingernail painting brush, then rinsed with fresh IPA, compressed air (powered by lungs) was blown on the print to un-wet the slots to prevent webbing any residual resin over the slots.
Print #2 - Today
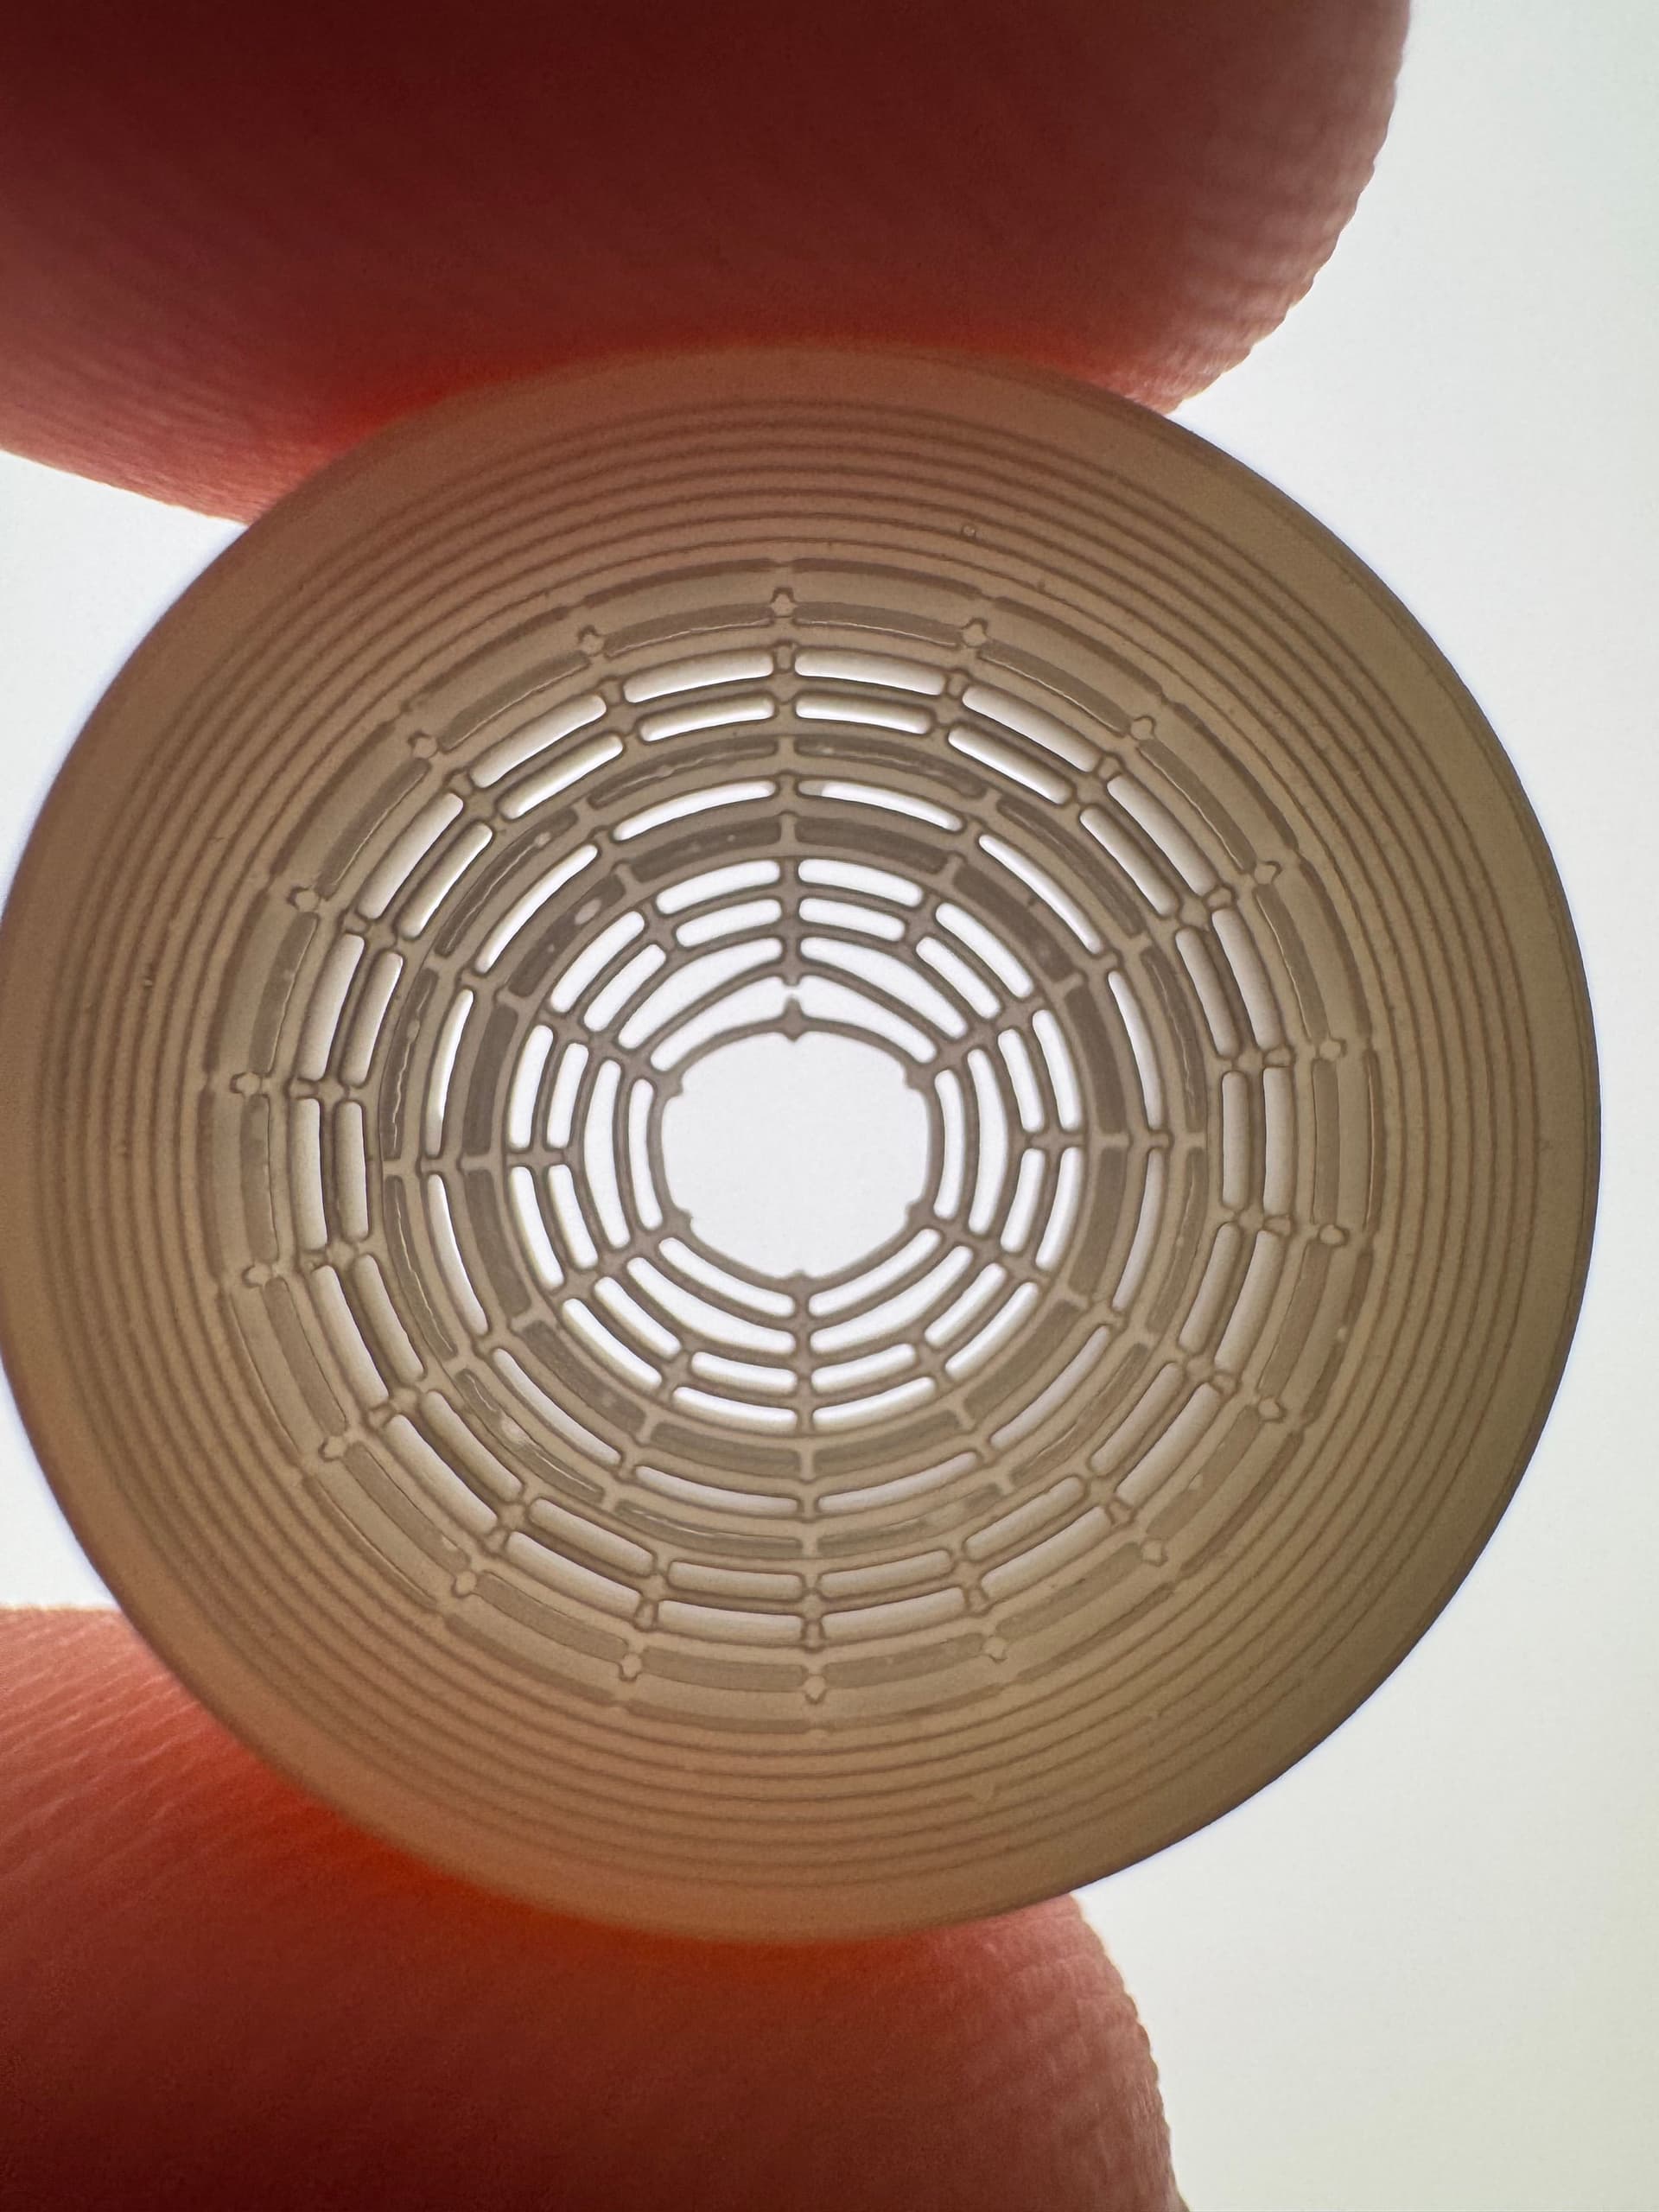
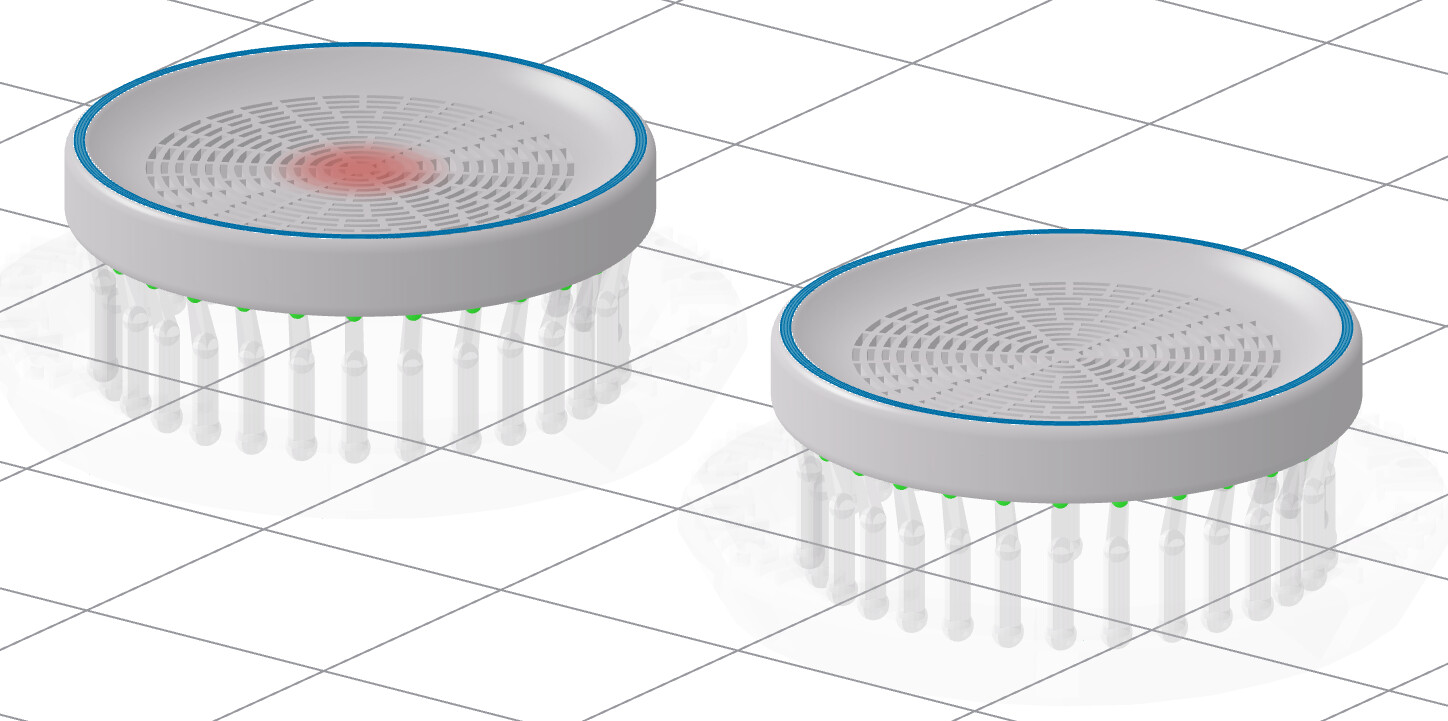
Taking what I learned from last night’s print, I adjusted the geometry. I made the center of the disc thicker (500um) and reduced the thickness at the edges where the solid material meets the slots, so the max slot depth would be around 1500-1750um. This meant steeper overhang angles, so I dropped the mirror-symmetry on the Z axis, made the top flat, and move that extra thickness to the opposite side, reducing overhang angle. I did two prints here, one with a center support, and one without…
Top side (flat along mesh)

Bottom side (arc’d along mesh)

This design maximizes the print stability without dramatically altering the post-cure strength, although it can likely support at least a little more force applied from the flat side, since Rigid 10k has significantly higher compressive strength than tensile strength (all other factors being equal, which is raraly the case).

Sorry for dirt finger nails.
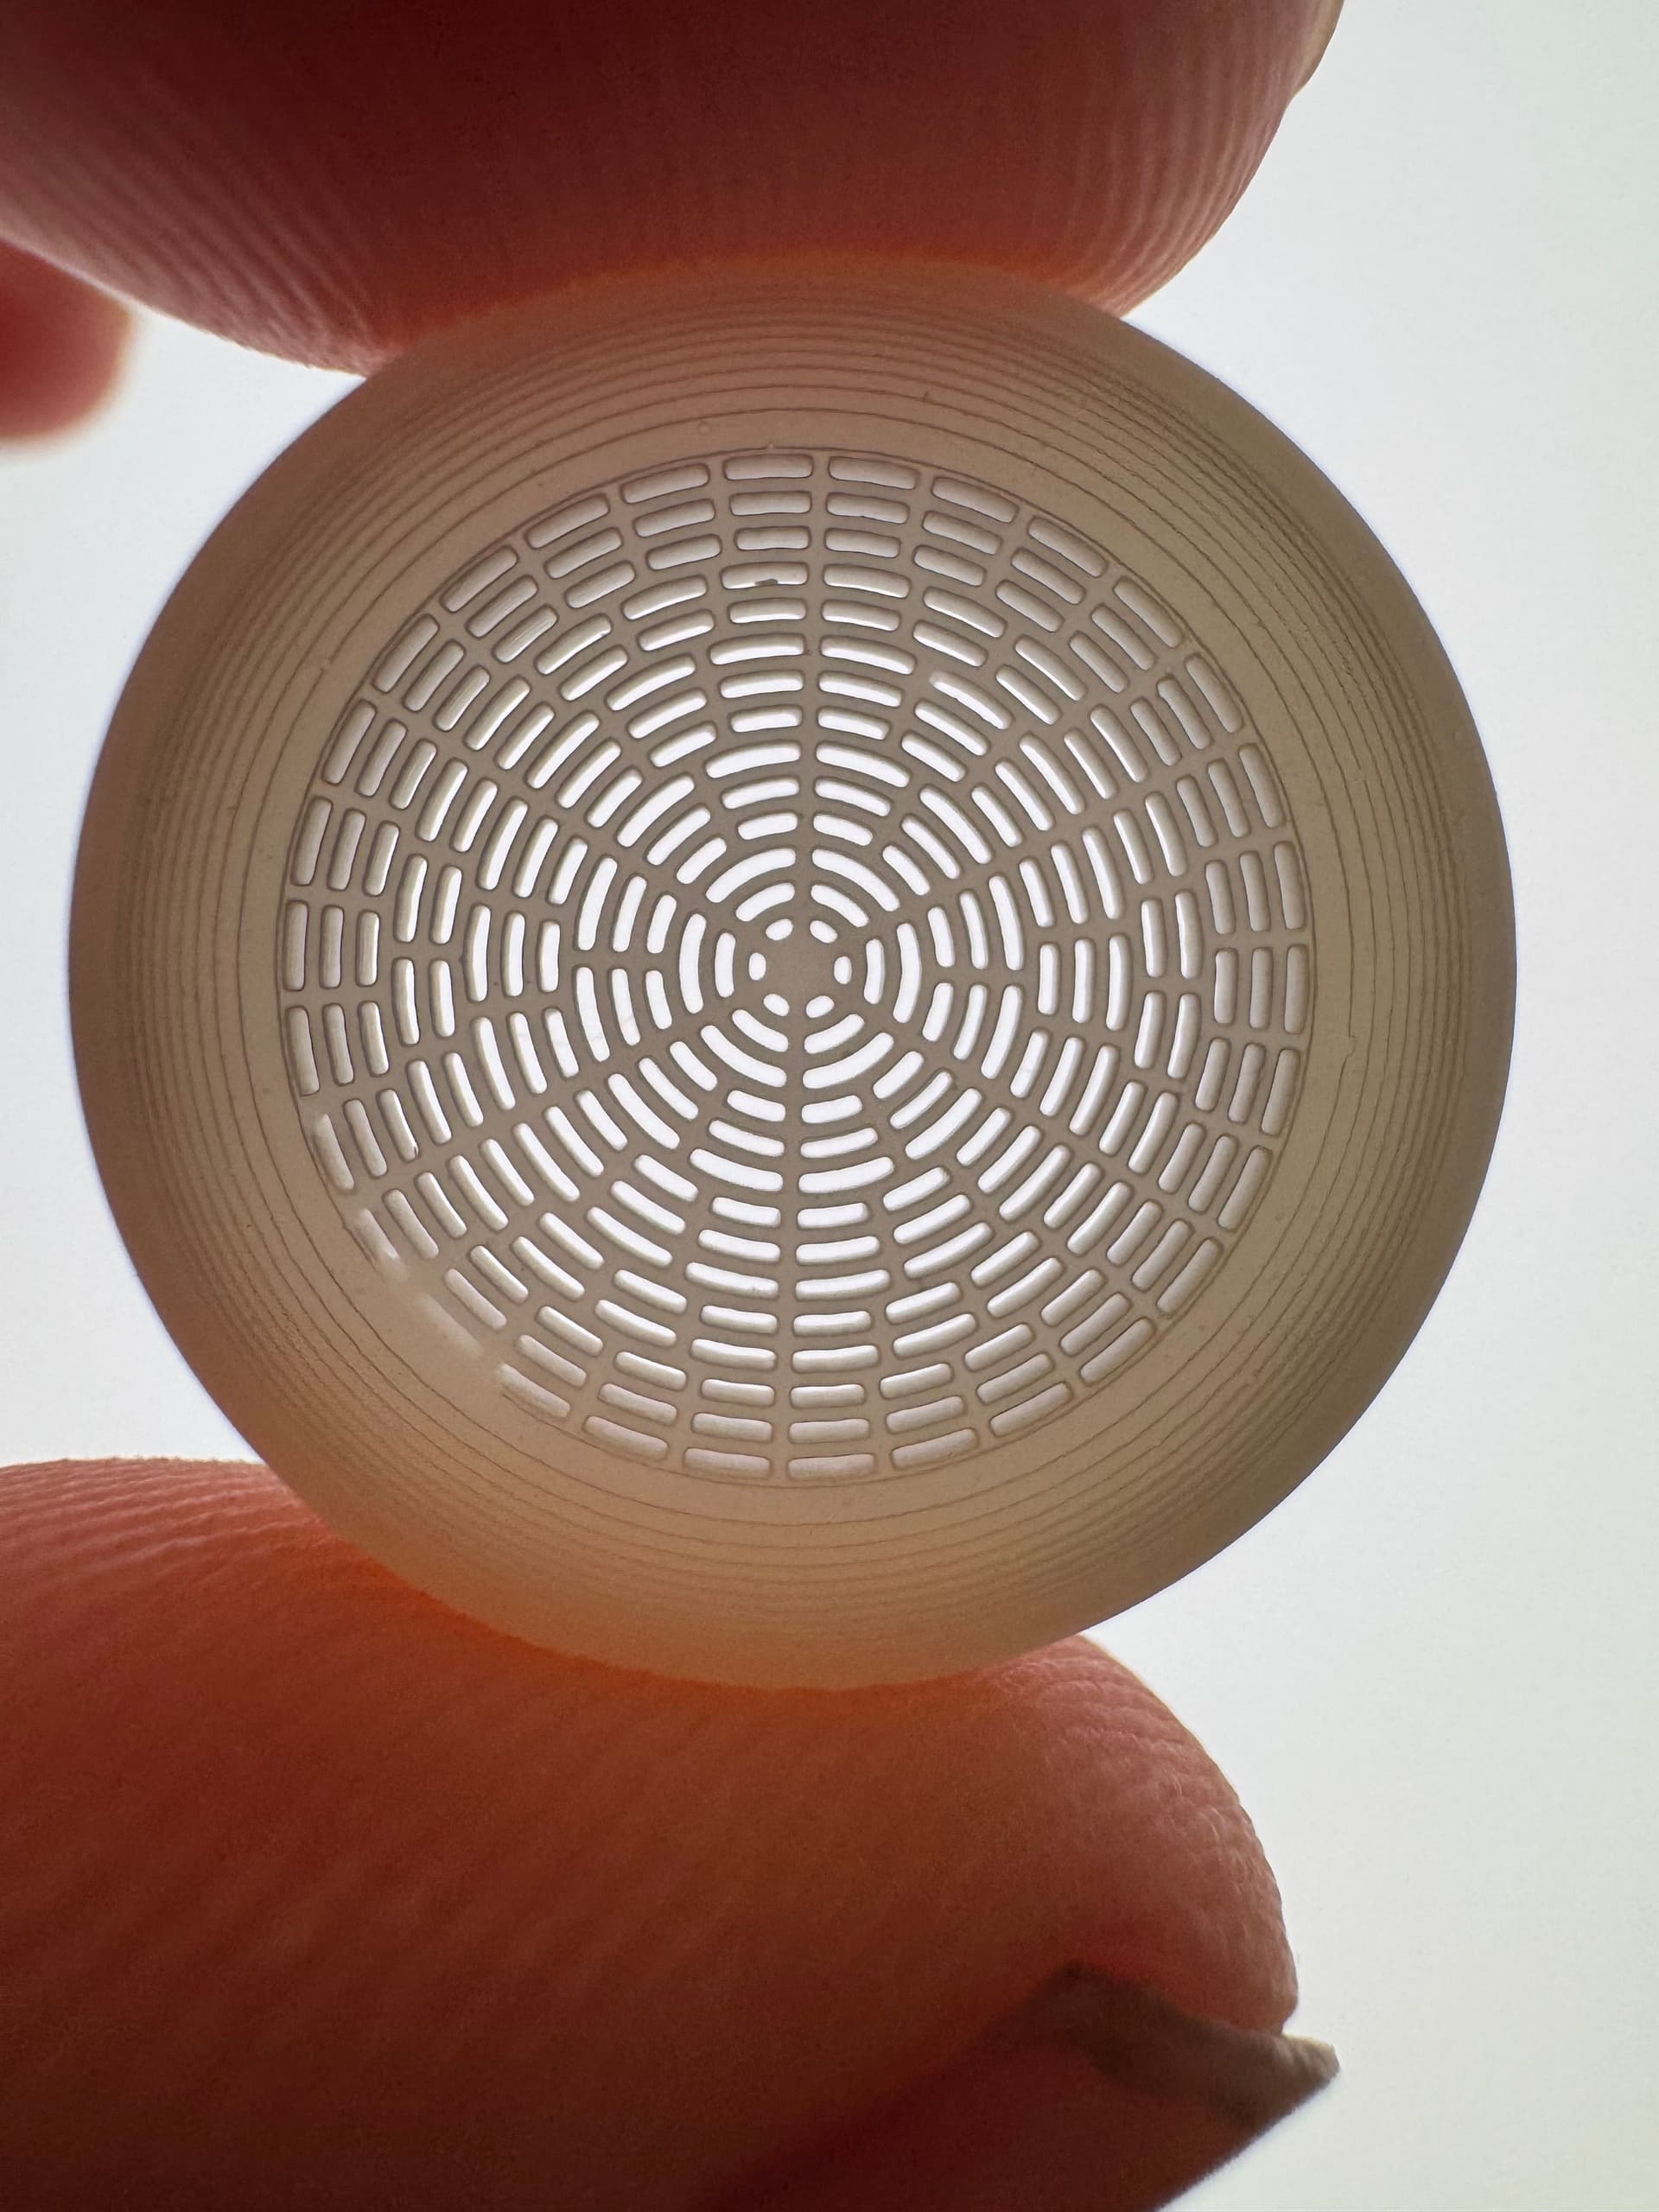

Flat Side
Concave Side (support side)

Couple of really interesting things here… First, both prints succeeded (with and without center support), and for some reason both of the prints had little nubs where the print would have connected (this is likely not a software issue, it’s very likely due to the extra area in the center and the later nearby uv exposure polymerizing the resin that hung from the extra surface area - you can see something similar happening along the rings where the layers cut off). Additionally, you can see “ribs” from the supports down to the center of the disc. These ribs are not part of the design, but formed by the material sagging during printing (inevitable when the print peels away from the film on the tank, unless you’re over-exposing, and then you’ve got other issues).
Personally, I’m impressed with the outcome here. For these, I washed them essentiall the same way as the first print, but I spent only 30 seconds in the From Wash.
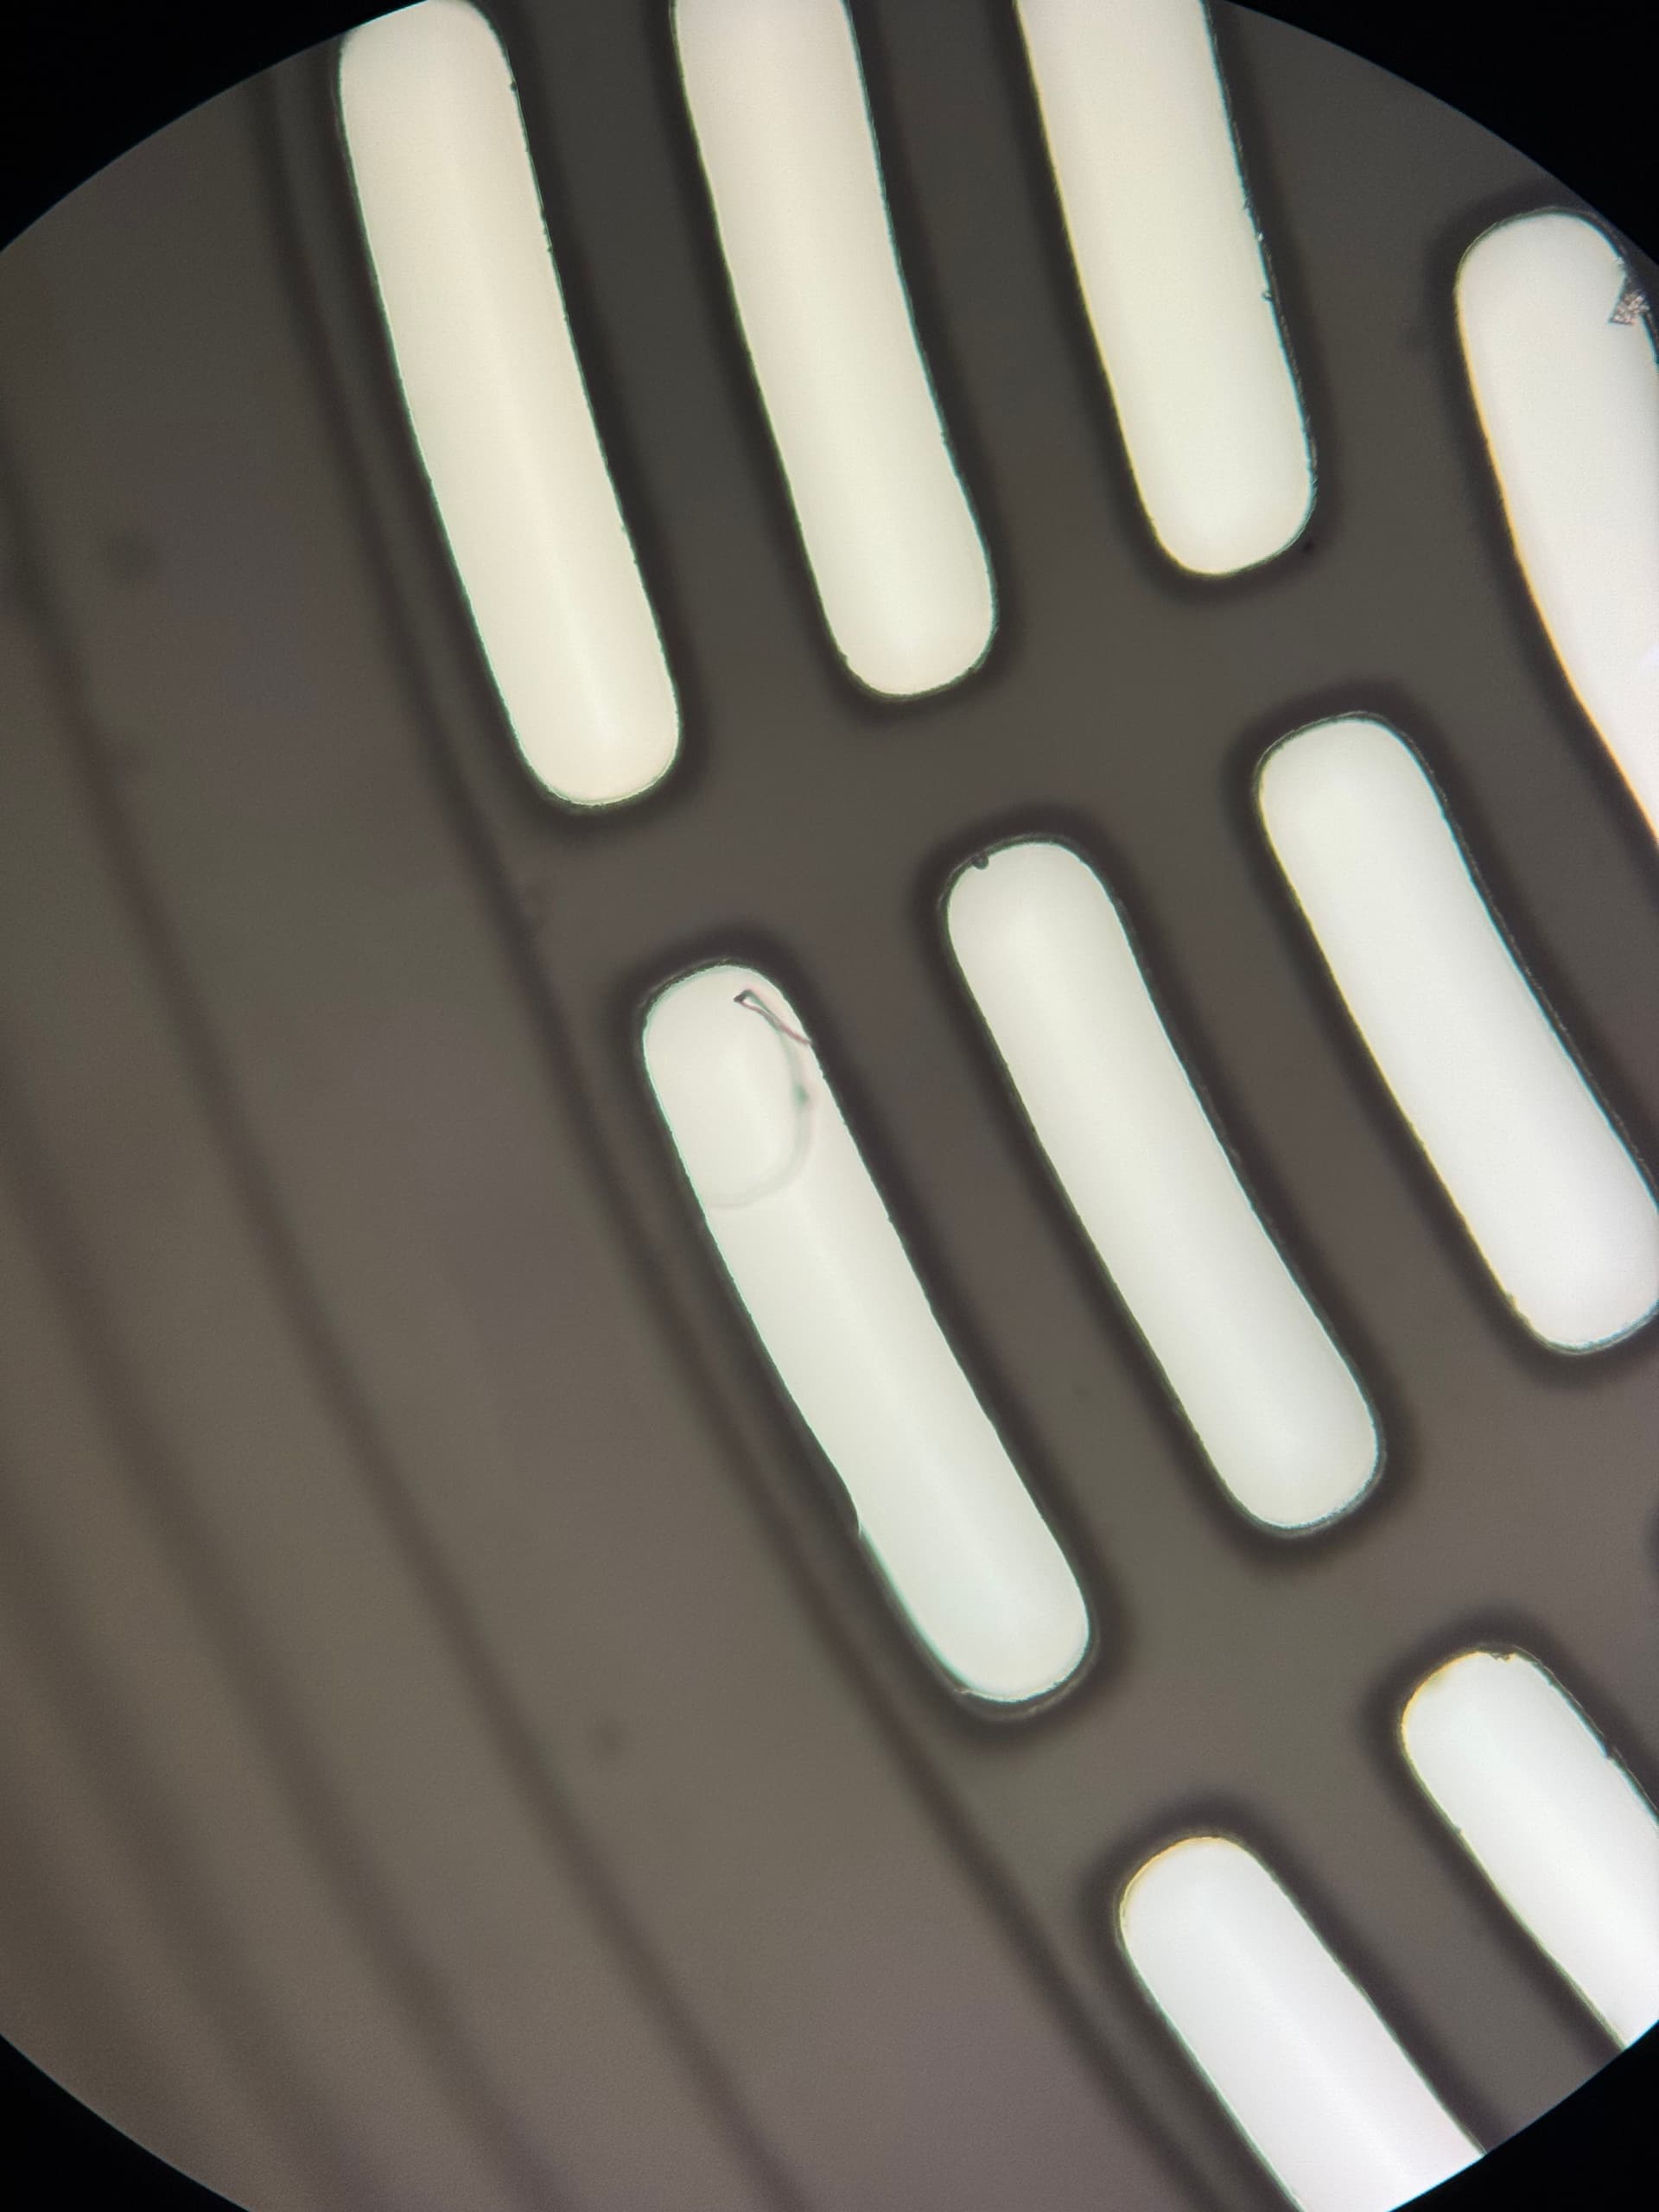
Now for some really terrible transmission microscopy.

Notice the antialiasing on these prints is pretty exceptional, and the dimensional accuracy is really good too. The bridges and the slots are suppose to be the same width, but the bridges came in slightly under sized. I could try tuning exposure settings if dimensional accuracy was critical, but I’d be fighting the slots closing up… during printing I imagine the areas around the print partially polymerize due to limited uv exposure, so even though there’s large clean slots there right now, increasing exposure even slightly could completely close them (hypothetically - I haven’t experimented with this yet). For the time being I’m happy with it.

Missed some of the resin during post-processing cleanup… Sad. This is what happens when you don’t do a fresh rinse of solvent after loosening up all the gunk, people.
Nylon bristles from the nail painting brush got stuck - should have been more careful on the IPA rinse.

Here you can see some outliers in the silica microsphere filler… These look to be several micron in diameter… possibly 10um or more (see lower right transparent circles).
Anyway, fun print. Thought somebody might like to see it!
If anyone is interested in seeing one of these under an SEM, let me know.