Jewelry burnout schedules

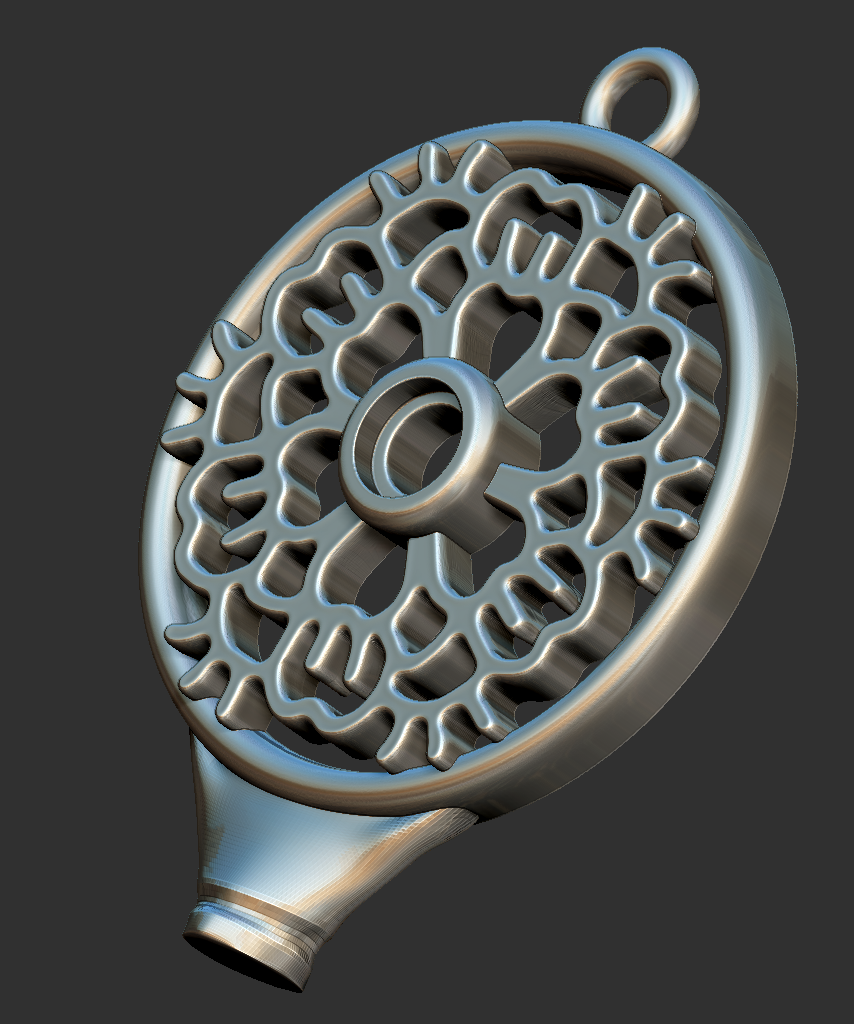
Hey guys! I participated in the Jewellry Printing topic, but I have a few questions more specific to sterling silver. I’ve had some success, but today decided to cast seven pendants and a prototype of an earring, and every one of the casts was incomplete. It was a filigree design but not too delicate. Should have been fairly easy to cast.

I have some casting experience, but am by no means an expert. I am prototyping and will then send designs that make the cut out to a casting house.

I know that in the past I’ve had the flask at a casting temperature closer to the 1100°F temperature, and after troubleshooting today with a fellow jewelry artist, she asked if I had cast somewhere around 1100°F. That’s when I realized that the Formlabs recommended temperature is only 900°F. I’ve only used this schedule in the past. Maybe I was just lucky?

One other thing…I was not ready to cast today after the one hour hold, so I held the flask at 900°F for about three hours (yeah, I LOST my new shipment of sterling casting grain somewhere!!). I used a KayaCast vacuum casting setup with a 3.5"x4" perforated flask. I’m also using Kerr Satincast, but have had great results with it on other castings. So a couple of questions:

  • Is there a possibility that the longer hold allowed the internal temperature to actually settle at 900°F, making it lower than the Formlabs schedule?
  • Is 900°F actually too low?
  • Does Formlabs have an adjusted schedule for different size flasks, like Kerr? I frequently cast in a much smaller flask (2x2.5, 2.5x3), but have been running that crazy 14-hour schedule because I haven’t had time to experiment.

I’m curious what temperature others are ramping down to. Many thanks!

If you can, please post some pictures. The nice thing about casting is the casts record many details for trouble-shooting.

What temperature did you heat your silver to?

1100` is way too hot for casting sterling; Questions…

  • If it "…actually settle[s] at 900" then it's 900 Length of time on soak past an hour or so is largely irrelevant. Maybe I don’t understand your question.
  • 900` generally for sterling unless very thin or detailed then 925 or 950.
  • The schedule is not a law; it’s more like guidelines. Because everyones’ equipment is different you just have to experiment

Post pictures of how you arranged your sprues and tree. This is more likely the problem.

Thanks for the reply, @3DTOPO and @rclaborne. I heated the silver in a Kerr Electro-Melt to about 1780°F. I just got the little furnace, so this was just the second time to use it. On my first casting (1740°F), the metal did not seem truly fluid, so on this one I bumped it up a few degrees. Kerr recommends in their documentation that you go 100°F above the melting temp of the metal, and several sources online said it was 1640°F. I also may have had a little scrap that was pure silver, so I thought going a little higher would accommodate the higher temp of pure silver.

I generally cast in small flasks, so I’m not experienced in making a tree…I used a stub of a 3/8" wax sprue, and embedded the models directly into it. The models had a sprue incorporated that flared into the round design (being new to this kind of casting, I thought about what might get the most metal into the model and still be easy to remove…). At the very top, I had an earring that has a four-way sprue incorporated into the design.

The pendants are about 22mm in diameter. The thickness of the design part (not the frame) is about 1.25mm if I’m remembering correctly. There were also three that were 18mm at the bottom of the tree, for a total of 7.

@rclaborne, I also cast glass, so I know it takes a little time for the internal temperature to reach the same temp that the thermocouple in the kiln is reading. I would guess that an hour should be long enough for that temperature to equalize, and I guessed that anything beyond that wouldn’t hurt. Feedback appreciated on the tree…I got ambitious and decided to cast Christmas presents. One thing I did notice is that ALL of the pendants were incomplete. I did have a very generous button (I calculated the weight of the silver from PreForm’s estimate of the mL volume instead of the 1.18 g/mL specific gravity of the actual model).

On the bright side, the surface of the casting was really good, and very smooth. I had cured the heck out of these.


I did just find an article on making the connections between the largest sprue (trunk?) and the pieces at 80°, so they are not angled like I made them here. It said that since the vacuum is pulling to the sides of the perforated flask, the pieces don’t have to be angled the same way as they are in the smaller non-perforated flasks. I have only cast in non-perforated, and this was the first time with the perforated flask.

The article also mentions putting the smaller, more detailed pieces at the top of the tree. I had the smaller ones at the bottom.

http://technical-articles.hooverandstrong.com/wordpress/jeff%CA%BCs-top-casting-tips/


Based on the pictures and what you have said, I suspect you had a misrun. Essentially the metal froze before it was able to fill your mold.

A misun can be caused by the following: lack of fluidity, slow mold filling, inadequate venting/vacuum, and/or low temperatures.

Since the melting point of pure silver is 1762F, you may not have been 100F above the melting temperature. Personally, I would heat the metal a bit more than 100F over to avoid these kinds of issues. If the melting point was around 1762F, that means you are looking at least 1862F, and I would probably pour closer to 1900F, 2000F max.

Anyhow, a couple hundred over the melting point won’t be excessively overheating your metal, and more likely to avoid misruns.

Since silver is highly thermally conductive, the act of pouring may chill the melt enough to prevent it remaining as a completely fluidic stream. So you may consider keeping a torch on the melt until the metal completely fills your mold. If that isn’t possible, I would recommend pouring closer to 2000F.

Also, put a tiny pinch of borax into your crucible after it melts. A sprinkling of activated carbon helps prevent oxidization.

2 Likes

Not sure if this helps but Romanoff has an investment that is supposed to work well with resin based masters. Irene Hill mentioned it to me.

Might be worth checking out and maybe get a sample.

1 Like

Your problem is using a single sprue on this openwork design for silver. Suggest 2 (or 3) smaller sprues with your object turned 90` from it’s current orientation.

2 Likes

@rclaborne, @KenCitron, and @3DTOPO …thank you for the feedback.

Interestingly, I had thought to do that on the earring, but not the pendants. I guess my thinking was that the “frame” around the design would carry the molten metal, although on the earring, it has an internal “frame,” and I attached sprues in four places around that frame (probably overkill!)

Thinking about @rclaborne’s suggestion, that would also make it easier to cut, remove, and finish the pieces, since the back can be sanded flat. I had a print run last night of the pendants with a slightly different incorporated sprue (12 PERFECT prints!!). I had run a split sprue from the base to the bezel, but now looking at it more critically, I can also see a situation where the metal is being forced to travel back in the direction of the sprue. Picture enclosed. There are some very small connectors on the bottom or the design that I inserted for printing because I had difficulty getting PreForm to attach supports correctly…I had to turn it vertical and add the braces, and I’m pretty shocked at the fact that the Form 2 can print those. They are less than 0.3mm. I am using the 0.50 micron setting with Castable v2.

@KenCitron, I’ll look into the Romanoff option…I’ve actually had better-than-expected results with my Kerr Satincast and way over-curing the masters. I cure them for 24 hours before casting, and the surface of the pieces was remarkably smooth. I am mixing with slightly less water than the “normal” mixture (not mixture recommended for larger/heavier pieces) and the investment is a little thicker.

I’ll mock up a tree in the 3D program later today (I’m using ZBrush). Many thanks for your expertise and time!

Usually if a casting falls short like that then you most likely need an air vent. I haven’t done any lost wax or investment casting but plenty of delft clay and spin casting. I noticed that the gate is pretty heavy in your model, is that necessary?

Hey @KenCitron It’s pretty thin at the top, so I made the gate larger in diameter toward the connection point. Also, the piece is small…about 18mm. The frame is about 2mm thick, so the part going into the model is about 1.75mm thick. I think the biggest part of my learning curve has been seeing something on the screen and it looking huge, then when I print it’s tiny! I do a lot more measuring now.

I’ve done some cuttlefish casting, and I know I created vents with that method. I think in some cases there are examples that show adding extra “vents” with a reservoir in lost wax casting, but I think that’s not normally needed because the investment is porous and you are using a vacuum to pull through. If I’m not mistaken, they’re usually added to address porosity and pucker?

There is one other possibility with the flask…I know I turned on the vacuum, then went to my Electro-Melt furnace, fiddled with my gloves, then finally poured. On one of the articles I found, it said that the flask temperature could cool 100°F in one minute. I cast outside in an outdoor kitchen, and it was cold out (Texas cold = 48°F). I wonder if I inadvertently cooled the flask a little by sucking cold air into it? My next casting session, I’ll wait to turn on the vacuum until I’m ready to pour the metal. Newbie mistakes…

You’ve inspired me to print something in resin and cast with my Delft clay setup…I forgot about that. Are you casting silver?

I found the article that talks about adding a reservoir…called a “riser” here. The part about the ball incorporated into the sprue is interesting…

http://woodsmere.com/Chapter.pdf

It does take some getting used to getting a virtual grasp on sizes. One of the reason I use cad software vrs poly based modelers for this stuff.

Like I said I haven’t tried any investment casting and assumed like other casting processes you needed vents. Assuming air hasn’t been trapped by maybe a plugged or glazed mold cavity or insufficient burnout then it is possible the metal cooled too quickly to fill the cavity. Not sure if you have a pyrometer to measure your metal temperatures. If you do then there is a melt temperature with the metal and a pour temperature which is slightly higher.

Sometimes if I have a tricky casting I will run extra vents towards the tale of the casting causing the metal to rush towards that area (speed up the filling of the cavity). You can do this with spin casting and delft clay but not with sand since with sand you risk washing out details.

You may want to get a sample of investment from Romanoff, see if that gives you a better cavity. It is formulated to be more durable and less chance of cracking with the thermal expansion of resin models. Not sure what the porosity of it is compared to what your using.

Been eying an electric furnace here but leaning to a gas fired that can handle small quantities of iron. Most my castings are small melts for higher temp materials like brass/bronze, some aluminum and use the delf clay with that as well as zamak for mechanical parts. Haven’t done silver yet.

1 Like

Generally, risers are only needed where the geometry is much thicker than surrounding areas. If a pattern is uniform in thickness, the whole part will solidify uniformly. When it doesn’t solidify uniformly, the thicker areas can have defects.

So the point of a riser it is a sacrificial thick area that remains molten longer than the rest of the cast so that the riser may feed the cast as it solidifies and shrinks.

2 Likes

Go with induction if you can - it will pay for itself in a short while. I can melt 16 pounds of copper for about 20¢ in electricity (in about 25 minutes from a cold start!) - steel costs are about double that.

1 Like

Thanks, good to know. Right now I don’t have enough room in my shop for a burnout oven and starting into resin casting of models for short production runs of prototypes.

1 Like

Don’t over think it. Print it anyway you want but sprue it like this. (or 3 legs)

1 Like

I ramp down to 630°C hold for an hour then cast. My silver is at 1020°C when I pour it. I use a vacuum casting machine…

In addition, as I pour with one hand, I have a folded up, wet, cotton cloth in the other hand, as soon as the metal is in the flask I dump the cloth on top. I do this because I was having some trouble with incomplete casts as well. I am told that the wet cloth method is how it was done before the advent of top inert gas pressure systems. A head of steam is built up at the button and it’s said that it helps force metal down. See image below.

I always mix my investment with cold tap water at the manufacturers spec for filigree which is 400ml water to 1Kg of investment.

I don’t know if this is true or not, however, I’ve had a small failure on one piece since I started doing it.

Having said all this, my local art college cast at 482°C and don’t seem to have any issues.

Regarding your runners, I’d have 4 runners spaced around the outside edge of that pendant, they’d be circular and only as thick as the edge. All 4 would go to the main sprue. I’d angle it between 45° & 70° from vertical.

All the best

Dougie

1 Like

@digitalDougie, thanks so much! Actually, I saw a tutorial on steam casting once…they attached a wood handle to a jelly jar lid, packed it with wet paper towels, and put the investment in a tin can and burned it out. So after the zombie apocalypse, we can still cast. :slight_smile: Thank you so much for your detailed reply!

Wow! Okay, for those of us who are stuck on the non-metric °F system, digitalDougle ramps down to 1166°F, and his silver is at 1868°F. The local art college casts at 900°F.

Are you using Kerr Satincast? I see that they recommend 40ml water to 100g powder for regular and filigree, but that may be a standard ratio.

Also, someone mentioned pressure…the vacuum casting system is able to pull the maximum since I’m near sea level. It’s also a fairly new system; I’ve only cast with it about 10 times.

@rclaborne, thank you so much for the diagram! I had put four sprues on the back, then an additional 2 small ones to the bezel. (I’m using ZBrush, if I didn’t mention that before and anyone is curious). I had also thickened the main sprue because there were so many smaller sprues. Even though it looks huge, the main sprue is only 3.6mm.

@KenCitron, I’m probably doing much smaller things, but I’m using a Paragon SC2 Kiln. It’s pretty small, but will fit a 3.5x4" perforated flask with a bottom collection tray for burnout. I usually cast smaller flasks, though, and am only prototyping, not in production. I have a large kiln I use for glass casting and fused glass work, but I have not tried it for burnout. Good to know about the induction furnace, @3DTOPO.

I’ve also included the model with the supports I generated in ZBrush. It was a perfect print, but those are about the wildest supports I’ve ever made! There are two low-hanging parts at the top that end up being floating islands in the slicer, so about half of that mess is to get supports up to the top, between one of the sprue legs and the pendant.


Your 4 feed sprues are too flat to the object. You want those @ 45` angle like I showed you. Metal does not like to go horizontal and especially not sharp angles as you have. Add 1.5% (of powder weight) boric acid to your investment by dissolving it in small amount hot water. Will strengthen your investment.

1 Like