I know i destroyed it but it was still just a test.
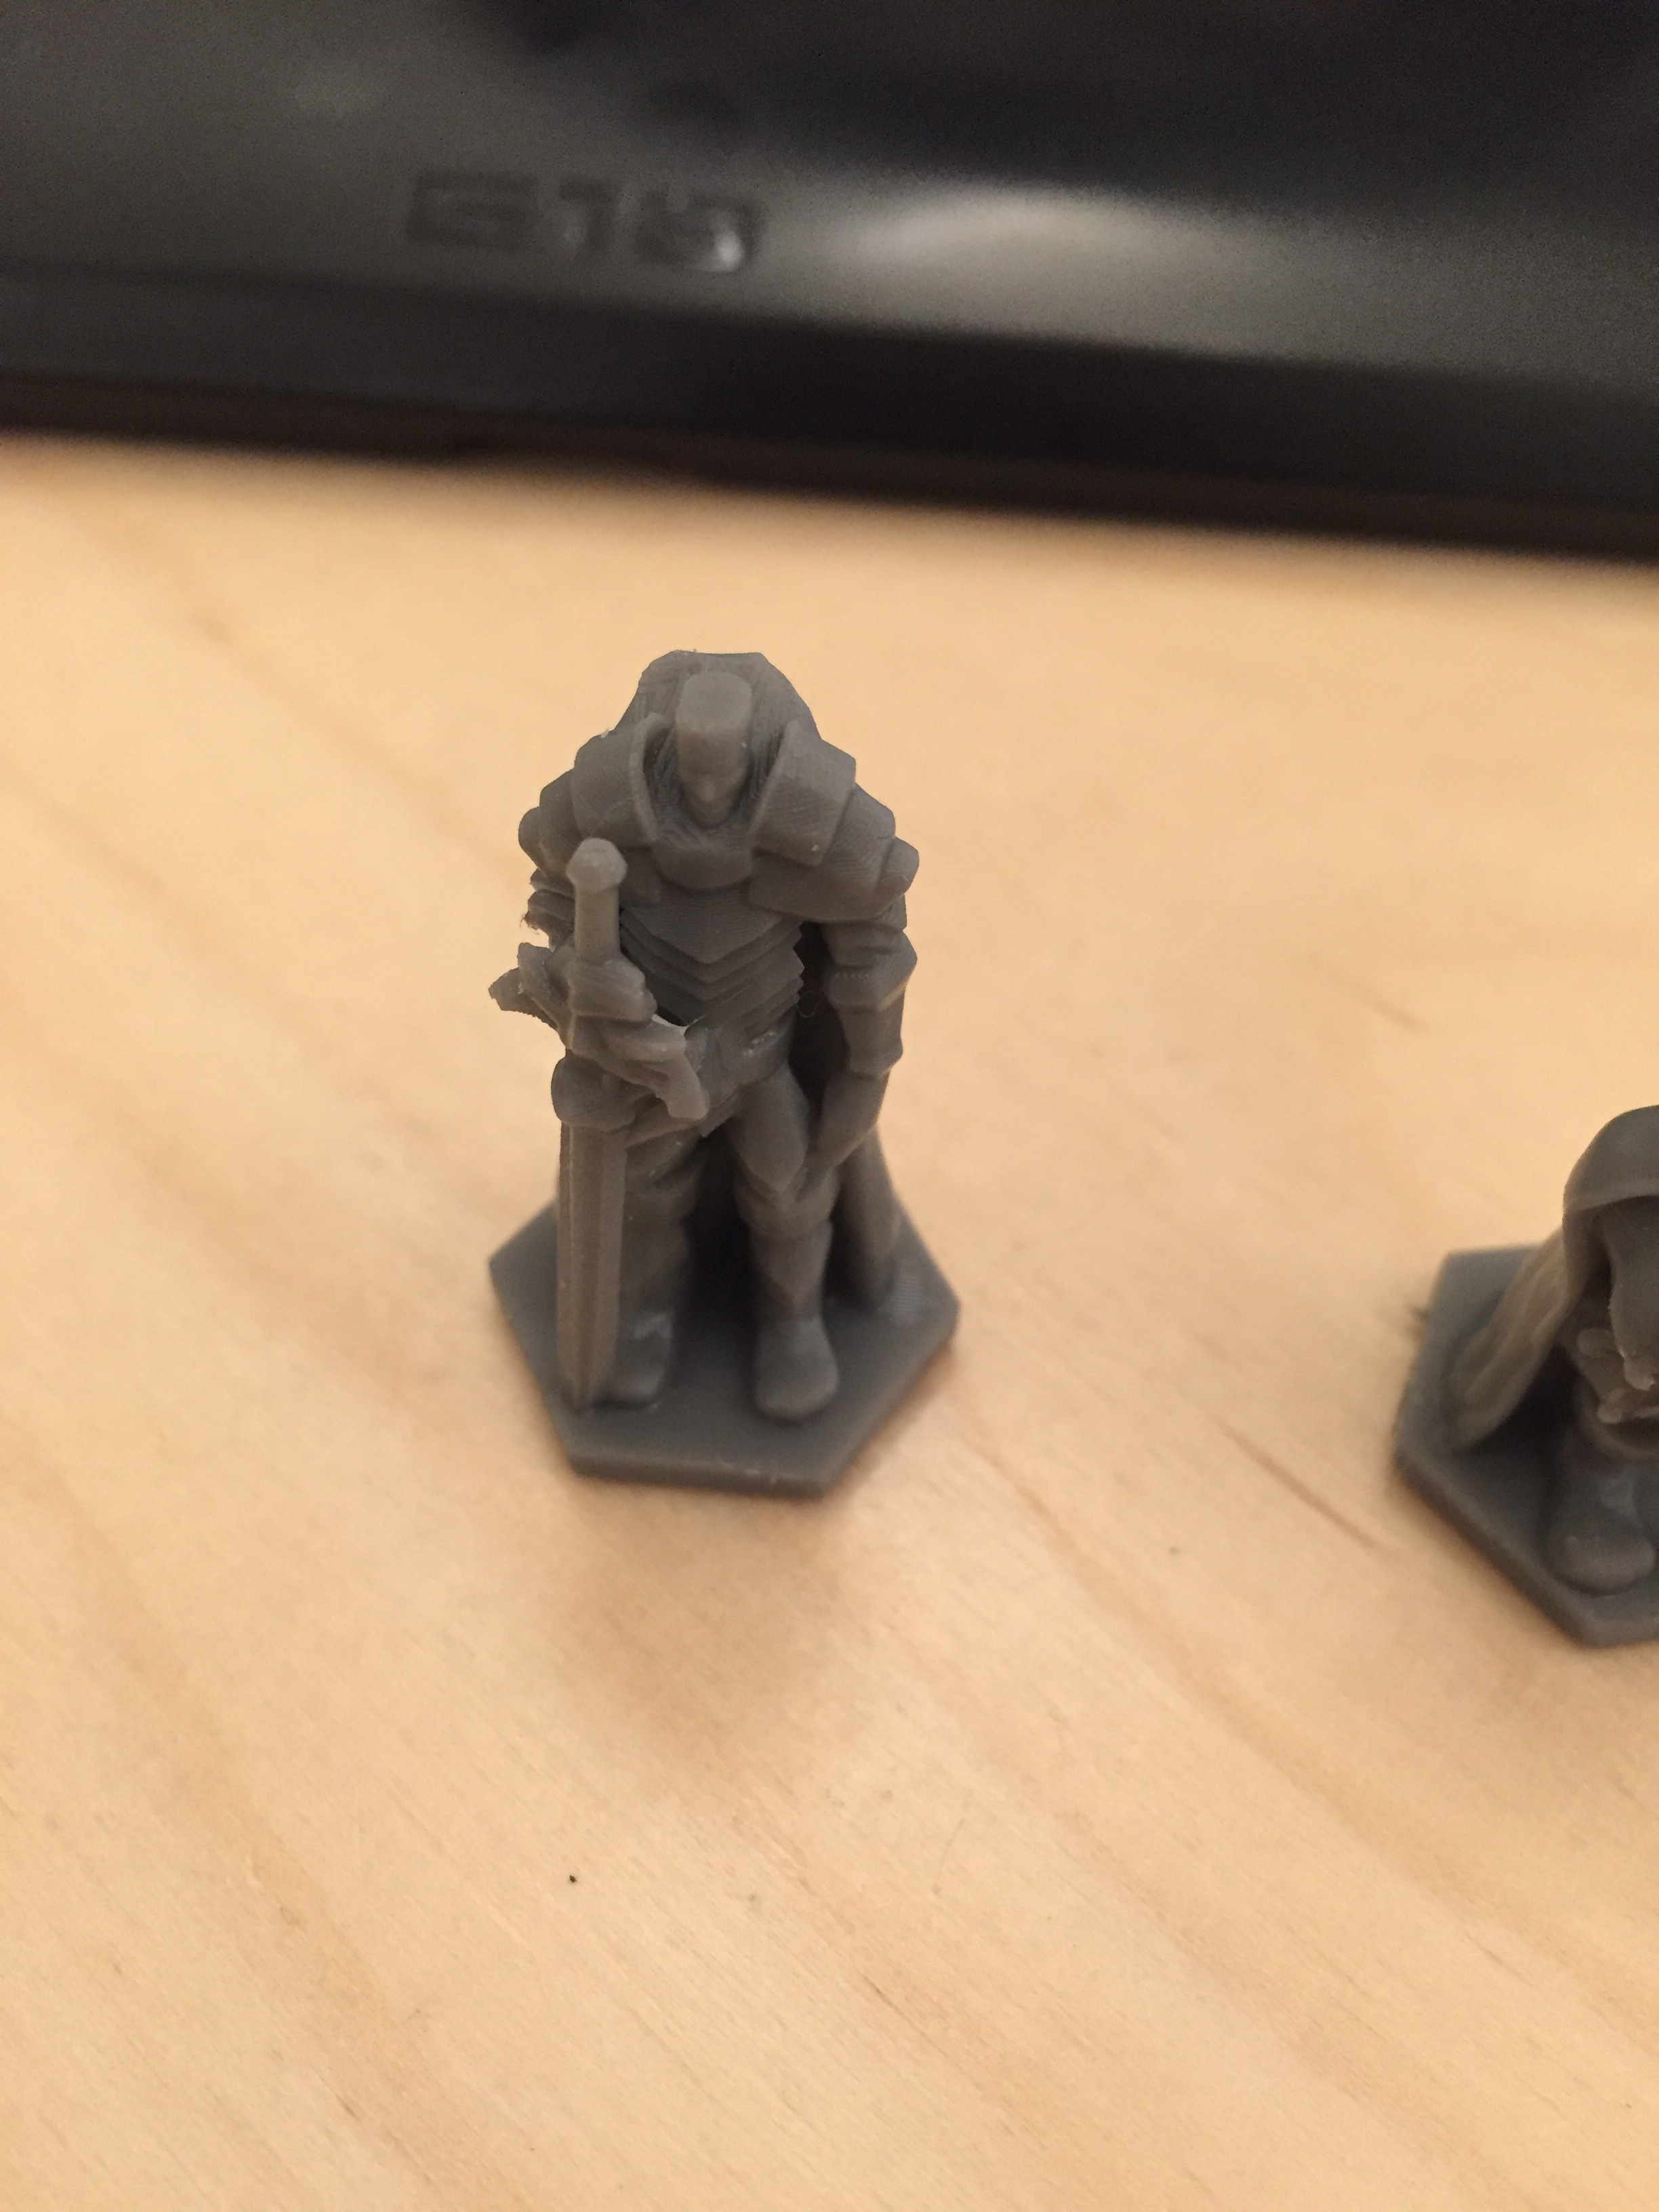
but here are some more figures i just printed.
they are about 18 to 25mm tall.
and Im just blown away by the detail it managed to output compared too the Rooks i printed just a few day ago.
I know i destroyed it but it was still just a test.
but here are some more figures i just printed.
they are about 18 to 25mm tall.
and Im just blown away by the detail it managed to output compared too the Rooks i printed just a few day ago.
I’m glad to help. Vi snakkes. 
@Teamanimal I updated the settings file. I improved the smallest radius performance, but I can’t stil make holes smaller than 1mm approx. From the Formlabs design guide we should be able to get holes down to 0.5mm. 
How are the outside dimensions? I think there is an offset setting that can help. Can you post up the latest file?
I will try the new settings tonight.
guess there will be yet another rook printed 
I tried the offset but still didn’t make it work on holes smaller than 1mm. Anyway, the part dimensionally is on the spot, around 50um maximum tolerance. Long beams are also a little bit straighter, as they tend to warp with this resin.
Use the link I left above.
The rook printed with the new settings.
Its a allmost perfect on the detail but the layer lookes like its more than 0,1 that the settings say it is.
That looks good. But I think you have the same issue I have with the sharpness of the print. It seems the recesses of the rook are not sharp as they should be, and I have the same issue. For small parts that’s a show stopper.
Regarding the layers, well, they are still 0,1mm but I guess that’s something regarding with the laser power. This resin needs a lot less energy to cure and the balance is hard to get. If I increase the power too much the resin will blow out and the surface will be full of bubbles. I have some more parts to print tomorrow and I will try to fine tune it a little bit more and then I’ll tell you something if I make improvements.
I wonder if this is for inside closed boundaries:
InnerBoundaryOffset = 0.12
I am not sure the software would care or see the difference between an enclosed hole or an outside surface. It is the only thing listed that does not have a description next to it.
I don’t think so. From what I see on the file OuterBoundaryOffset is basically the radius of cured resin for the perimeter. The InnerBoundaryOffset is basically the distance between the perimeter to an imaginary line offset from that curve.
I gather you are correct. I still can’t figure out why the outside dimensions are spot on while the hole is small.
You know, my opinion is that the resin (Photocentric) cures with such low power that the flare from the laser is enough to close down the holes.
For example, people say that black resin from FL can capture better detail when compared with other resins. This is because the resin needs more energy to cure and though mitigating flare effects.
But, well, I’m just playing around with it for a short while so they are just wild guesses. Hope someone has the time to investigate this further.
Sorry for never replying! It’s a Form2, and thank you!
Sorry for not replying sooner!
It’s printer on a Form2, at 50 micron layer height. The model is approx. 2" long by 1.5" tall without the horns, with the horns, its closer to 3" x 2"
I have tried the firm grey with the following on a Form 2 in open mode while printing 3 pieces (Large 13.63 mL, Medium 2.25 mL, and Small 1.1 mL without support volume)
FL Grey 0.1 (My standard .8 density and .5 point size) - Base and supports, the three actual pieces complete broke free from the supports.
(No photo of just supports lol, it looks too sad!)
FL Grey 0.1 (1.1 density and .7 point size) - Looks pretty rough and melty on the large piece with weird looking supports. Small and medium were of marginal quality.
FL Clear V2 0.1 (1.1 density and .7 point size) - Looks very rough the further it got from the build plate, pieces broken off the large piece and stuck to tray.Small and medium were of marginal quality.
FL Grey 0.05 (1.1 density and .7 point size) - Looks pretty rough the further it got from the build plate, large pieces broken off and stuck to tray. Medium piece broke free from supports. Smallest piece was of marginal quality.
Still more testing to do, too bad there is no OpenFL for the Form 2… Working through the Photocentric3D Firm Grey until I run out, then on to the Firm Black. More replies will follow as I complete jobs.
Dear´s,
I printed almost 10 parts out of Hard Black over the weekend. Very good results with Standard Black Settings on the Form1+ using Version1 Resin Setting and resolution of 0,1mm.
Parts are typicall bezels from Automotive company with thickness between 0,8 and 2,5 mm, using almost the whole print size of the Form1+.
Due to status “confidential” I can ot share pictures…
I can highly recommend to give the Resin a trial!
What’s your opinion regarding overcuring and difficulty in removing supports?
I tested both hard grey and firm grey. Both overcure with grey, white and clear setting at 0.1mm. Clear the worse You can clearly see this at the size of the supports. Firm overcures worse than hard but hard is very brittle. I chipped parts of the model while trying to remove 0.3mm supports.
I had support at 0.6mm (big parts) and no issue by cleaning the supports. I cut them away before UV curing.
Hello,
What setup you use on the firm?