After several prints that seemed to have more material in the base and supports than in the part I thought I would experiment with direct printing on the base. My conclusion is it works quite well with a few concerns. First is the base always has an over cure ridge zone around it. This might be due to purposeful over scanning of the base to ensure a good bond or may be due to unintended curing due to laser light reflecting off the build platform. I have suggested making the platform black to help control this. The second is unsupported over hangs. My solution was to add my own supports where I want them and of a size and shape that does not impact the form and function of the part. This allows internal supports and sculpted supports something the automatic software cannot do. I have a model of a Minion that I hollowed out and broke into four pieces. It builds directly on the base with minimum waste. I ran it at 50% size with very good results. See the photos. I will add some additional photos after I get it painted. Based on my good results with a 1mm wall thickness at the 50% scaling level I will re build the model with thinner walls before printing it at full size.
Are you scaling a 2mm wall to 1mm for the print? Or are you scaling a 1mm wall down to .5mm in the print? Either way, it’s great to be able to print at that thickness.
What settings do you use? Or do you print with no base/supports. I’ve tried that with a .75 diameter coin shaped object but nothing stuck to the base plate.
This print had no base or supports. I used the face plant command to place the bottom of the objects directly on the build platform. I have successfully printed many tings directly on the base with no supports. The build platform must be clean and the surface you are building must be perfectly flat. I clean my build platform with acetone or denatured alcohol. Do not use the alcohol from the cleaning tank it is contaminated with blobby resin which I believe was the cause of some build failures. As with any build be sure to comb the tank for blobs and cured patches on the silicone. They always cause build failures. I also build as close to the left edge of the platform as I can( place parts at the bottom of the build area in PreForm program ). I have had adhesion failures on the right many times. Also most direct build items have voids about 2mm to 3mm from the build platform on surfaces perpendicular to the peal direction. On the left they are not too big on the right they extend many mm long and 3 or 4 mm tall. If you plan for them they can be patched easily with some super glue and zip kicker(super glue catalyst) I tape the important side of the hole shoot it from the other side with zip kicker and drip some super glue in the hole. Presto hole filled. When you peal the tape off the surface finish looks almost perfect.
We have started doing this with mechanical parts that have big flat sides. There benefit is three-fold. cleaner surfaces that don’t need sanding, less resin used on support and quicker print time.
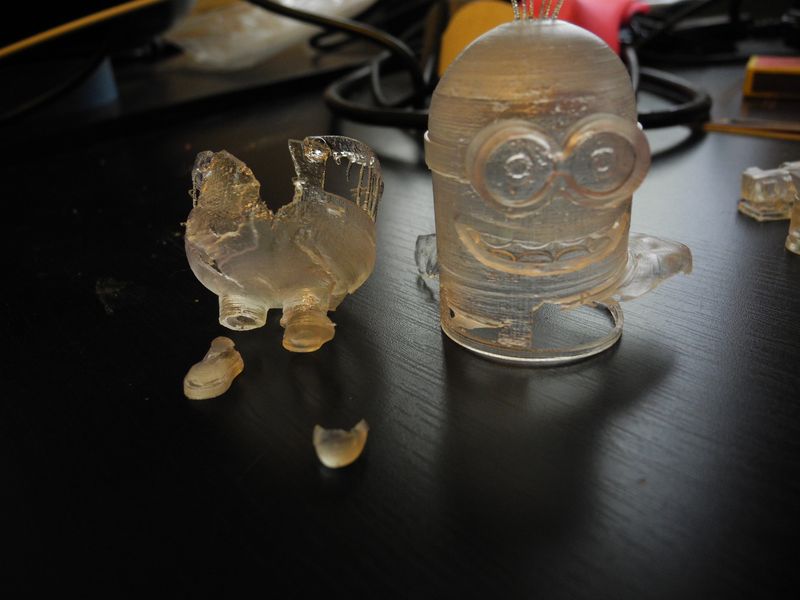
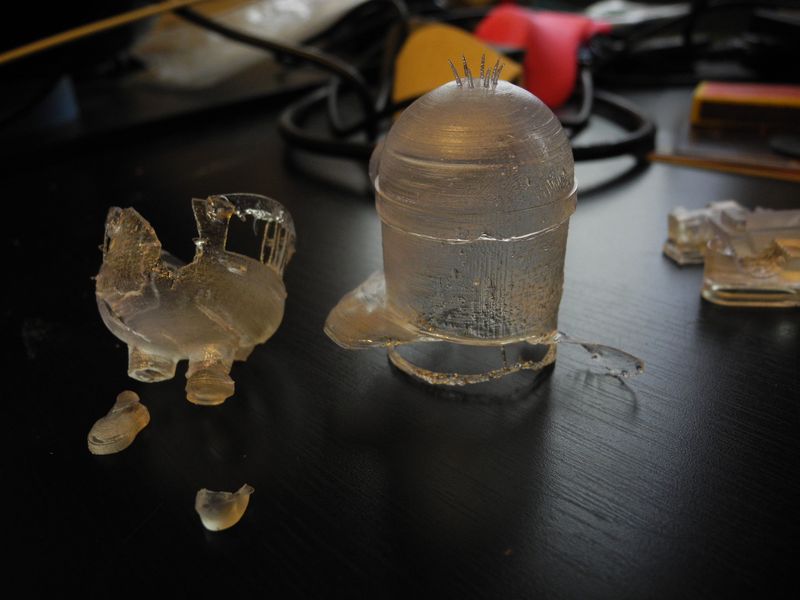
I’ve tried to recreate your experiment with very poor result. The first time I tried the bottom half of the two pieces started peeling in a very strange way…
The second time I tried the results were better (I use transparent resin but I set the printer for gray)
I attached pictures from the two experiments below. Do you have any suggestions as to what might have gone wrong?
You should always make sure to use the appropriate material settings for the resin that you’re working with. If you’re seeing additional issues, don’t hesitate to open up a request with our fantastic support team at support@formlabs.com. Make sure to include the photos and what you’ve been up to, so they can help you out.
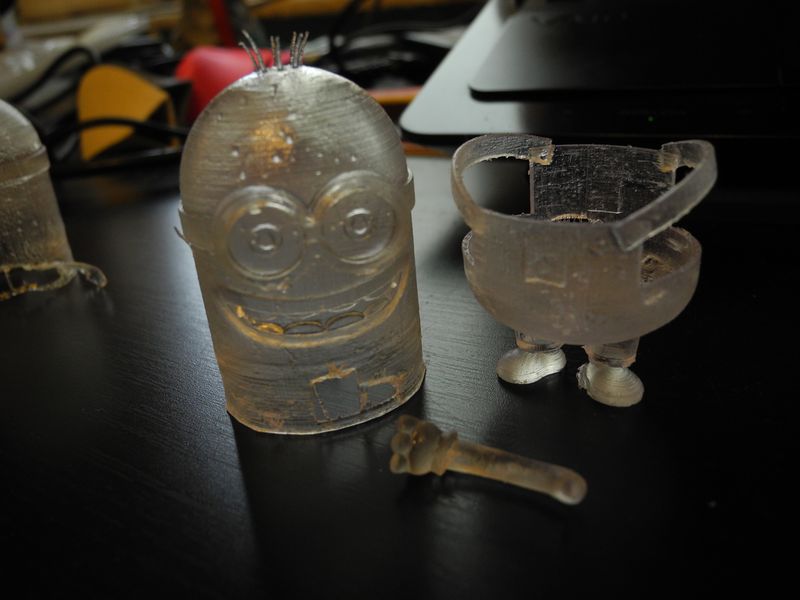
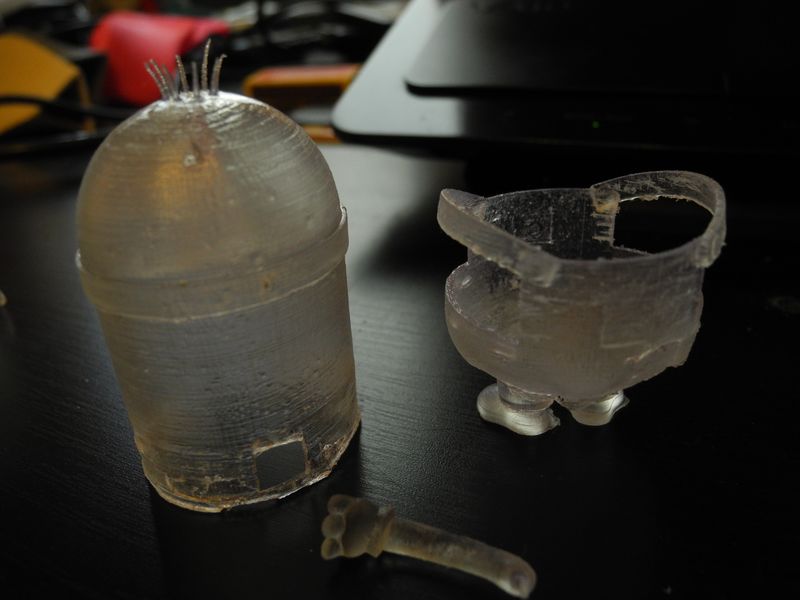
Those big holes are common when printing to the bed anything that creates an enclosed hole. The reason is something like the outside border encloses an area so as the bed lowers to the tray it captures resin which doesn’t have time to escape as the two come together which builds pressure up and blows a hole through the side wall. This can be alleviated by setting the z-offset to minimize compression and making vent holes in the perimeter around the base where the print meets the bed.
Those big holes are common when printing to the bed anything that creates an enclosed hole. The reason is something like the outside border encloses an area so as the bed lowers to the tray it captures resin which doesn’t have time to escape as the two come together which builds pressure up and blows a hole through the side wall. This can be alleviated by setting the z-offset to minimize compression and making vent holes in the perimeter around the base where the print meets the bed.