So, I’ve been reading up on, experimenting and looking into using a laser to assemble large multi-part prints and would like to hear a bit how everyone else is getting on with it. Here’s some info about my situation and what I’ve been trying. Might be a good idea to at least skim through it before chiming in- apologies in advance for all the text as I’m just trying to be thorough.
Hopefully this thread will result in some solid information for future reference that will help people with similar needs.
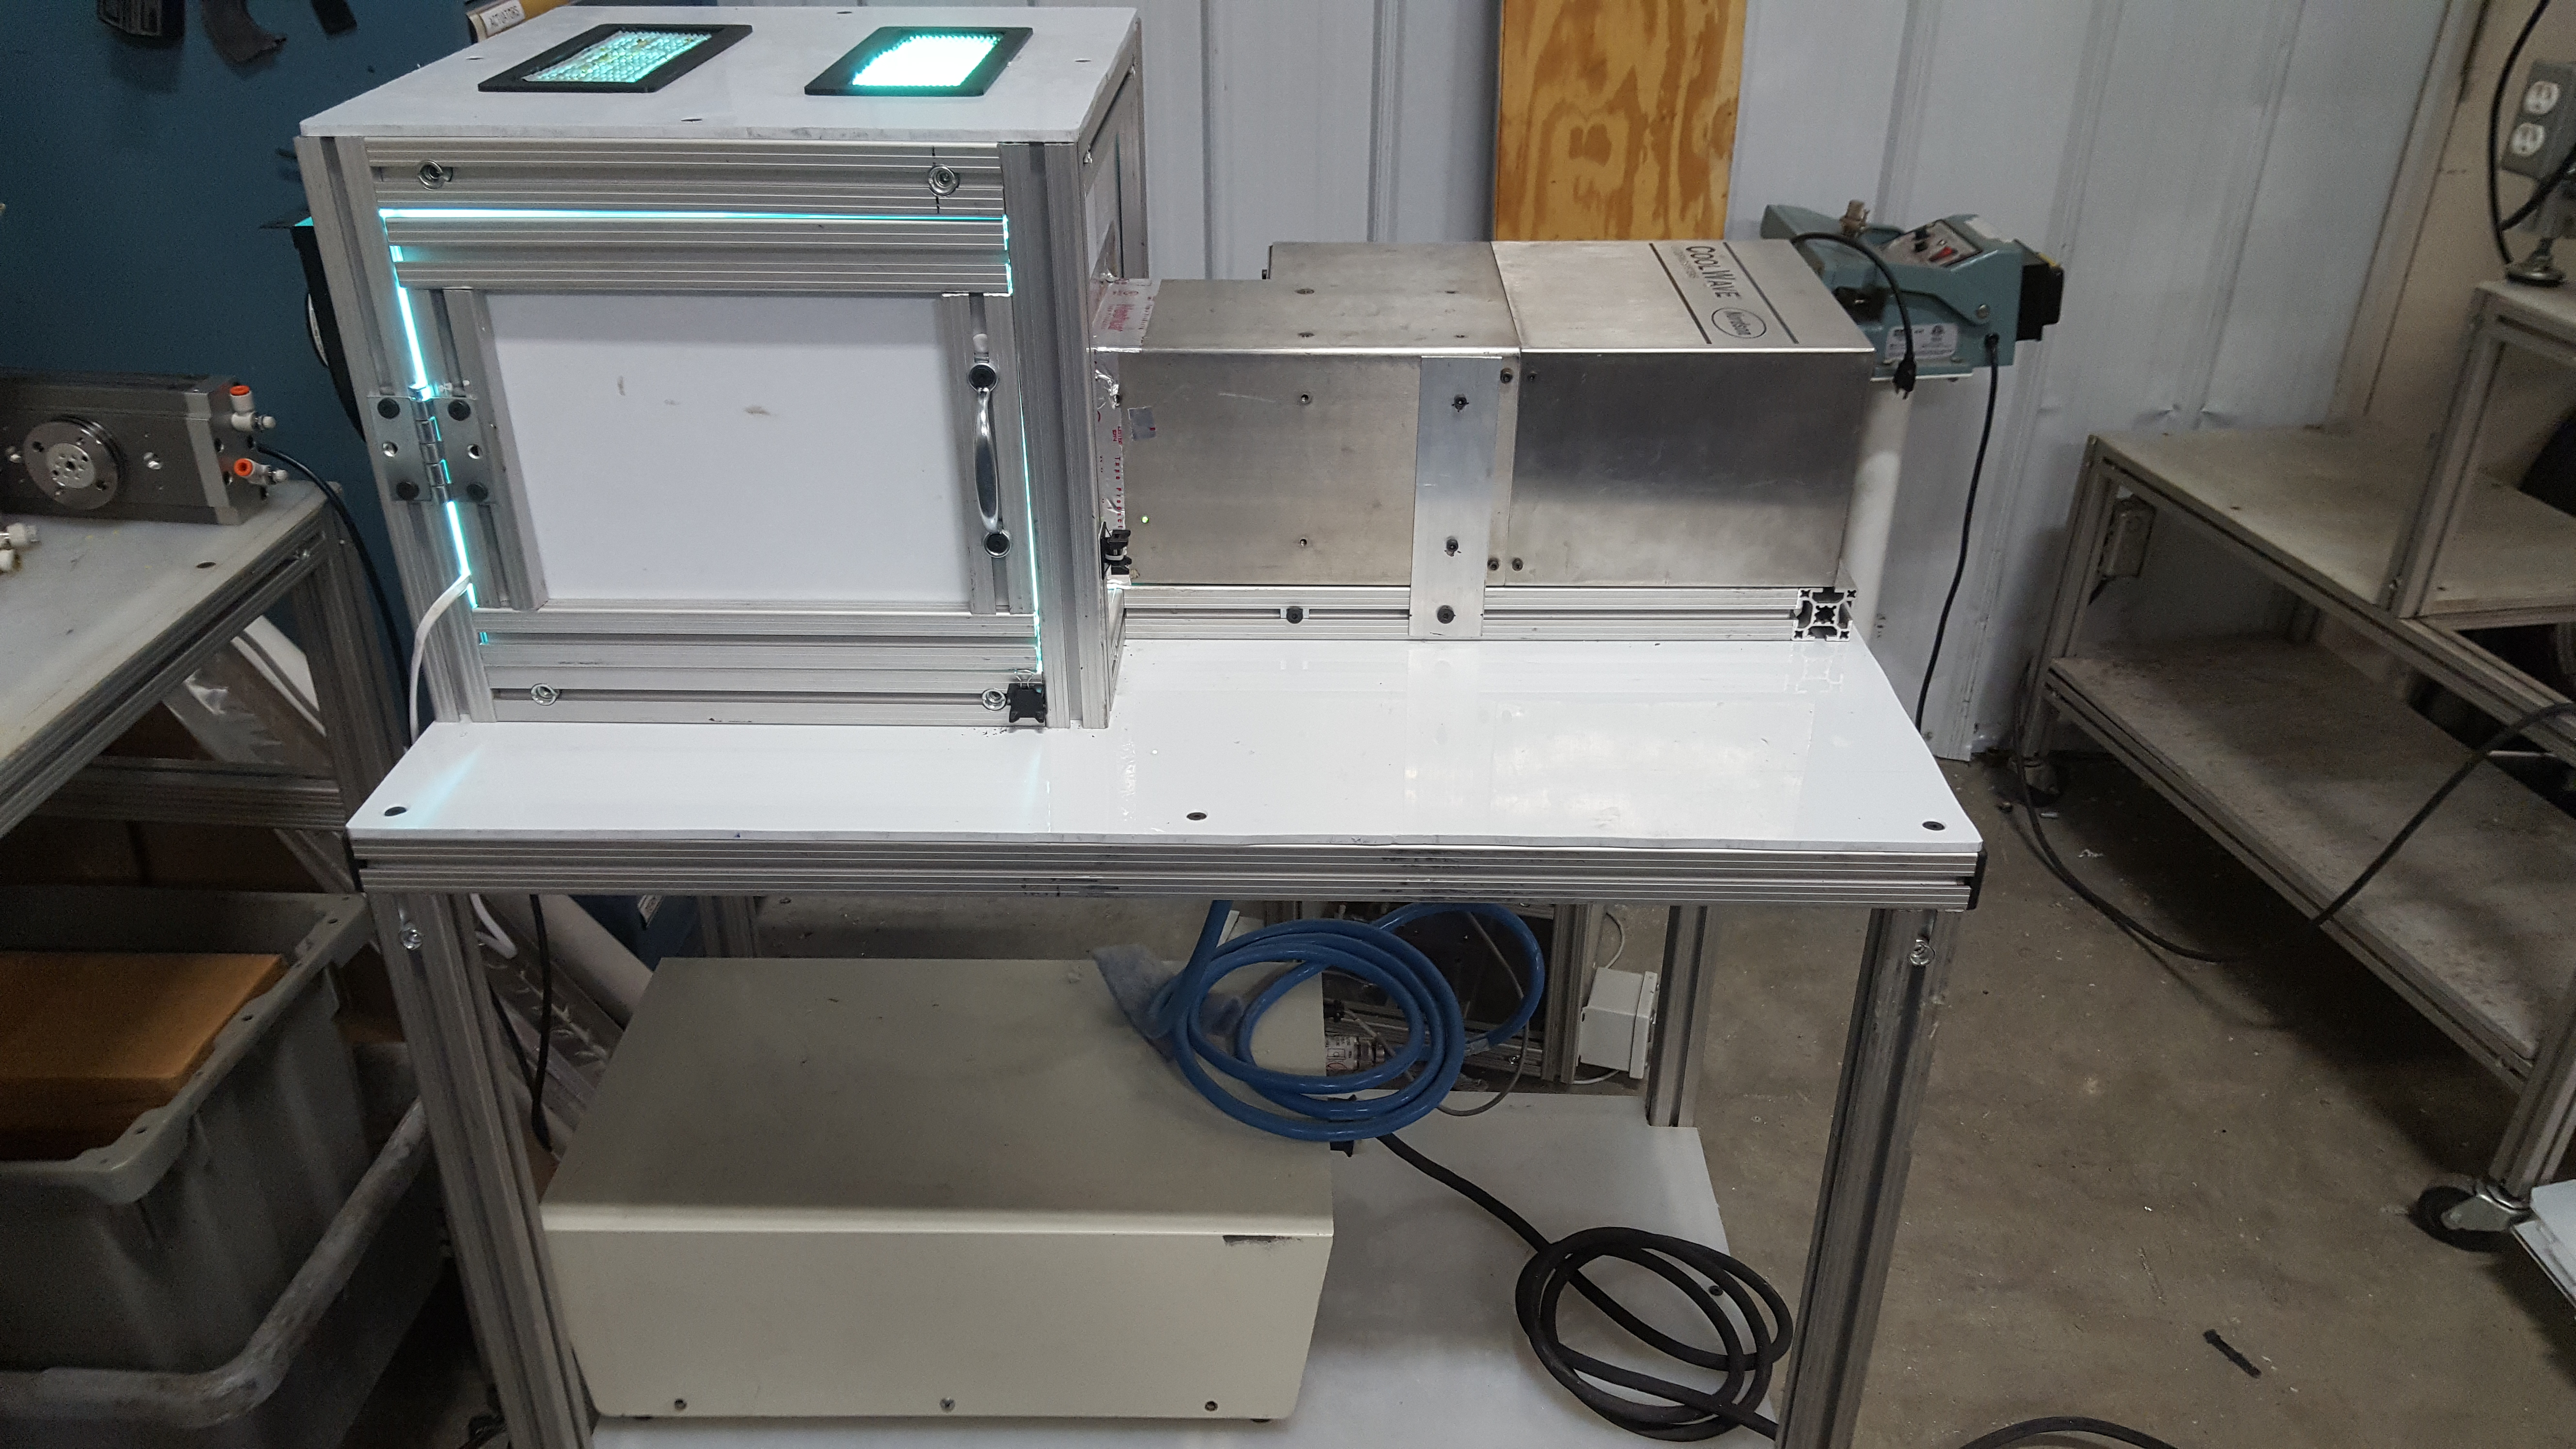
I am looking for a functional setup to assemble parts that are 5+mm or thicker (i.e. the laser has to penetrate deep enough to cure resin several mm into a print). Until now I’ve been testing with a weak pointer and Form Cure (removing the rotating platform to fit bigger pieces), with varying results.
In my area, laws (due to morons pointing at people, cars and airplanes with green lasers) have made laser POINTERS above 1MW illegal without a license (which costs about $1K/year) so my current experiments have been restricted to 1MW. A loose laser MODULE or LED light is, however, unrestricted and unregulated so that is where I will start testing with next, but since the good ones are rather expensive, I wanted to check with all of you here first so that I don’t waste several hundred dollars on useless hardware. (Again: a ready-made laser pointer is NOT an option - I need to build myself a unit with a laser module OR use a LED flashlight.)
My testing (using a 1mw 405nm pointer and Form Cure) has shown:
Tough resin will ‘skin’ about 1-2mm in under a minute with 1MW, and putting the parts in Form Cure for 30-60 minutes will completely cure several mm into the material. (I have however abandoned using Tough resin due to warping.)
Grey Pro (my go-to resin, that I mainly use) will barely start to cure on the surface after 1-2 minutes with a 1mw laser. Putting the parts in Form Cure is pointless, because even after a couple HOURS, even running the cycle more than once, it will only cure maybe 2-3mm in. The center of a 6mm thick piece was still liquid when broken apart.
SO, I need to have a laser-based solution that will penetrate deep into the grey resin and NOT need to be post-cured, since the models (helmet-size and larger) will eventually get too big.
Since the Form Cure uses many LEDS, it would be great hearing from those of you that use LED flashlights how they compare- especially if you use the GREY PRO, GREY or other ‘opaque’ resins that block light. I would guess that even the strongest LED flashlights will not penetrate deep enough into the resin. Or is that incorrect?
For those of you using laser modules or laser pointers, it would be great to know how strong they are (in MW) and how ‘deep’ you have been able to cure parts (since we’re talking about more that just surface filling imperfections). Let’s try to get some solid info down that folks in the future can use, that goes beyond getting a random laser pointer on amazon or ebay.
Currently, I’m thinking of getting a wide-aperture (16mm beam) 250MW module and printing a holder/grip for it that can house a battery and power switch. I wonder how deep the light will penetrate though- if even 250MW will cure resin several mm into a part. (As I recall, the Form 2 uses a 200MW laser?)
I don’t want to rain on your parade, and I really appreciate the experimental approach you’re taking, but just by observing how visible light passes through the two liquid resins, you can see that you’ll have much more trouble curing Grey Pro resin to a 5mm depth than Tough - a tank full of Tough is transparent, a tank full of Grey Pro is opaque. A strong UV flashlight or LED module might cure deep enough to hold your parts together, but probably not as deep as you want.
For now, If you’re set on making large parts assembled out of smaller Grey Pro pieces, you’re probably better off using more conventional adhesives rather than trying to photo-cure-glue the parts with the same Grey
Pro resin they’re printed out of. Unfortunately, I don’t have a handy reference for the best adhesive to use, but looking around various threads on these forums, people have had success with a number of different kinds, depending on the application - cyanocrylate super/crazy glue, 2-part epoxy, polyurethane glues, miscellaneous Henkel/Loctite products…
The main question I might ask is why do you absolutely need to use UV-cured resin to link your parts together ? There are acrylic-based bi-component glues, typically bi-component cyanoacrylates which, with the help of a clean part and a surface preparator will glue your pieces as deep as you want and the bond will likely be stronger than the actual resin.
For assembling planes, they don’t rivet or make the aluminium hot enough to weld plates to each other, they use glue. Today there even are high-end double sided tape that are used to glue metal and plastic parts together with great accuracy and strength.
I have done extensive testing (including ‘pinning’ parts and trying different ways of doing surface prep) with just about every type of conventional adhesive and they are all inferior to using resin, which is why I started this thread.
Quick rundown of the main ones I’ve tried:
Cyanoacrylate/Superglue (several makes ad types- this, gel, rubberized, with and without catalyst and so on): too brittle, very weak bond to the resin.
‘Gereric’ Epoxy (several types): Not strong enough- weaker than the Grey Pro and does not grip the surface enough.
Industrial Epoxy (JB Weld): Similar results to the generic epoxy.
Industrial Plastic Epoxy (JB Plastic Weld): Weaker than JB weld, very brittle.
Industrial Plastic Bonder (JB Weld Plastic Bonder): Best results out of all conventional adhesives, but still weaker than resin.
Industrial auto bonders: Very weak grip
Polyurethane Casting Resin used as glue: Surprisingly strong grip, possibly good for lamination, but about as brittle as regular epoxy.
Acrylic Cement: incompatible with the resin
Polystyrene Cement (regular model glue): incompatible with the resin
Contact Adhesive: not suitable for model parts and cannot be sanded because of its rubbery nature.
Water-based glues (PVA, wood glue and similar): much too weak, needs porous surface to bond
Gorilla Glue: Unsuitable due to the expanding nature
It should be noted that the ‘pull strength’ of many of these glues was great, but they can’t take shocks or ‘snapping’ forces. (I snapped them fairly easily with just my hands, with the one exception being JB Weld Plastic Bonder, which took a pair of plyers to snap.) Granted, even Grey Pro doesn’t handle that as well as a traditional casting resin, and nowhere near as much as Tough (which was useless for my needs due to the horrible warping) but printed suitably thick it IS pretty durable.
I know that the GP is absorbing a LOT more light than Tough- hence this discussion- trying to gauge exactly what it will take to penetrate deeply into the opaque resins. (I did some very quick testing with regular grey and that does seem to let more UV light through, but I didn’t use it long enough to get any more info as it was too brittle overall.) Several hours in Form Cure DID penetrate a bit into Grey Pro, but the volume is too small and running models in there for 10 hours isn’t practical, so the aim is to figure out a suitable power/time ratio that will work.
You might be able to penetrate 5mm with a high powered module like this:
BUT keep in mind the higher you go you may risk burning the part. I don’t know if you could use a unit like that and be able to walk in the mw OR widen the focal range reducing the lumens.
I have a similar issue where the newer resins do not expose properly on my F1+ as they are designed for the F2’s and I have inner parts with really under exposed resin. This is causing havoc as I now have to go through hoops to make masters for molds. If a laser module like the above works let me know.
Sorry to hear about the problems with the resin and the F1+. One of my own main worries as a Form 2 owner is that it will become obsolete and useless long before I pay it off!
Just reading what 1500MW will do (i.e. burn things!) makes me think that if you need something that strong, the whole idea is dead in the water. (I also wouldn’t want to mess around with that kind of power.) I haven’t tried burning or melting cure Formlabs resin, but chances are it’ll destroy it. (Even a 250mw can start to burn things after a while.)
If we think about the fact that the F2 laser is around 200MW and only needs to ‘flash’ over the resin for a millisecond to cure a 100 micron layer, we can imagine that a similar strength laser held over resin for several seconds (or a minute) will go a lot further. Even a 1mw laser pointer will ‘illuminate’ a larger area in Grey Pro- it’ll shine through a 5-10mm part easily. The big question is of course how much UV light makes it through.
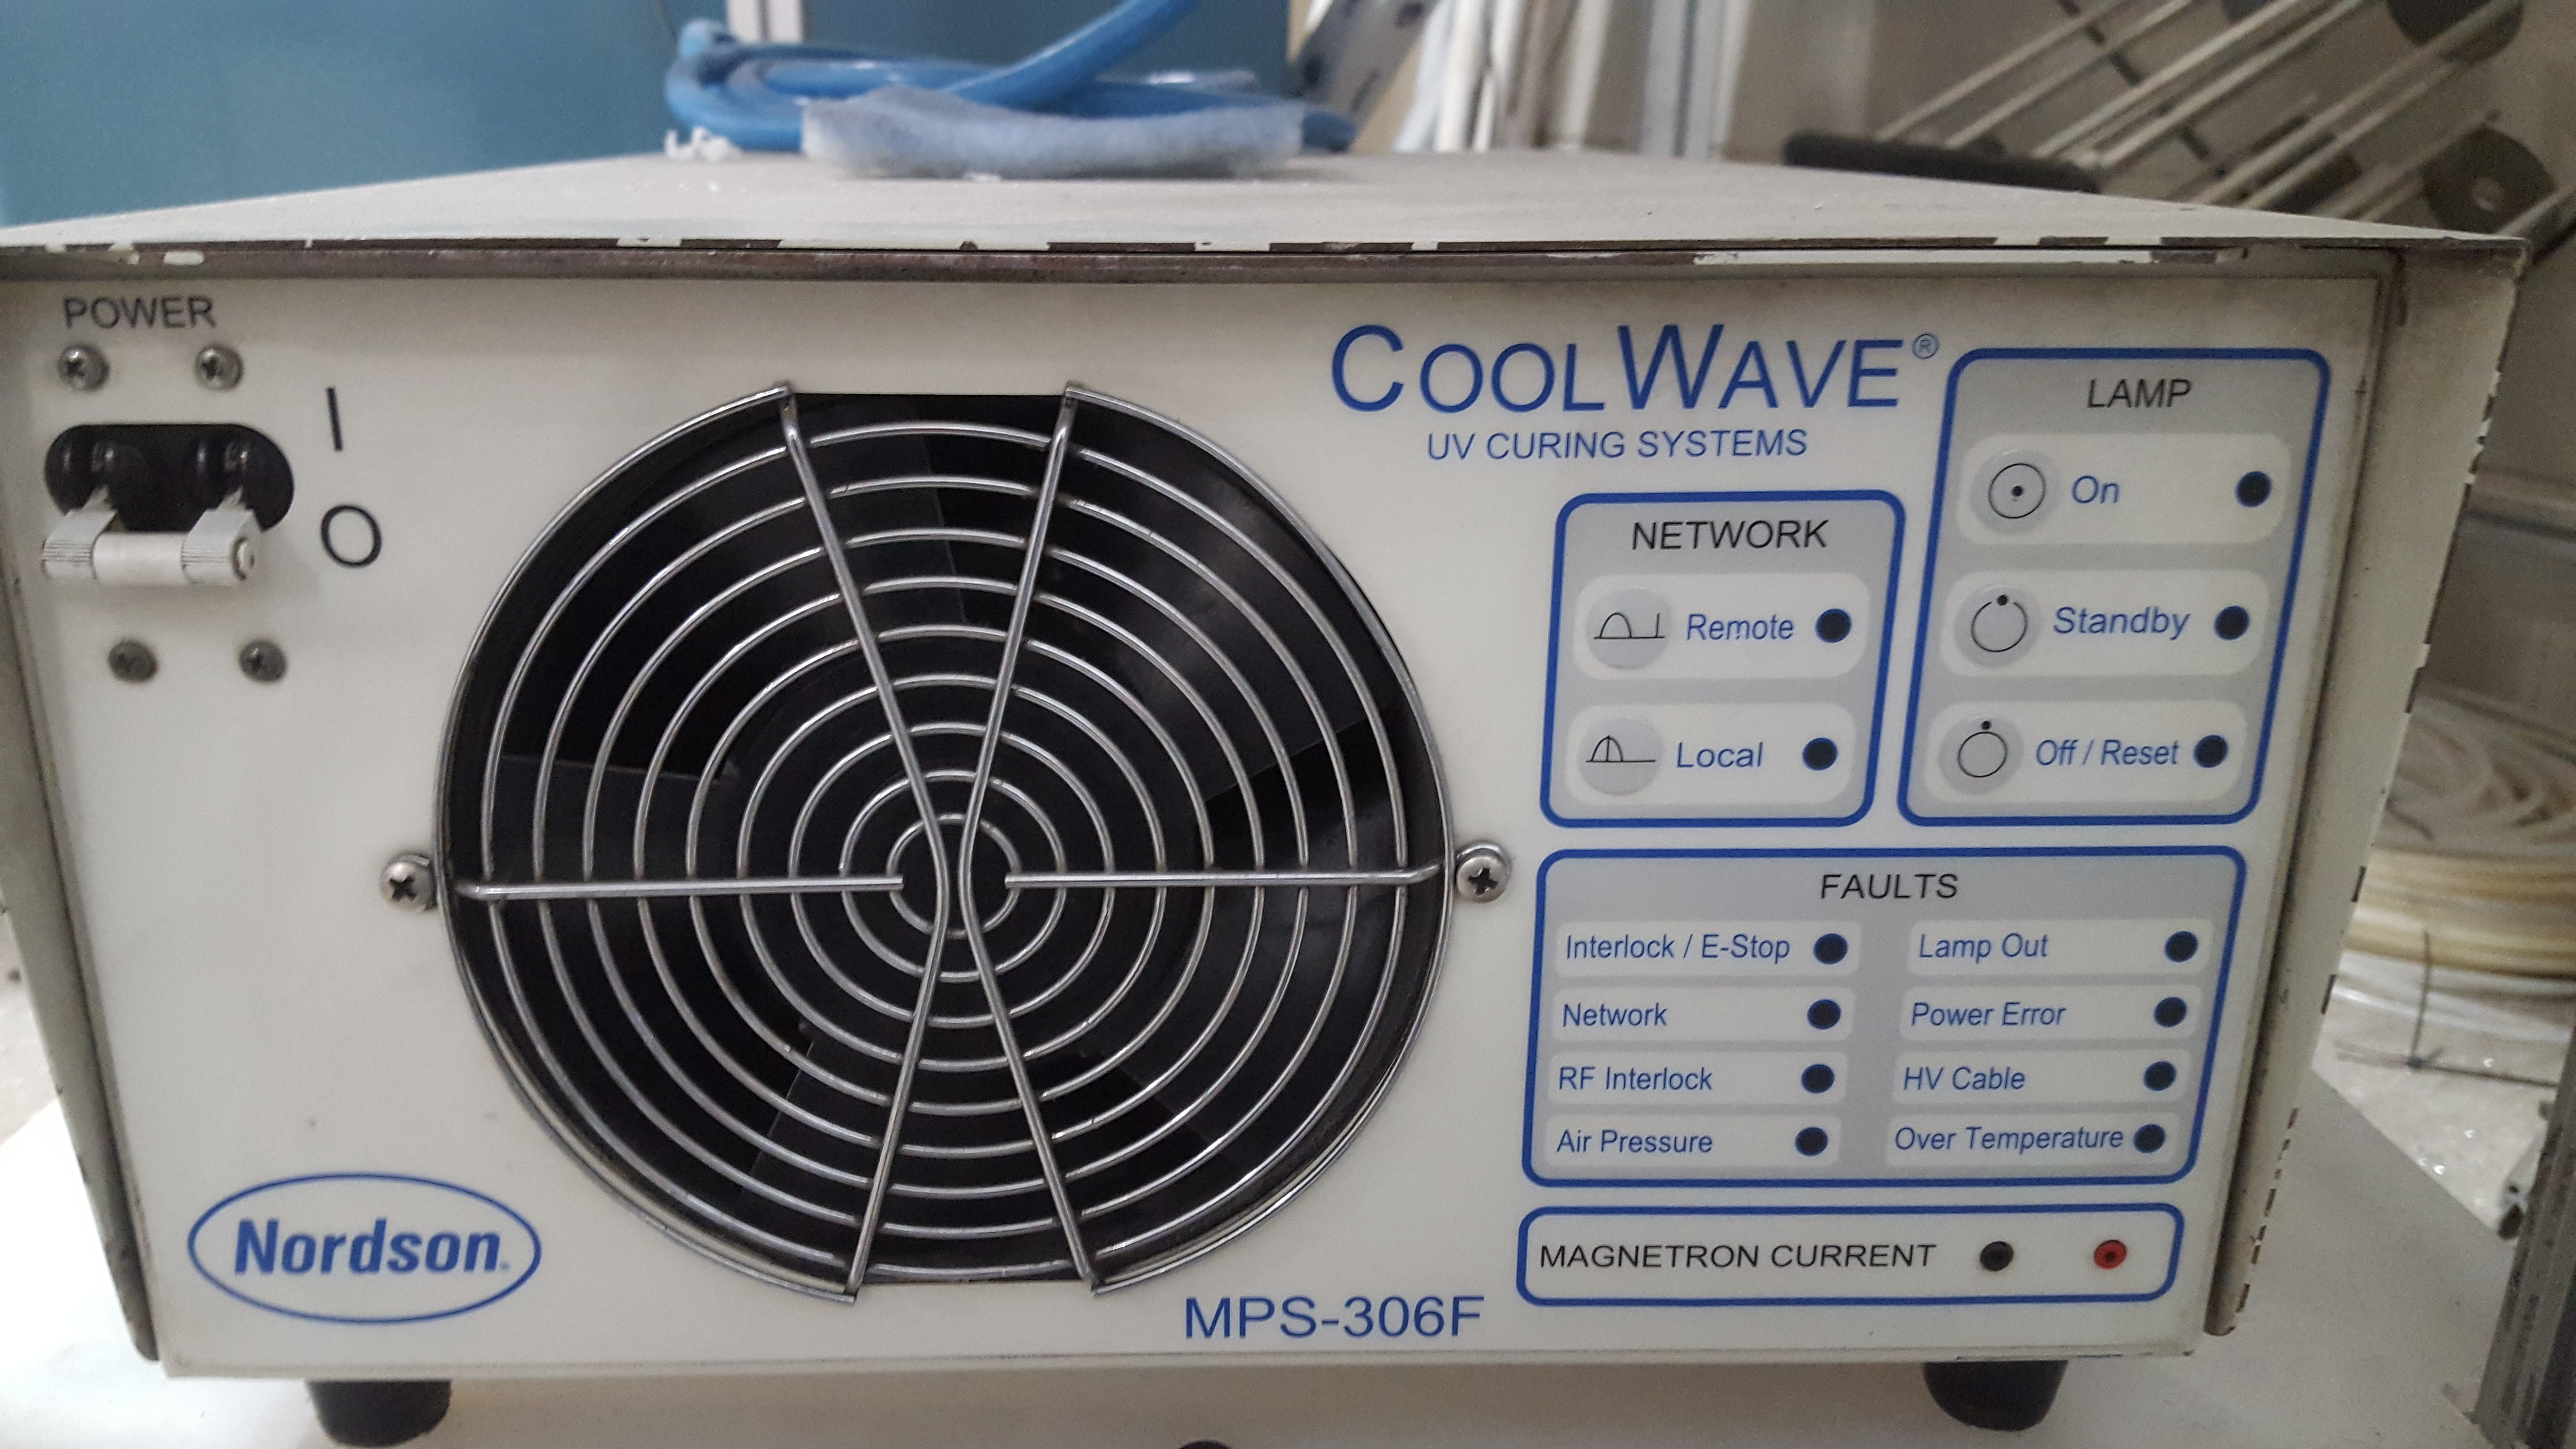
I know folks here have reported that a 250MW will cure a surface layer in a couple seconds, but that was long before Grey Pro (which seems to need a lot more light, possibly the reason for the Resin Tray LT requirement and Formlabs recommending replacement after only 2 liters), and not much discussion on how deep people have been able to cure.
I would be interested to see how far my curing box would penetrate the gray.
Unfortunately we do not have any gray resin in house for me to test for you.
I always over cure with this industrial UV cure box.
We also have the form labs cure station but I am not impressed with it as most of the time it doesn’t cure in the times it should plus it takes forever to get to temp.
I use a 5mw to fuse small thin walled parts. It is focusable so I can pinpoint to go deeper but even on clear resin it wouldn’t go past 2mm. Pretty much all the resins are similar, not only do they have blockers in them to prevent blooming as the layers are exposed some have pigments that also add to blocking. It is too bad they couldn’t make these resins a hybrid photo initiator/thermoset allowing further curing by heat such as a small toaster oven or microwave.
There are 405 panel blocks but I think the blockers are too strong and you will ultimately burn the surface before curing the inside.
Has anyone tried an acrylic adhesive to bond the parts? The stuff they use on acrylic fish tanks and awards?
Yeah, it does take a long time to get up to temp- especially if you cure at 80 Celsius, which is the recommended temp for Grey Pro. I was thinking of maybe testing a cure cycle of 8-10 hours just to see if it makes any difference. (The power company must be loving me by this point!)
The main thing I believe that you should do with the 2.5W laser modules like these is to make sure they are pulsed (flashing) to maximize penetration and minimize heating. You might manually do this, or get a driver that has TTL input and get a driverless laser. The one for laser woodburning and paper cutting has a constant current driver, but you could try putting a pushbutton in line with the power (there is a slight turn on delay).
That is quite a list. I have some urethane resin and was going to test that but yes it is way too brittle. I have some phenolic resin used for boats I used to use for fly rod building, if it isn’t expired I can give that a shot.
Only other way out is to job the file out and have it printed in one piece.
A setup like that would probably be too bulky and unmanageable. (Maybe I should have mentioned that I don’t have a large industrial workshop, just a few square meters.)
I’ve used that before, but not on prints. I don’t think it will be strong enough though. It’s been a few years, but from what I remember it isn’t more durable than the usual 2-part epoxy resins, just more suitable for wood. Unless there is an adhesive out there that can actually dissolve the cured resin and basically create a homogeneous bond, it’ll be a no-go.
JB Weld’s “Plastic Bonder” (NOT the “plastic weld”) is actually the most durable I’ve come across of conventional adhesives. It’s damn strong and grips the cured resin better than anything I’ve tried apart from actual resin. It also withstands shocks and snapping better due to a very slight flexibility to it. So, a good “worst case” solution.
Not an option. I’d rather go back to doing things on the old Ultimaker!
I don’t generally try to cure resin super deep… I am more concerned with getting a smooth SURFACE- that is, being able to sand or detail across a join and get a consistent material response to sanding and paint.
To that end I usually model my joints so that I have an internal surface that mates in contact with the adjacent part- while the outermost mm or 1.5mm is actually a small GAP between the parts.
In assembly, I use a two component super glue to glue the parts together with great precision. This features a marker you use to draw an accelerator on one side of the joint, and a cyanoacrylate glue you apply to the other side. What is nice is that the bond is strong and pretty much immediate… so I don’t have to try and hold parts aligned while juggling a laser.
After that, I can fill the shallow groove I modeled between the parts across the joint with liquid resin I apply a little at a time- curing it with the laser. It might take several passes of adding a little resin, curing it, adding a little more, curing it- before I end up with a slightly proud resin bead that I can then sand to a smooth surface.
I find this works really well and provides a super strong joint.
If you want to cure 5mm deep- you have to realize that you need a GAP between hardened parts that the liquid resin can fill to bridge the gap. You are not gonna get a laser to shine deeply into a tight seam between two parts. So model your joints to allow you to apply the liquid resin just a quarter mm at a throw and lase it- then add more on top, and lase that and then add more.
just work from deep to shallow and you can cure any depth of resin… the same way the machine does. One thin layer at a time.
A 200mw laser cures the resin in a second or two at most- because a half mm thickness of resin is still five times deeper than the thickest layer the form2 prints.
I bought the laser online. if you have any friends who live in a different location- have them order it for you,
I’m not exactly sure what brand or formula we use but we call it RTV. We use it to attach pucks, hard points and such to large diameter telescopes (over 8 meters in dia.). We also used it on the OsirisRex space mission. And that survived vibration tests and a rocket lift off. Let me know if you would like more information.
I have a 200 mw laser.
It is focusable… but the beam converges to that focus- so you can hold pen in hand and simply change the distance to change the spread and energy of the exposure.
It won’t burn most things unless they are pretty dark- but you still only run a laser like this in ten second bursts at the most. You keep the laser spot moving while its on and I have yet to have any issue.
One important caveat- if you are running a UV laser WEAR PROPER EYE PROTECTION. you need the laser glasses specific to the wavelength you are lasing.
Oh- and I use the laser pen all the time to embed steel rids and other reinforcing in resin prints.
For example- a 1/8th" steel rod inside a 3/16th" channel… Again, I just fill the channel a little at a time and laser each layer, until its entirely buried in cured resin.
By all means… that sounds like an interesting adhesive!
Do you recall how deep you have tried?
I DID manage to cure pretty deep using Tough, with no gap between the parts, and that was with a puny 1mw and Form Cure.
I haven’t actually had any trouble with that so far. The tests I’ve done have made it pretty easy to just sand the outer layer smooth.
I’ve tested this as well and have actually concluded that the accelerator actually makes the cyanoacrylate more brittle due to the rapid curing. (My guess is that the quick change in consistency, along with a slight contraction, creates micro-fractures in the glue.) When I’ve tested, cyanoacrylate has been super-strong in terms trying to pull pieces apart, but worthless when putting force at an angle.
Of course! I don’t even look directly at the 1MW pointer dot.
I have local suppliers of lasers, so that’s not a problem. (I just have to use a separate/loose laser MODULE and connect a battery myself because ‘ready-made’ laser pointers are regulated and need a license. (They introduced legislation here a few years ago after problems with idiots shining lasers at police, aircraft, cars and so on. Anything above a 1MW, if it’s a laser pointer, is illegal without a permit. It’s funny because the way the law is worded it actually gets at most of the ‘abusers’ while still letting legitimate users still have access.)
Depth of cure depends on the resin. Durable, tough and clear will cure about 2 mm deep with a 200mw laser.
Grey and other opaque resins not really any deeper than the laser penetrates.
But I have cured resin up to a quarter inch thick when I simply do it one thin application at a time.
The 200mw laser makes short work of doing repeated fills because it cures the resin rather quick.
I do not rely on the Cyanoacrylate to be the primary bond… The primary issue with assembly is alignment and holding the pieces firmly together while the laser cures resin.
So I model joints to a tight fit and then I cut a shallow groove at the surface prior to printing.
For example, In bronze casting, if you have to cast a separate arm that joins at mid humerus- if you cut make a clean sharp edged cut… then when you weld the arm on, you will need to sand and polish across that joint… in doing so you essentially grind off the weld.
So what you want is a V shaped groove where the two surfaces meet- this way your weld is filling below the final surface and when you grind and sand it smooth, you still have a 3/ 16" weld bead fusing the two parts together.
Its the same with the resin… I only use the super glue to Hold the parts tightly in correct alignment… then I do the laser weld around the perimeter of the join. At a join I will have the two parts around 3-4 mm thick- but only actually meeting each other along the inner 1.5 mm. Thus the resin I am going to add to fill the groove is around 1.5 to 2.5 mm thick. and the groove is about 1 to 2 mm wide. That is substantial.
People tend to think of assembly as a thin plane of GLUE- like the superglue… but I would never use laser cured resin that way. You want to create a space between the two resin parts that you will fill with cured resin. This way you cure the added resin from the bottom of the groove out until you have fully cured resin all the way to the final surface.
Sometimes I will have a part that is socketed such that the assembly line can not be seen- like up inside a sleeve- and in those instances I will use a glue- usually a 2 part epoxy- but if it needs to be strong, I will create one or more holes straddling the join and use gel epoxy to cement a wire rod across the join. Like a piece of rebar.
I have had some really good luck with laser bonding of parts in the last few months. Some tips: create features that interlock between the pieces to be bonded as well as sanding the surfaces a bit. Also, use a jig to hold your parts together. If you have access to both sides of the area to be bonded, I had a lot of luck building out a layer on one side, curing it, then moving to the other side and filling 1-2mm at a time along the crack. Afterwards the excess material would be sanded back to level, then polished until transparent. Also syringes definitely make it much easier to get into the nooks and crannies. In my case we were working with clear, and I was able to create a couple 11” hemispheres that were almost as transparent as acrylic (a couple tiny spots ended up with micro bubbles that I could not remedy, but they are almost impossible to see from more than 6 inches away). I used lasers, as well as an LED torch for the exterior surfaces of the gap that I was filling.
Do you know what the longest time you have tested is? (i.e. have you gone over an area for an entire minute or two or just a few seconds?)
Interesting that durable is similar to Tough. Is durable clear before it’s cured? (I’ve only seen finished parts.) With the tests I did, Grey cured deeper (0.5-1mm) with the 1MW than Grey Pro hovering back and forth over a seam for 15-30 seconds. (I get the impression overall that GP needs more energy to cure overall, with wearing out LT tanks and needing 80c in post cure, though I’ve found that 70c works too.)
I will soon be doing some parts in clear (never had any use for it before) so it’ll be interesting to see how that fares.
Aha, I didn’t understand that’s what you were doing. I do that as well, when bonding objects with long-set epoxy like JB Weld.
I pin assemblies as well. Lately I’ve been using threaded rod so the adhesives have more surface to grip.
Always a good idea when there is space for it.
Do you have any information on their strength, how long you exposed, and what resins? How did the torch fare vs the laser?
The initial idea of this thread was to get some solid data on how the resins react to different exposure times and power levels using external sources of UV.