Hey guys. So I think I might be printing too danged hot but wanna run this by everyone. Cleaned out the machine and soft and switched to Nylon12 tough yesterday. Aged the material then printed the bed temp calibration.
Results. Even at -2 degrees the cones were perfectly formed. No orange peel. From what I am reading this means that the bed is still too hot when the plaque was printed?
I ask because I just ran a production run with -2 offset which worked fine, however I had a hell of a time removing armour. It took absolutely forever lol… blast couldn’t remove it from a couple of finer spots and it filled and erased a couple of smaller details as well. I’d have to use a wire brush to remove the armour if I was to do it by hand.
How much of an offset is just too much? I’m a tad nervous about just dialing it back too far but I do think I still need more.
1 Like
I just had my Fuse 1+ swapped for a new one last week and kind of seeing the same thing.
For Nylon 12, my original Fuse 1+ was calibrated around -1.75 with half the cones “rippled or orange peeled” between and around that -1 to -2 test calibration print….as they should be and expected.
However, running the temp calibration on this brand new Fuse 1+, I had zero distortion, ripples/orange peel on any of the cones all the way down…. they all looked perfect. I did have orange peel on the forward side of all the temp prints…. with maybe slightly less on the +1 to +2 end…
Only thing I had to really gauge my decision on was the topside “burr” and that was looking the best at -2….
But like you said….the cones all looked beautiful so it was hard to gauge that with the added orange peel looking bad on ALL the forward facing edge of the parts…?
I asked, and was told that they “think” that the temp calibration is done in “Default” mode…
So I ran a chamber of my first chamber of parts at a -1.75 in the Speed Optimization Setting and they all looked good with no orange peel…but yes, I been doing this for years and the surface armor was a PAIN IN THE AZZ and had to run it in the blast three times and pick out my small holes in the part with a scribe between those runs. Also, the entire loose powder bed was a lot harder than normal and from my years running a Fuse 1 and a Fuse 1+ I know it’s still way too hot even though it says that the Speed Optimization setting does do a hotter/harder surface armor…
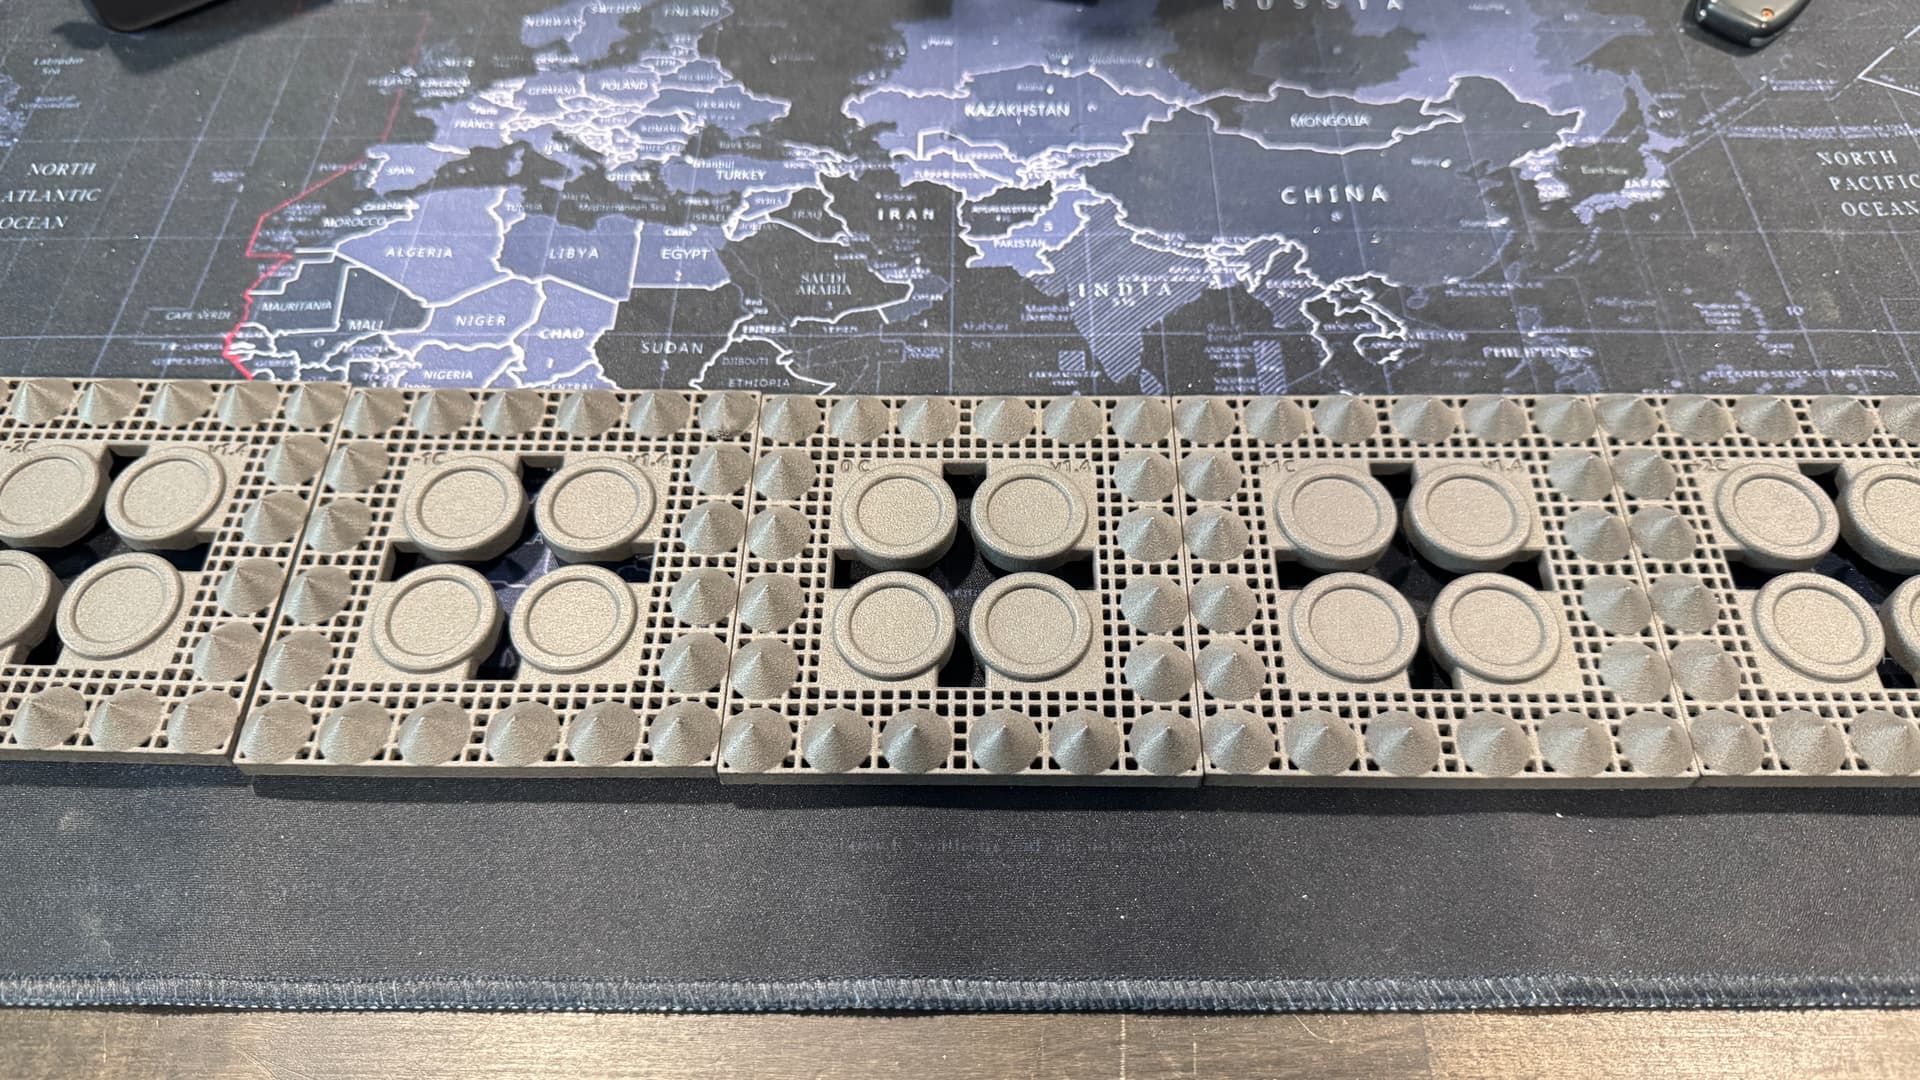
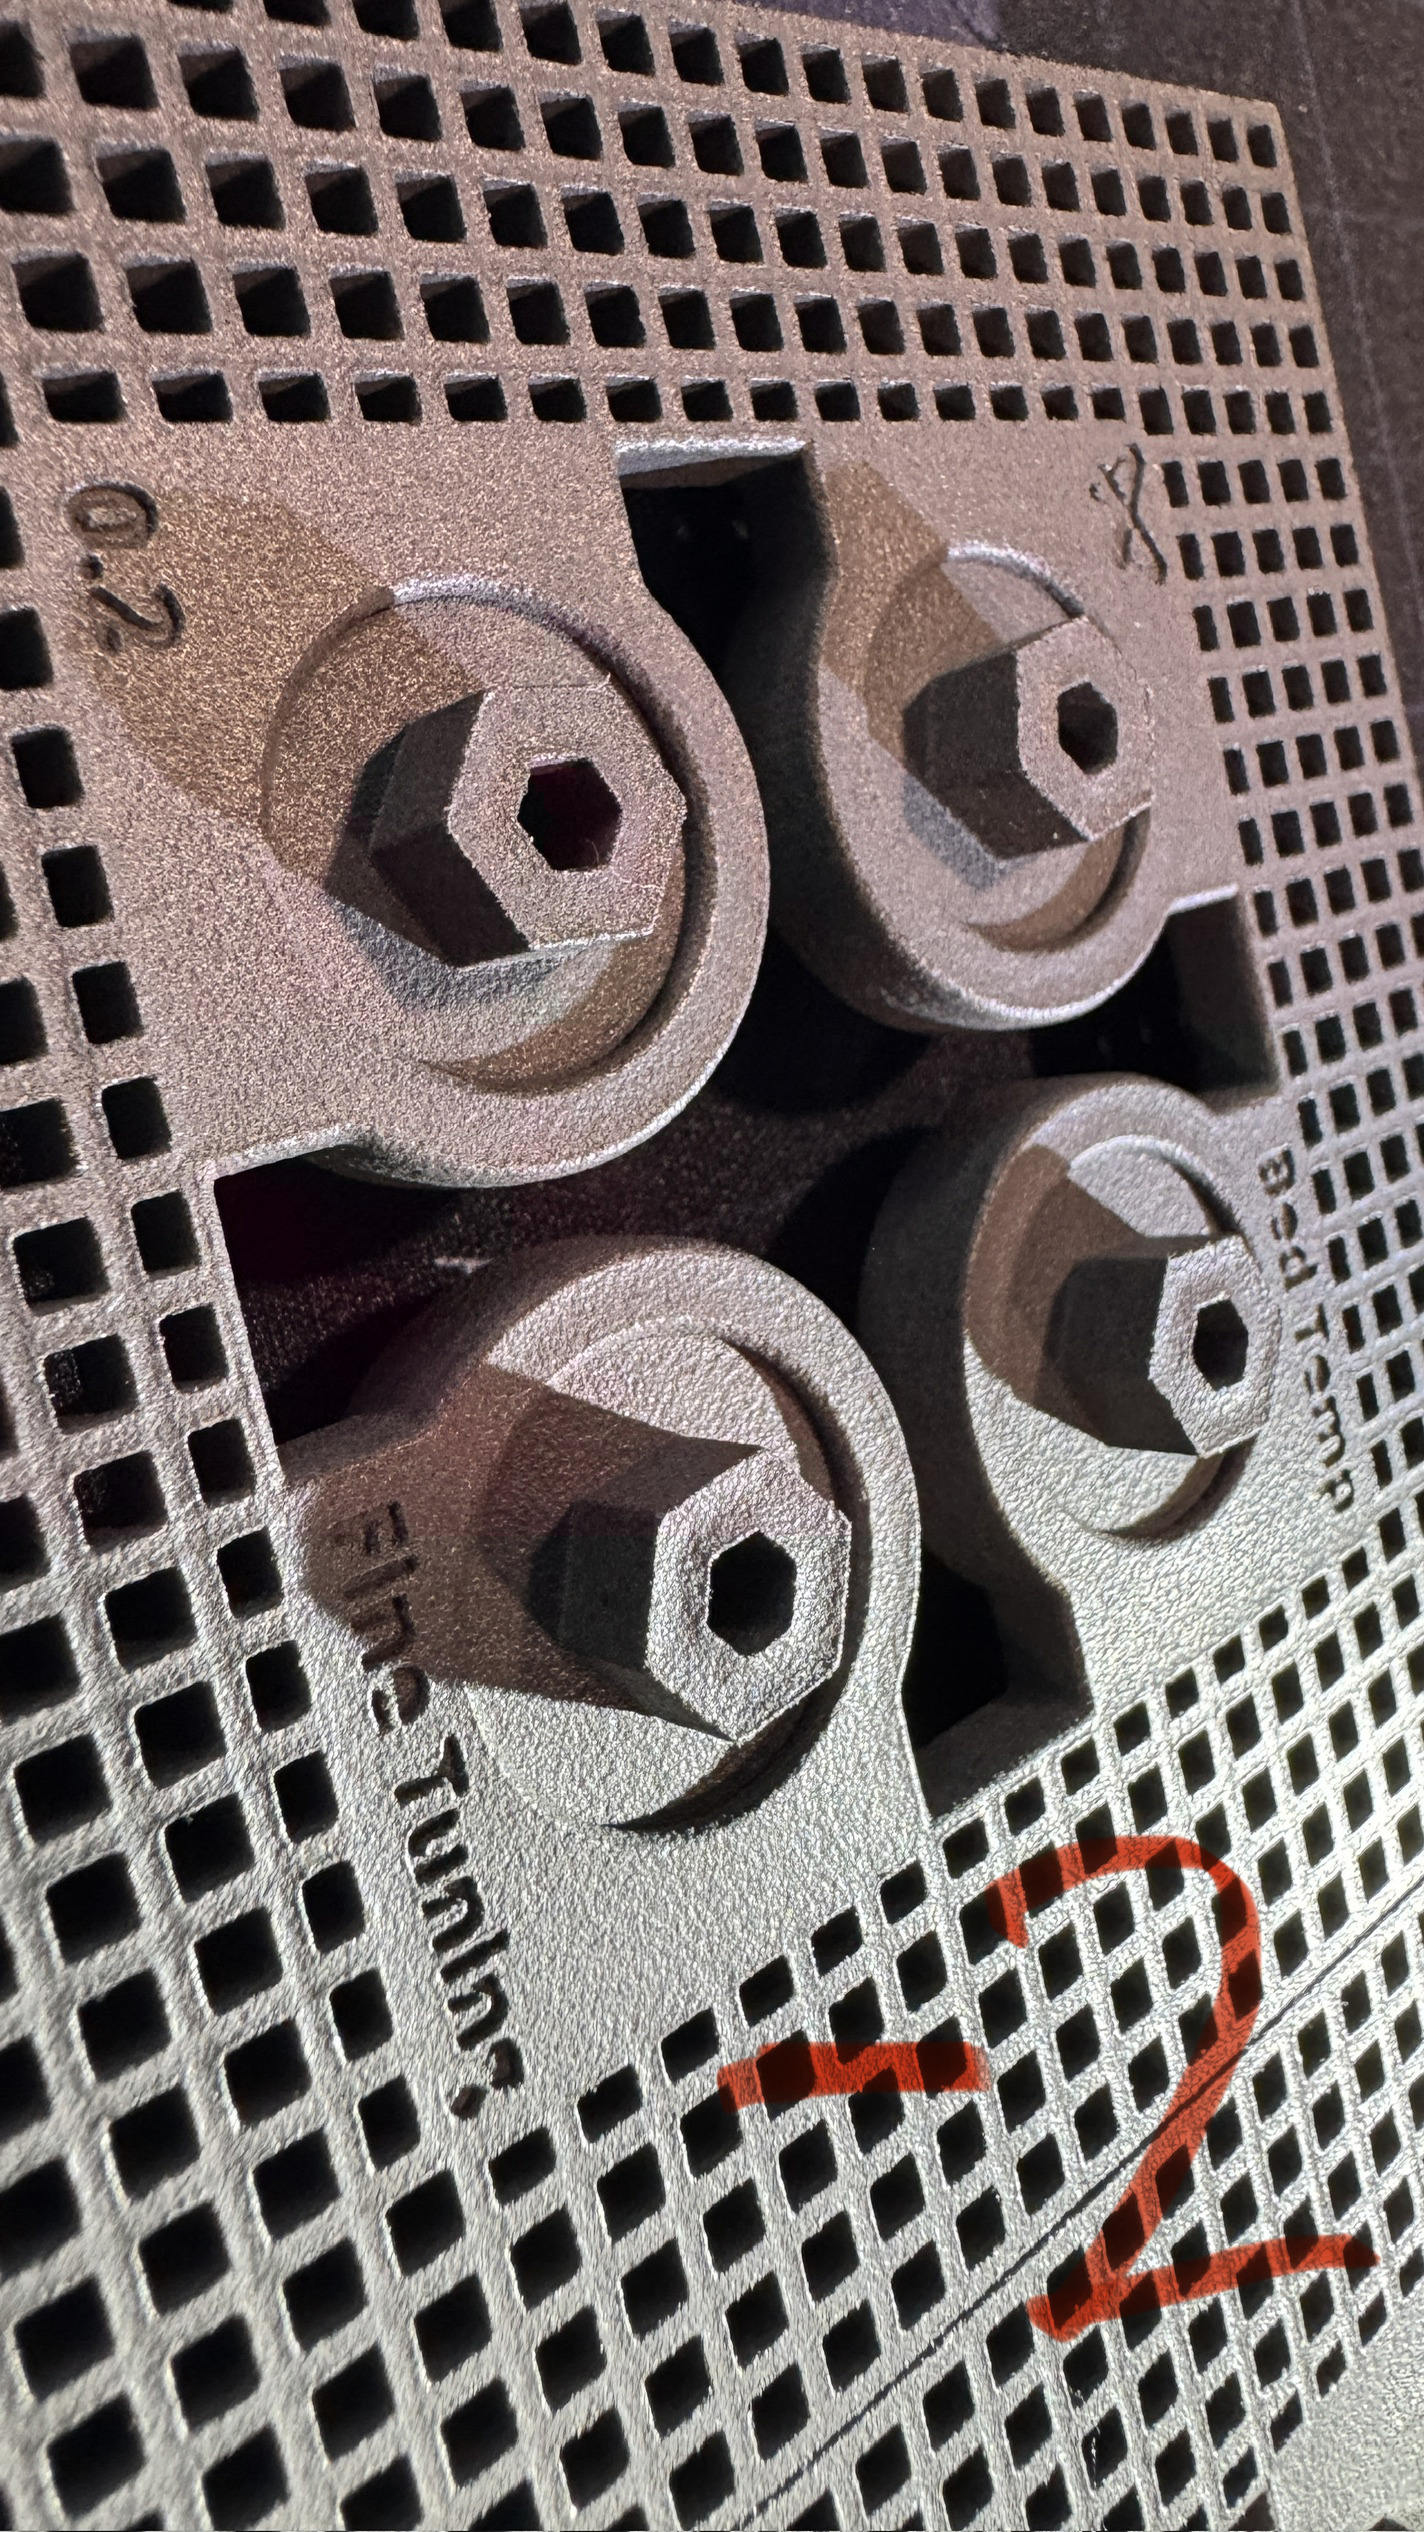
I just dialed it down again to -2 and about to see the results but here are the test prints on this new machine
and here is the severe orange peel BUT with perfect looking cones all the way down to -2
and 0
So as you can see there was NO difference on any of the bottom cone surfaces to gauge from….
So I went with -2 because it has “less of a burr” on the top flats and did not seem to show any of the orange peel in Speed Optimization Settings…but honestly I think it might need to be dialed down even further to -2.5 due to what I am seeing in these test prints.
And again…this is on a brand new Fuse 1+ with Nylon 12
1 Like
Every single user of fuse1 and fuse1+ that I know who has calibrated the temperature has always used a negative offset value. It seems that the fuse is generally always slightly hotter than measured by the sensor.
This also fits with the several statements from users who have increased problems with surface armor or where the powder cake is significantly harder.
In principle, this is not necessarily a bad thing, as normal PA12 has the largest temperature window of all powders and remains printable even at slightly higher temperatures. With PA12 GF, however, this is somewhat more problematic, as the temperature window is significantly smaller here. I must also clearly state that a calibration file is almost more important here than with PA12.
The reason why Formlabs says that there is no calibration file yet because the quality is not yet right is most likely because testing from +2 degrees to -2 degrees with PA12 GF often leads to a defective print, as the temperature window is already exceeded.
For normal PA12, we were also at an offset of -1.5 degrees after printing the cone plates. However, we increased this back to -1.0 degrees over time, as orange peel appeared on some components. I would say that the calibration print provides a pretty good starting value, which can be fine-tuned over time depending on the print results.
1 Like
From our experience, Nylon 12 and Nylon 12 Tough are completely different materials—especially when it comes to surface armor. We used Nylon 12 for a long time and found that the speed settings created issues with dimensional tolerances and surface armor. To get good results, we stuck with the legacy print settings on our Fuse 1+, which consistently produced high-quality parts. We also ran the same parts on a standard Fuse 1 with similarly good results.
About six months ago, we switched to PA12 Tough. Since then, we’ve had to sell our Fuse 1, as it couldn’t print the new powder. One of the first things we noticed with PA12 Tough was the significantly thicker surface armor. It prints similarly to the speed setting on regular PA12—starting with a large perimeter outline, then infilling with the laser.
We recently added a second Fuse 1+ to our setup, so we’re back to running two printers full-time. The newer machine behaved exactly as you described: it’s calibrated to -2°, while our older one runs at -1.25°.
To remove the heavy surface armor, we use a standard sandblasting cabinet with glass media. For small parts, we custom-built a large octagonal sieve mounted on rollers inside the cabinet. This is the only method we’ve found effective in fully removing the armor—it won’t come off with brushing alone.
One more thing worth mentioning: the “oil” residue produced by PA12 Tough is a bit concerning. It’s coating the inside of our machine more heavily than we’re comfortable with.
Thanks for the input everyone!
And update: Think I managed to solve it - not that it was really a deal breaker to start with but here’s the interesting thing. As was mentioned before when you print it with Legacy settings, N12 is much easier to clean than with new higher speed settings but all in I’d say print quality suffers as a result. So I started to compare the print settings and profiles of N12-L and N12-S and aside from another few sequencing differences the laser powers are VASTLY different between armour on Legacy vs Speed. to make a long boring story short, I calculated the percentage gain between the 2 profiles for Armouring and reduced the stock armour power on the N12 Tough down accordingly. I cranked the laser power for Armour down to about 30% of it’s initial value and dropped the bed to -2 and holy cow what a difference.
Parts are beautiful and the armour layer brushes off cleanly with just a little more effort than regular. Blaster cleans it in seconds and no orange peel at all.
I suspect this would work for Nylon 12 and Nylon 12 GF but I don’t have a spare machine running GF to trial that with just now. Like most, I’ve been stiocking to the legacy profiles but with this in mind - I might start tinkering a little bit with more profiles.
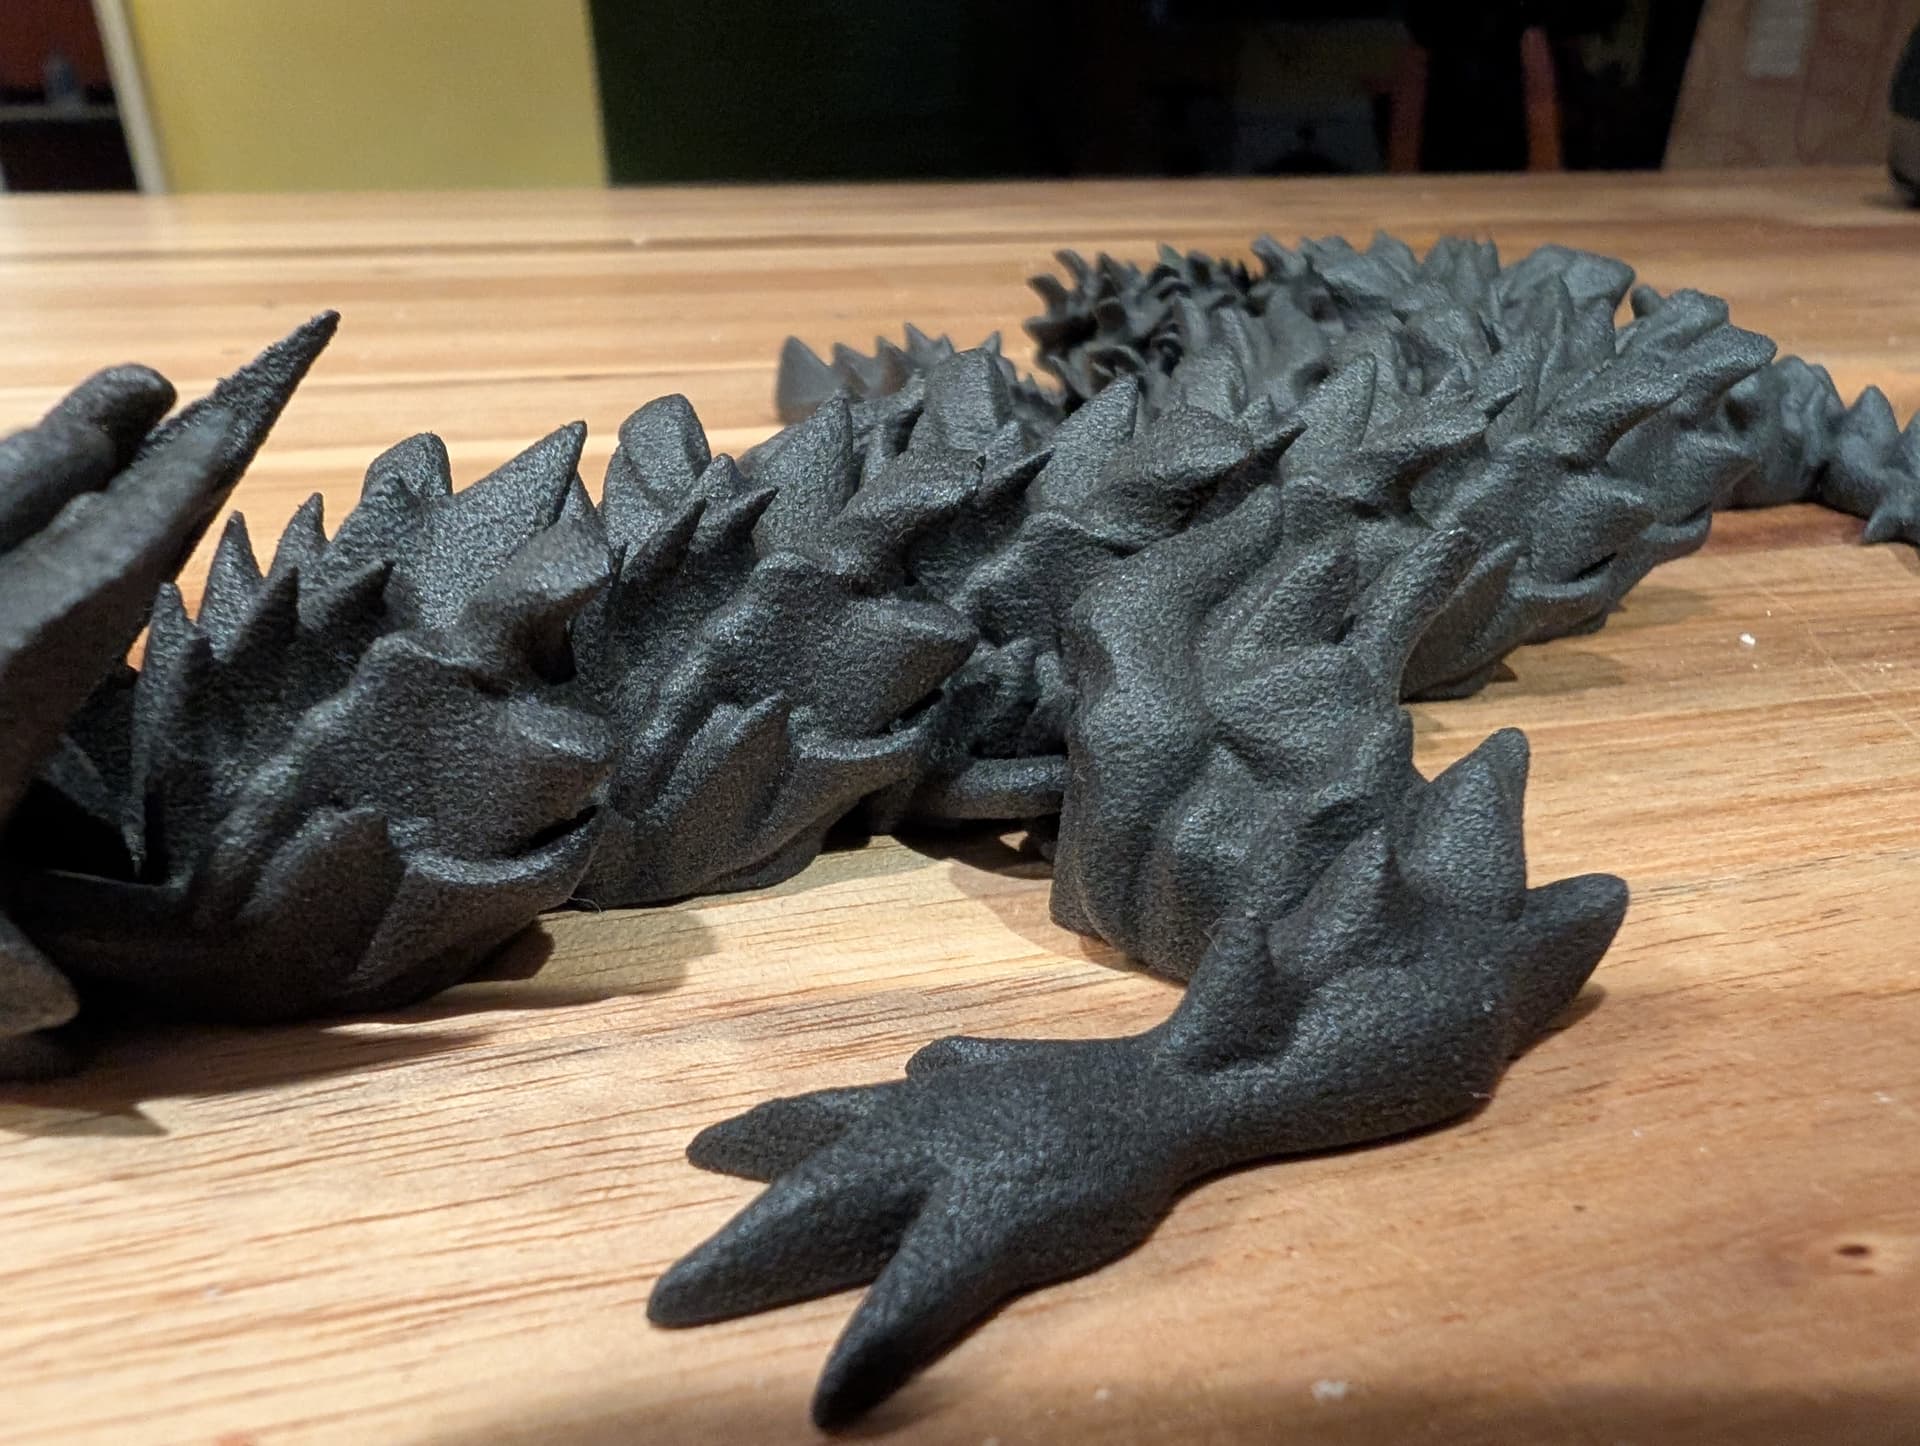
I do a lot of more organic shapes and a few smaller mechanical parts so I included a couple test files I use. The roller matches to within 0.1mm where it should on all 3 axes so I’d say dimensional accuracy seems fine as well.