Would be great that manipulators show the scale % and store it in Form file , so you can always know if the model is 100% or has been scaled.
For artistics models probably is no usefull but for jewelry sometimes is necesaray to scale a exact %.
With the actual manipulator is not possible to know how much is it.
And a mirror option that respect supports would be great too.
Earrings and cufflinks are usually mirrors and to do the supports two times is a waste of time
Thank you!
yes, been wanting a mirror/flip option for a while–I have a bunch of stuff that has symmetrical parts and it’s annoying to have to flip the model in 3ds Max and export to Preform again and have to redo the supports.
Mirror with supports would be great.
And what I am still missing: In support edit mode are no layer numbers. With complex models it is very hard to find the same layer. Please ad layer numbers in support edit mode.
Hopefully this will be a tad helpful. When traversing layers, Page Up/Page Down goes up/down 1 layer at a time. Holding down Shift while hitting Page Up/Page Down moves you up and down 10 layers at a time. Might help until they fix this bug.
I know this shortcuts. What I mean is:
If you check a model for not supported overhangs (this can be seen better in normal view and not in support edit mode) and you find a not supported overhang at layer 1357 and you want to ad a support to this overhang you have to change to support edit mode. Now the view changes back to layer zero. Now try to find layer 1357 in a complex modes - lets say a arm of an octopus that is curved and has 200 suckers. I tell you that is very difficult. And you can be sure on at least 10 suckers preform will not find the lowest point. I attached a screenshot of an other model where it was very hard to find those not supported points. You can rotate the model however you want. It is always difficult.
Ciao
Klaus
KlausLenti,
I know this is off topic, and I think you would already know this, but if you rotate your model as per the mockup diagram below, then you would not need any supports for the hairs.
HI Marco
Thank you for your advice burt the hairs are not the problem. I can make them out of a different material and remove them. The problem on this model are those hundreds of little bumps or knobs all around the model. Preform never finds all the overhangs. Preform sets the support at least on 20 to 30 points on the wrong place and you have to correct it by hand. And thats hard. You can turn around the model however you want and you always have the same problem because the bumps are everywhere.
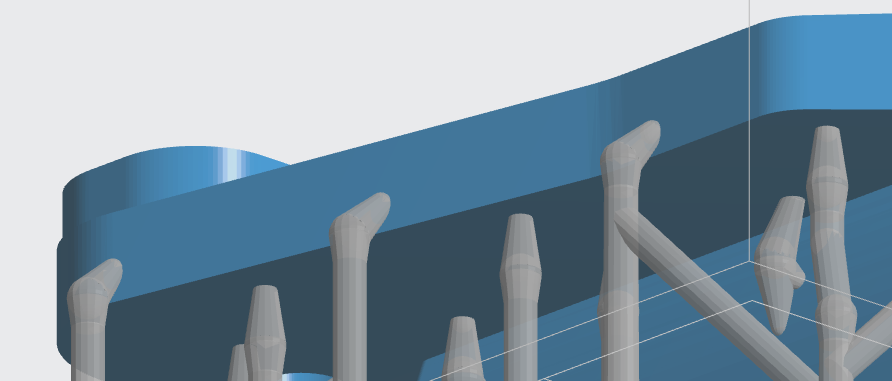
I have attached two screenshots: screenshot 1 - model with supports (it does not matter how it is orientated) and screenshot 2 is layer 72 (the second layer of the actual printed model) - and here is the first error - a not supported bump - that must be corrected by hand. And it is only layer 72. But it goes on through the next hundred layers.
I hope the problem is now a bit clearer to understand.
Ciao
Klaus
Because of how bumpy it is on all sides there’s not going to be an orientation where you wouldn’t need a lot of supports and end up with surface issues.
What you could do though, is split it into two pieces, it looks like there’s a top part that you could remove at a natural seam and then you would have surface one either part where you could place supports and easily clean up, you would just need to make a way for the parts to fit together. Since it has a natural spot for the parts to separate you wouldn’t even need to fill the seam. One of the things with this printer is figuring out if breaking up the object will allow you to orient the parts in a way to get the best results for details.
On a semi-related note, I create many functional parts for our lead engineer. For me precision is key, if I am off 1/2 a mm the part won’t fit onto current pipe fittings or other products (for prototyping purposes only of course).
Anyways I find I am having to redo almost all of my supports on certain parts to save edges and corners. Here is what I mean.
I cannot stand that those supports end up on the vertices rather than the edges. For me, sanding the flat edges is much easier than trying to save the corners…I’d set it up like this:
I thought about splitting this model but when you glue them together you have a lot of post work to do because of this bumpy skin. In this case it is still easier and faster to do the supports by hand.
Ciao
Klaus
If you split that part off then you have a surface on the inside of the two parts where you can put supports and it’ll be easy to clean up, and then you can have the bumpy parts oriented up so that they get the best detail.