Time saver easy depowdering of fuse and fuse 1+prints

Hi Carlayers, thanks for the detailed responces and the below attached video, hadn’t seen this one.
After watching the video, its highlighted some floors in my thinking about high recovery rates verses labour along with as you have stated, the reduction in material properties leading to a higher percentage of parts breaking.
Your above method seems to cover the best of both worlds material properties and time. Maybe as another user stated using air in a sandless sandblaster cabinet is a quick option to remove the bulk quickly if you don’t have a fuse blast which we don’t currently have at this time.

The rotary brush works if you need to clean the part fully and don’t have a sandblaster and are cleaning the parts 100% in the fuse. But this used material would only be good for large thick parts to reduce the breakages.

2 Likes

Hi Matt, after watching the video posted by carlayer, I think the blast cabinet could be a goer as looks like I am recovering to much of the used material along with the heat affected material that you don’t want to mix in with the recovered material due to the loss in material properties. my only issue is I only have room for 1 blast cabinet. :frowning:

1 Like

In theory if you run a 33% packing density and 33% refresh rate, your powder (each individual grain) should only go through 3 cycles on average before its sintered into a part. This is how I’ve conceptualized it anyway, maybe I’m wrong? If you consistently run lower packing densities I could see where your powder would hang around long enough to become degraded significantly, you would also have a surplus of used powder. In my case I have not noticed a degradation of the final product reusing the powder from one print to the next continuously, however, my end use parts are mostly not subject to extremes that would thoroughly test the specs. YMMV.

3 Likes


This one doesnt take up much room.


And we get that much powder off.


And we blast small fragile parts like this justhold the nozzle as far back as possible.

3 Likes

Right! Now I have filmed our workflow for unpacking the parts and cleaning the Sift and Fuse after printing.
There are of course different ways to clean the parts and I am not saying that our method is the only one.
But we find it’s the quickest way, still quite effective and because the surface armor doesn’t come back into the powder cycle, we achieve a higher consistency in the part properties.

We also filmed how we clean our sift and how we vacuum out the inside of the fuse after a print job.

5 Likes

In response to the question of whether a lot of powder is lost if the parts are not cleaned more thoroughly, I weighed the components once after they came out of the sift, where they were only roughly cleaned of powder with my fingers, and after they were sandblasted.
So you can see how much powder per component remains in the sandblasting booth, which is then disposed of.


This larger component with a fairly large surface area results in a loss of 34 grams of powder.


This smaller component, which has a few ribs and cavities that have not been specially cleaned of powder, results in a loss of 6 grams of powder.


This smaller component also has a fairly hollow interior, which has not been further freed of powder in the sift. The loss here is 7 grams of powder.

Depending on the region, currency, purchase quantity, etc., the pure powder costs per gram may vary slightly.
However, when I consider that some people have to buy additional brushes at regular intervals or buy extra power tools, and also invest significantly longer working hours to clean the parts, then I don’t see this as a more expensive alternative in terms of cost.
As I said, higher material consistency is a bonus on top.

I look forward to hearing your opinions!

4 Likes

I love the workflow, I clean the machine exactly the same but mine is totally wrecked under the quartztubes and sheet metal guardrails how many hours do you have on yours?

Now comes the important question.

How much does each part cost, specially the one loosing 34 g of powder that can make 2 more of the smaller ones if you recover it. Indeed powder varies worldwide (i have to pay around $1350 per 10 kg bag) vs $ I guess $999 on your side)

That makes it 35% more expensive to operate here just material speaking,
And those components have to be priced like this( in order to be able to sell them )based purely on weight but to have a number. If they are priced higher you will loose against MJF, PLA, ABS or any other offer in the market.

168g component $60-70 USD
23g component $20-$25 USD
10g component $10-15 USD

3 Likes

At 10 cents/gram I couldn’t afford to loose $2-3 per larger part, so I must recover as much as possible including powder around the sift work area. This powder all goes back through the sift, and over many prints the cost savings adds up. The sift should keep the larger particles and fibers out and I have not noticed a degradation of the print quality by reusing as much powder as I can. If my volume goes up dramatically I could see it mattering less, but for now I recover as much as I can.

3 Likes

Thx for showing your workflow. A little bit different than mine. Might have to record my flow aswell.

1 Like

I would actually be interested to see the exact workflow of other users.

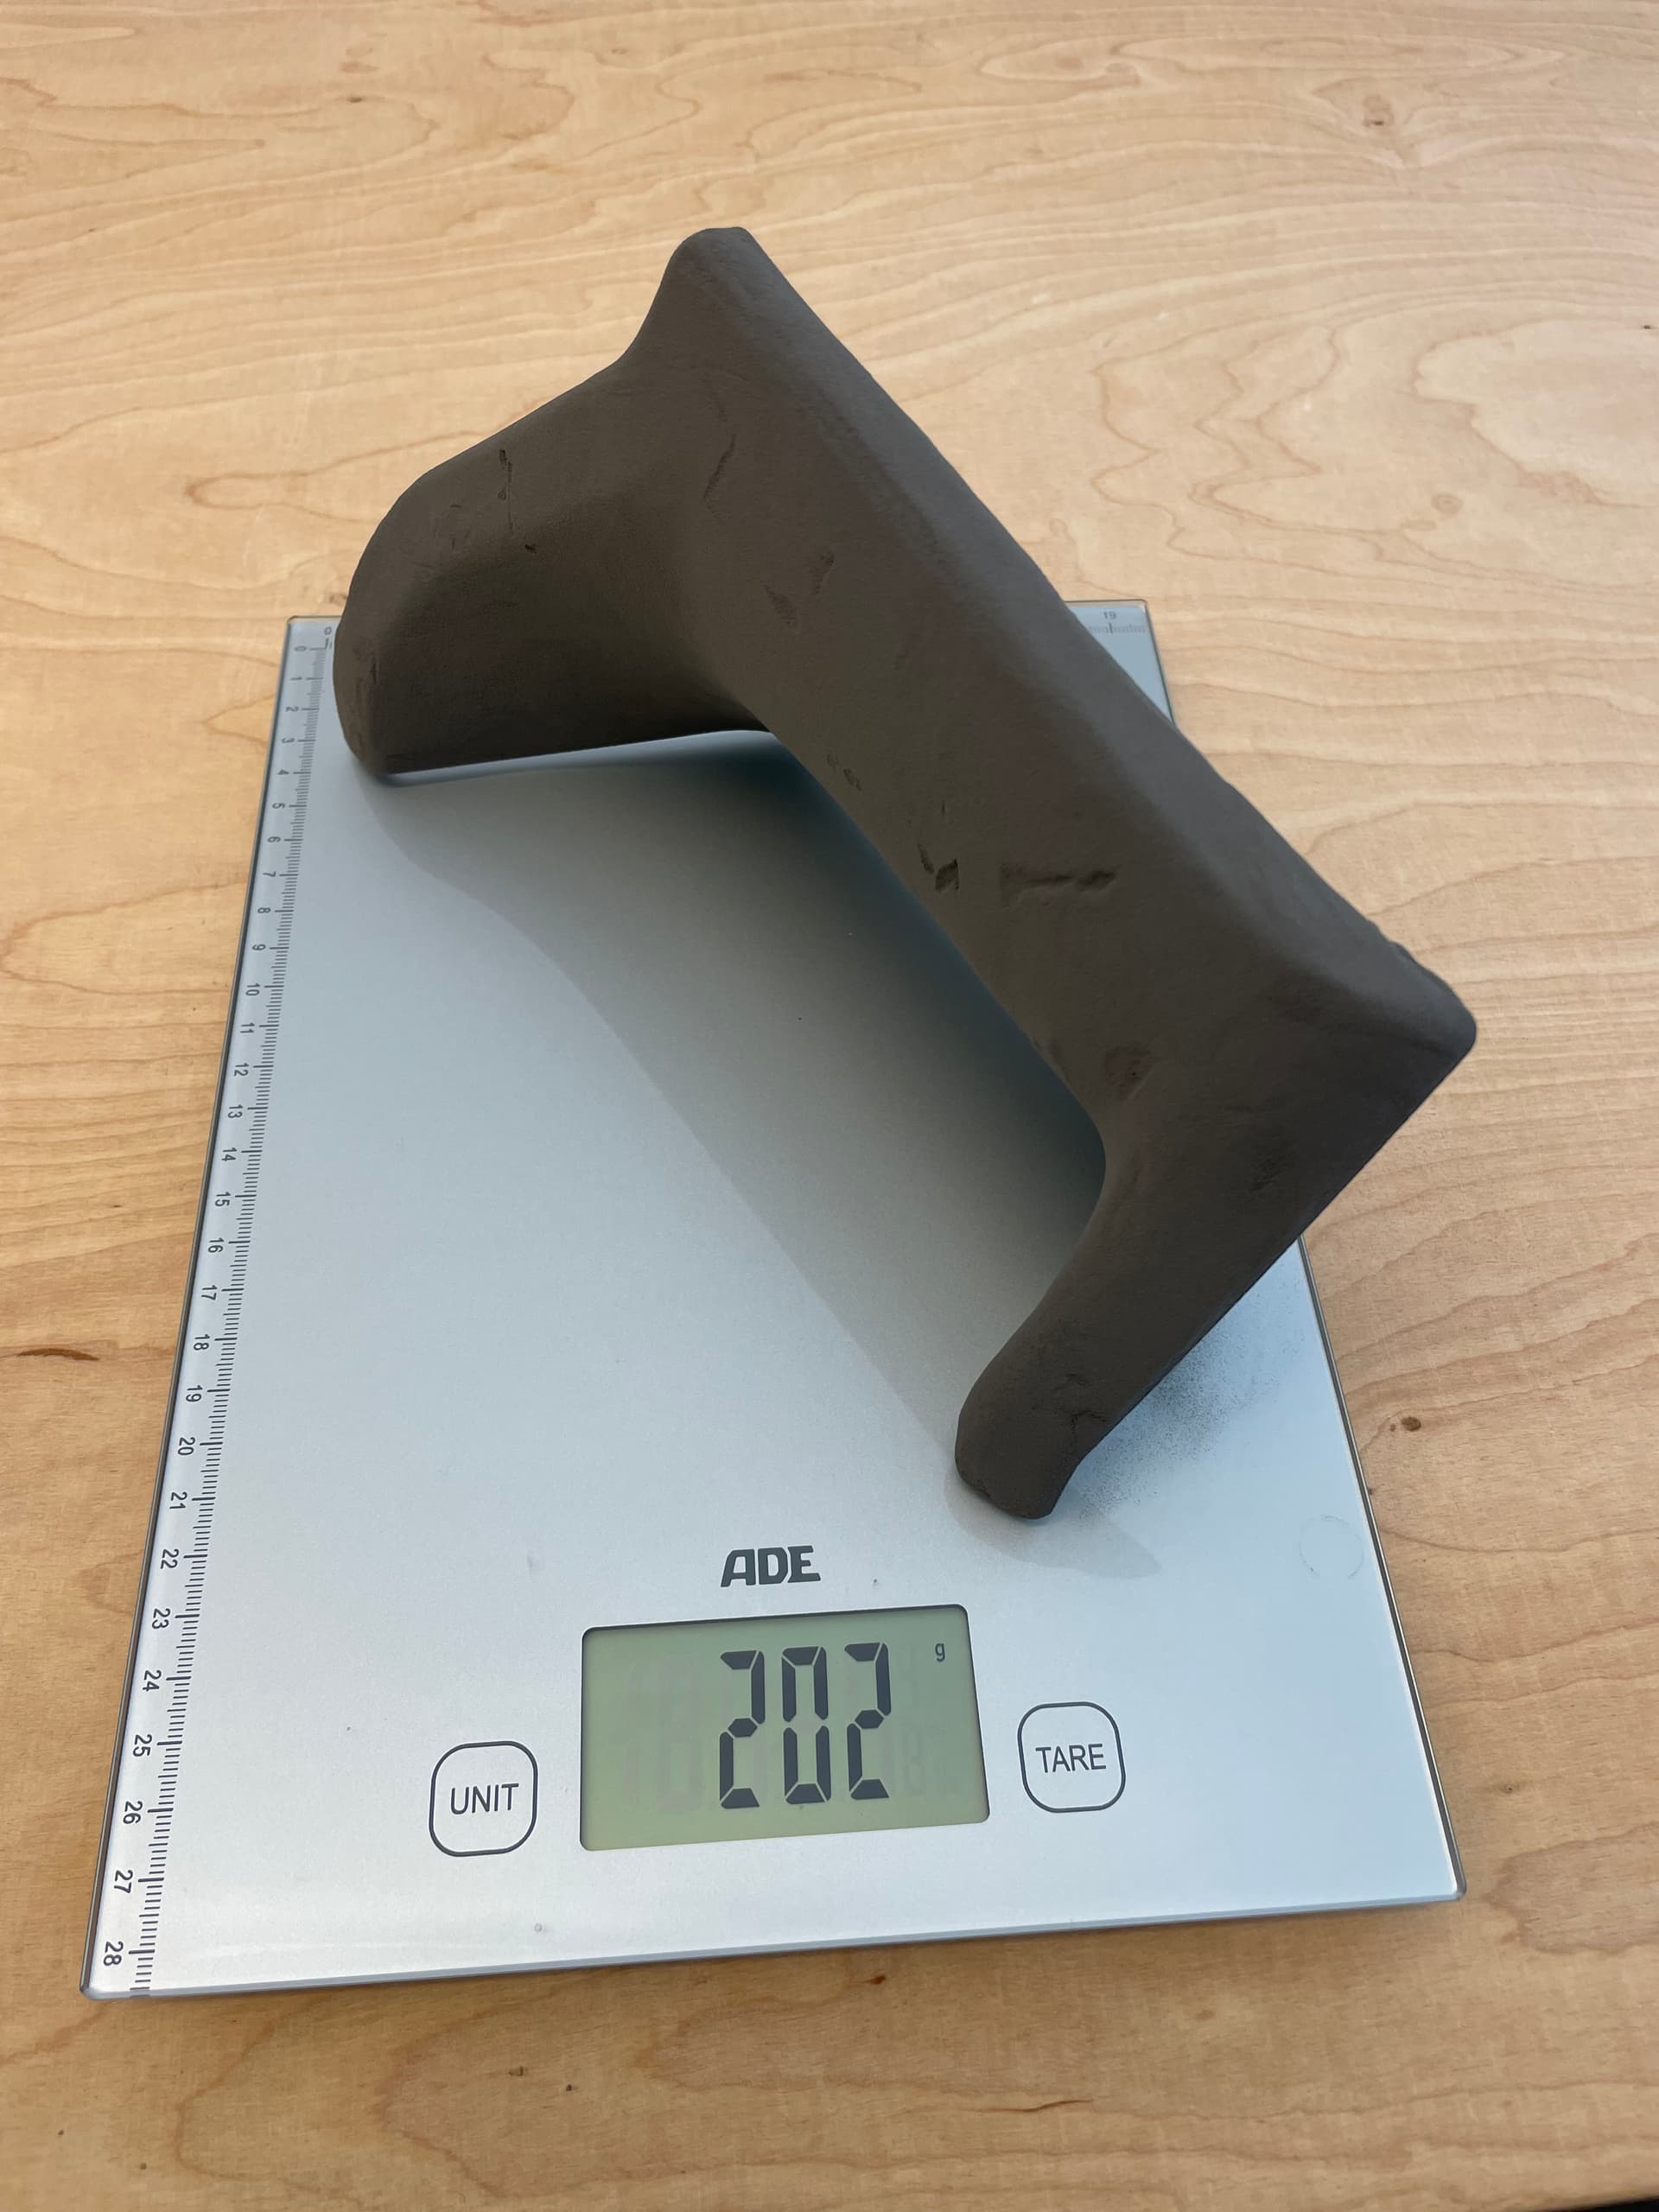
For simplicity’s sake, we can round off the material costs by a few euros and actually say that 1g of powder is 10 cents.
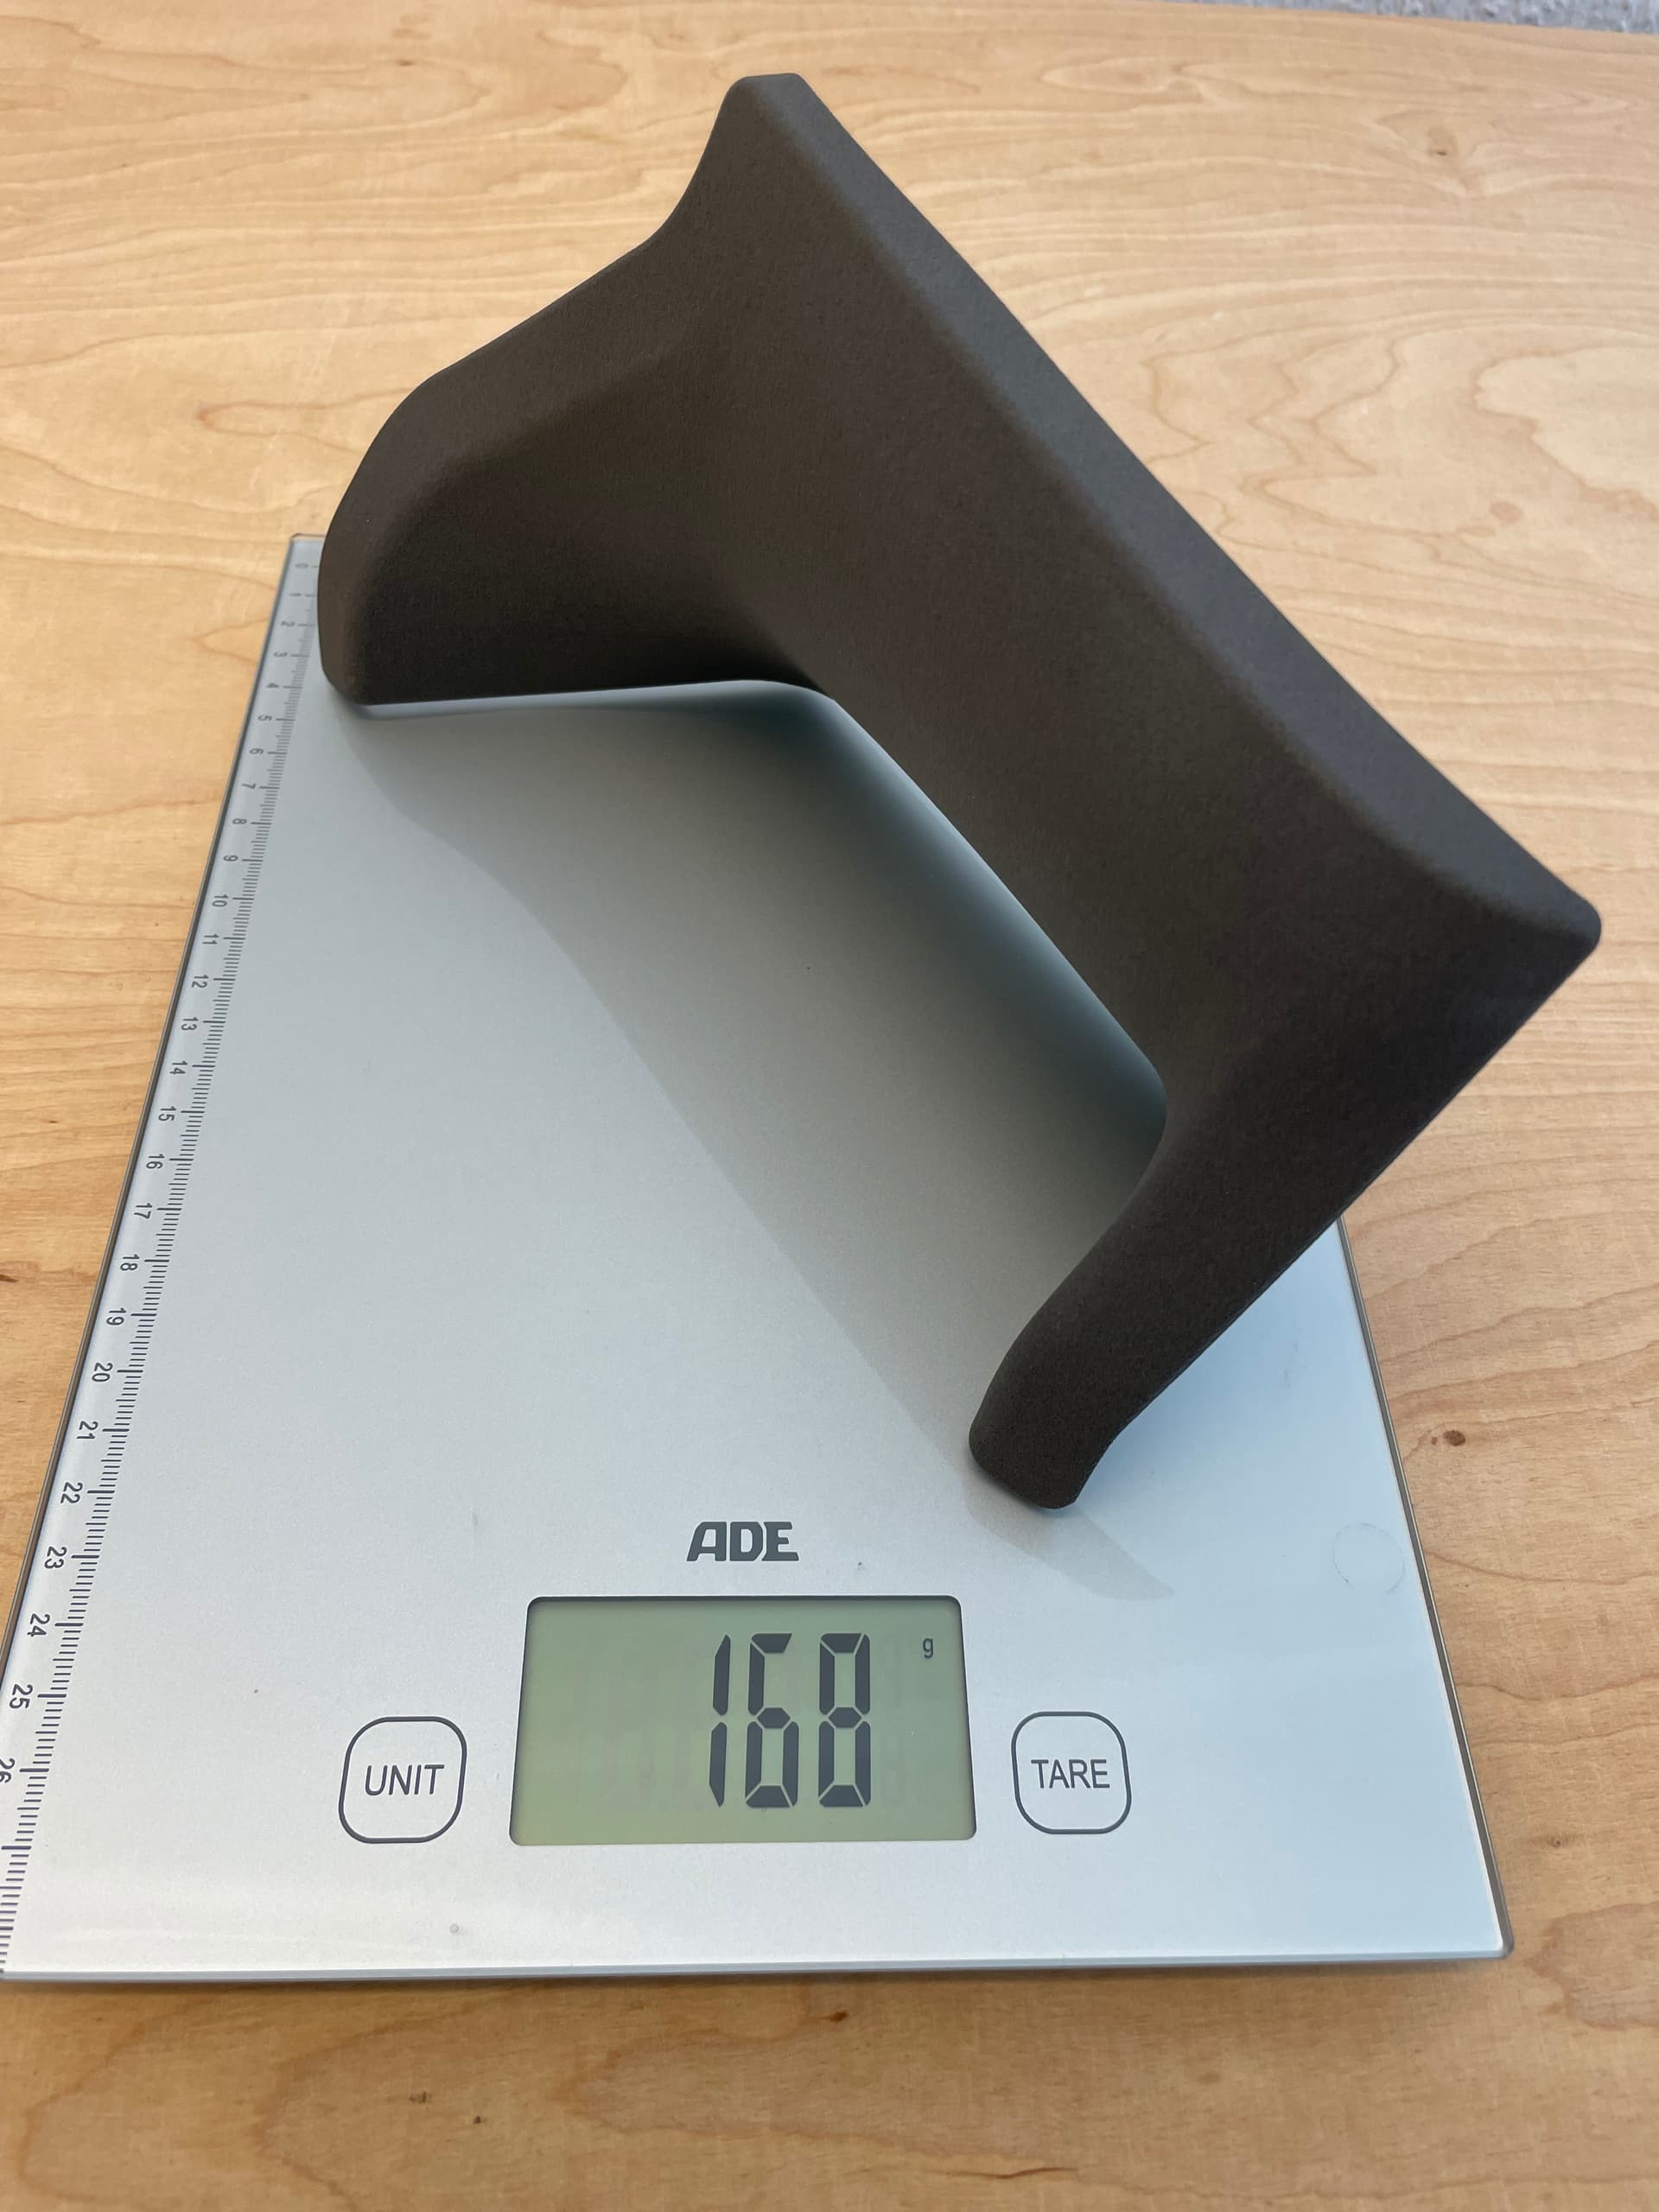
For the large component with 34 grams of powder loss, this actually means a loss in value of €3.4.
However, 80% of the powder lost here is estimated to be the surface armor. So powder that I would say was 50% sintered. In my opinion, the powder that is used neither as a component nor as surface armor in a print job, but only undergoes thermal stress, is only 30% sintered.
So if we clean all components thoroughly, the powder that comes back into the powder cycle is more premixed than 30% sintered.

Different components with different surface areas then produce different amounts of surface armor, so the powder mixture always has slightly varying degrees of quality.

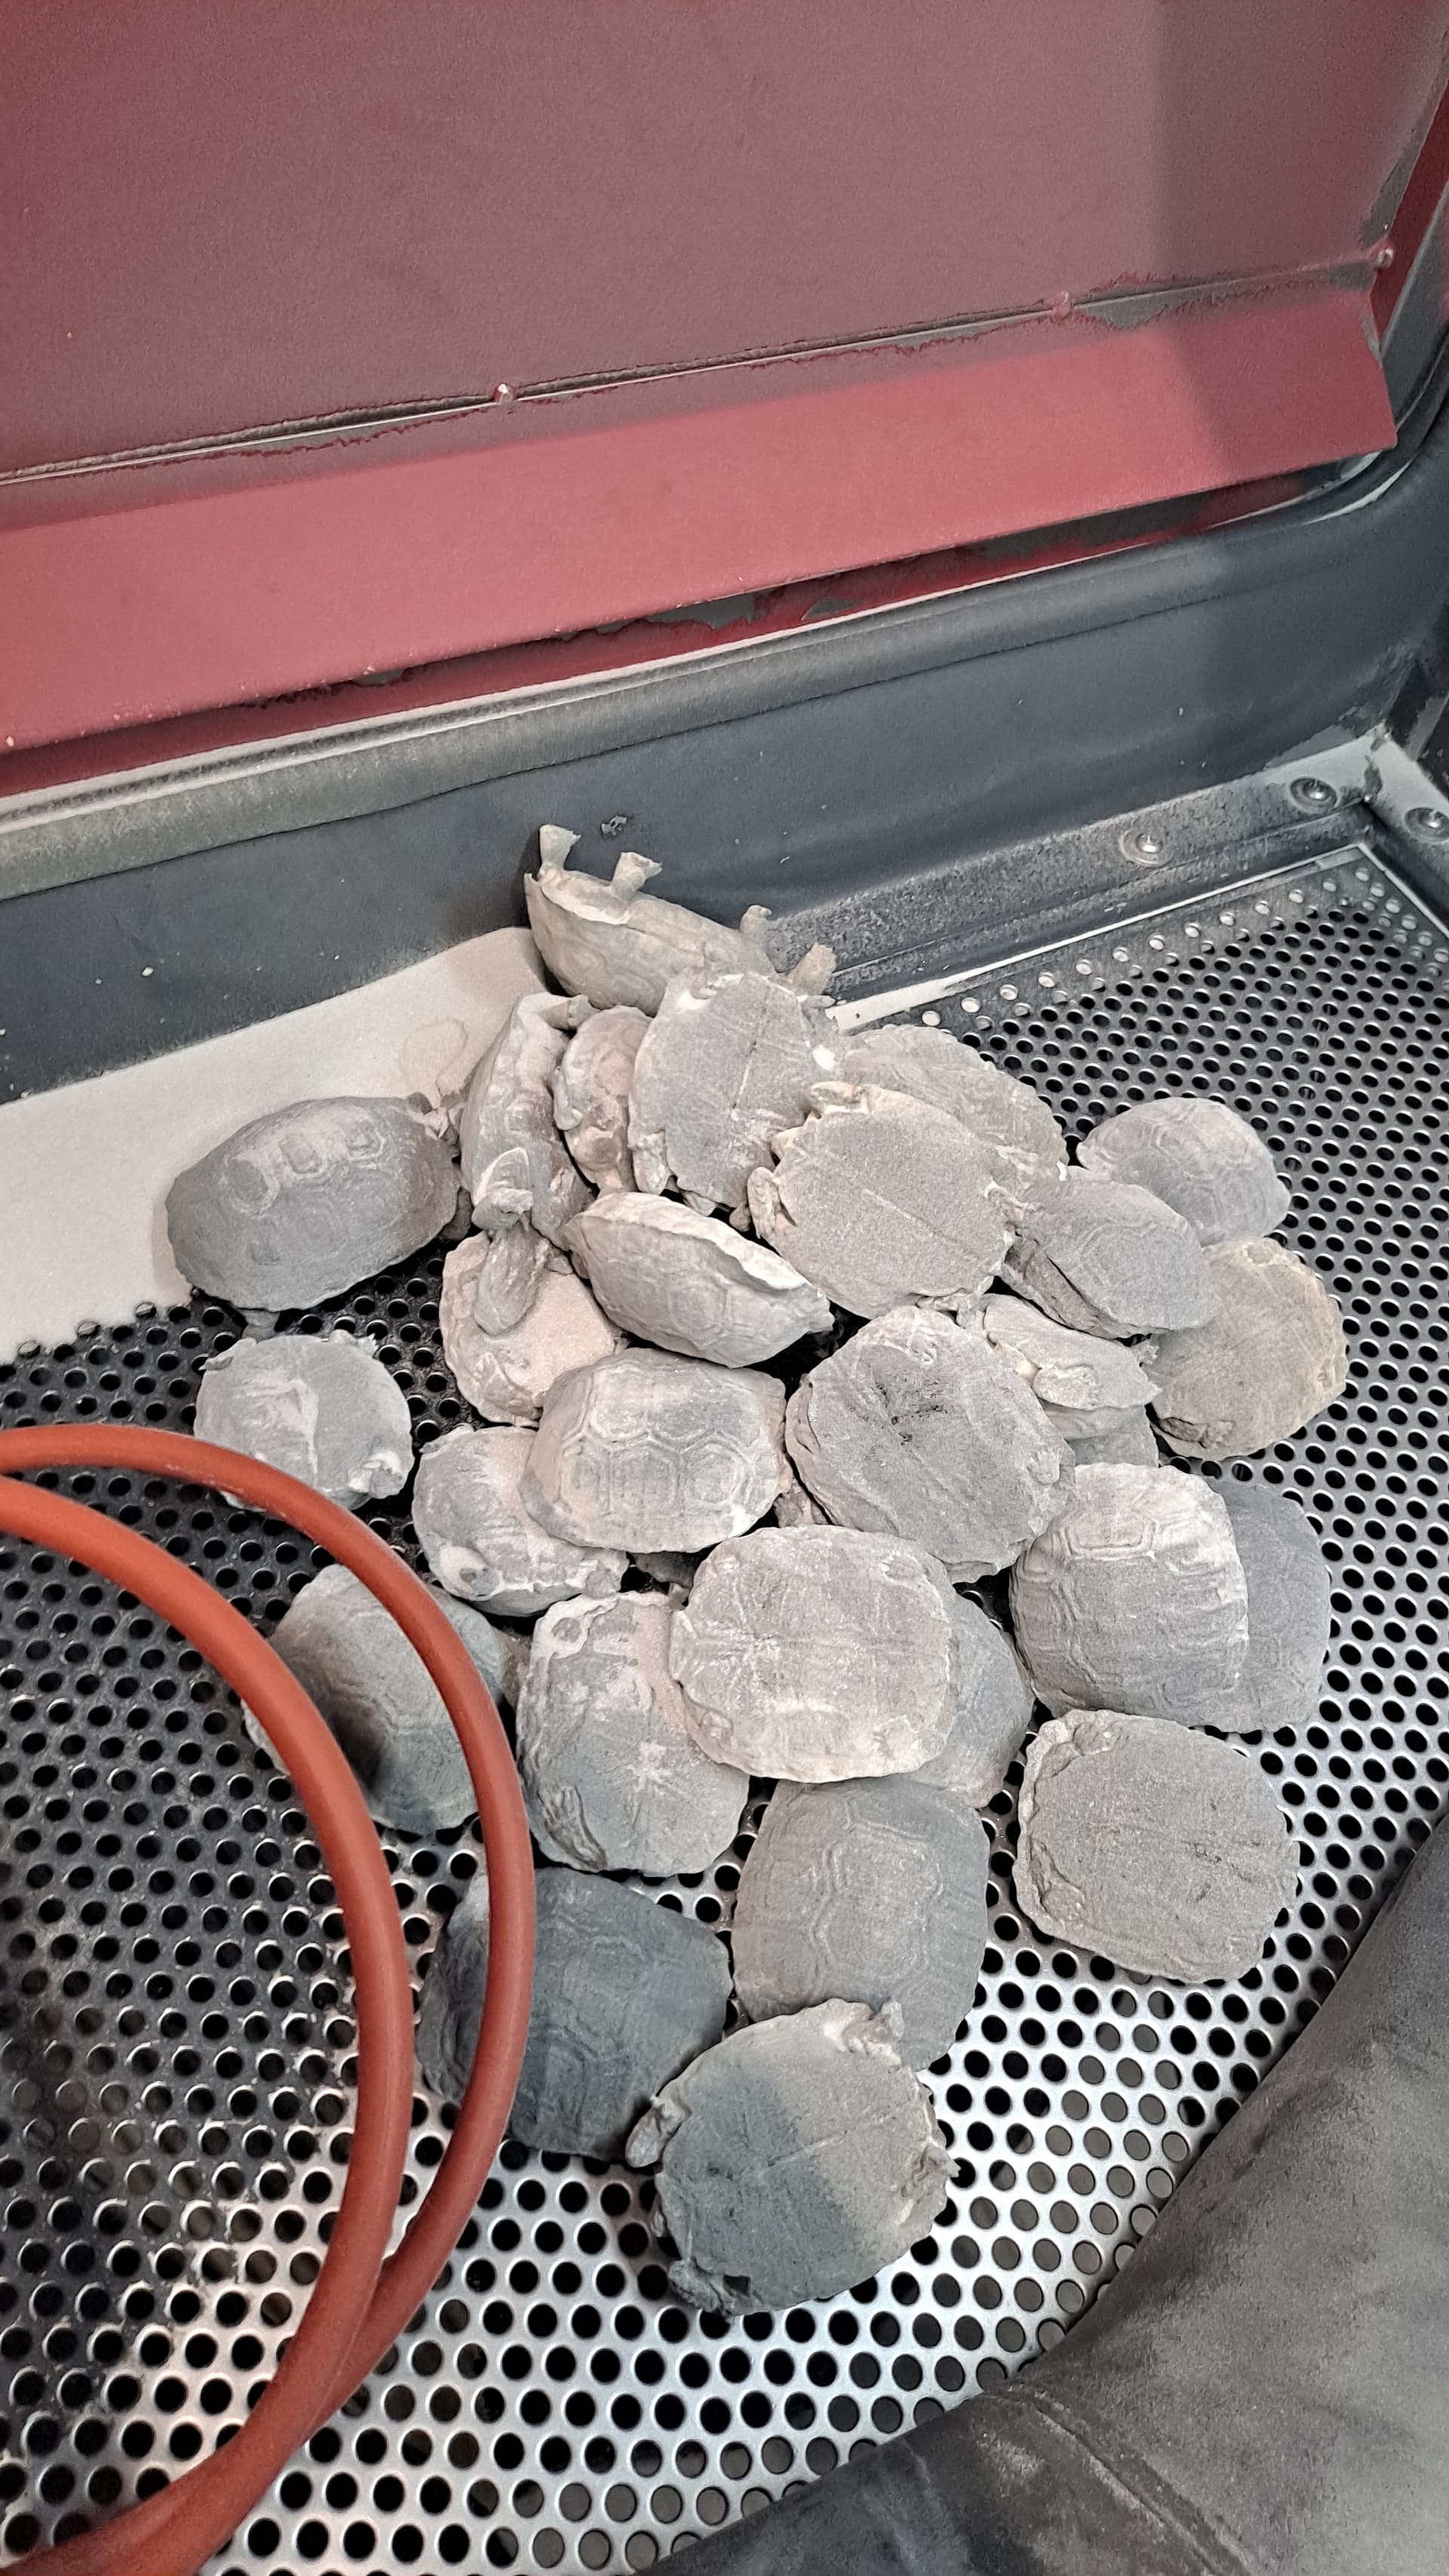
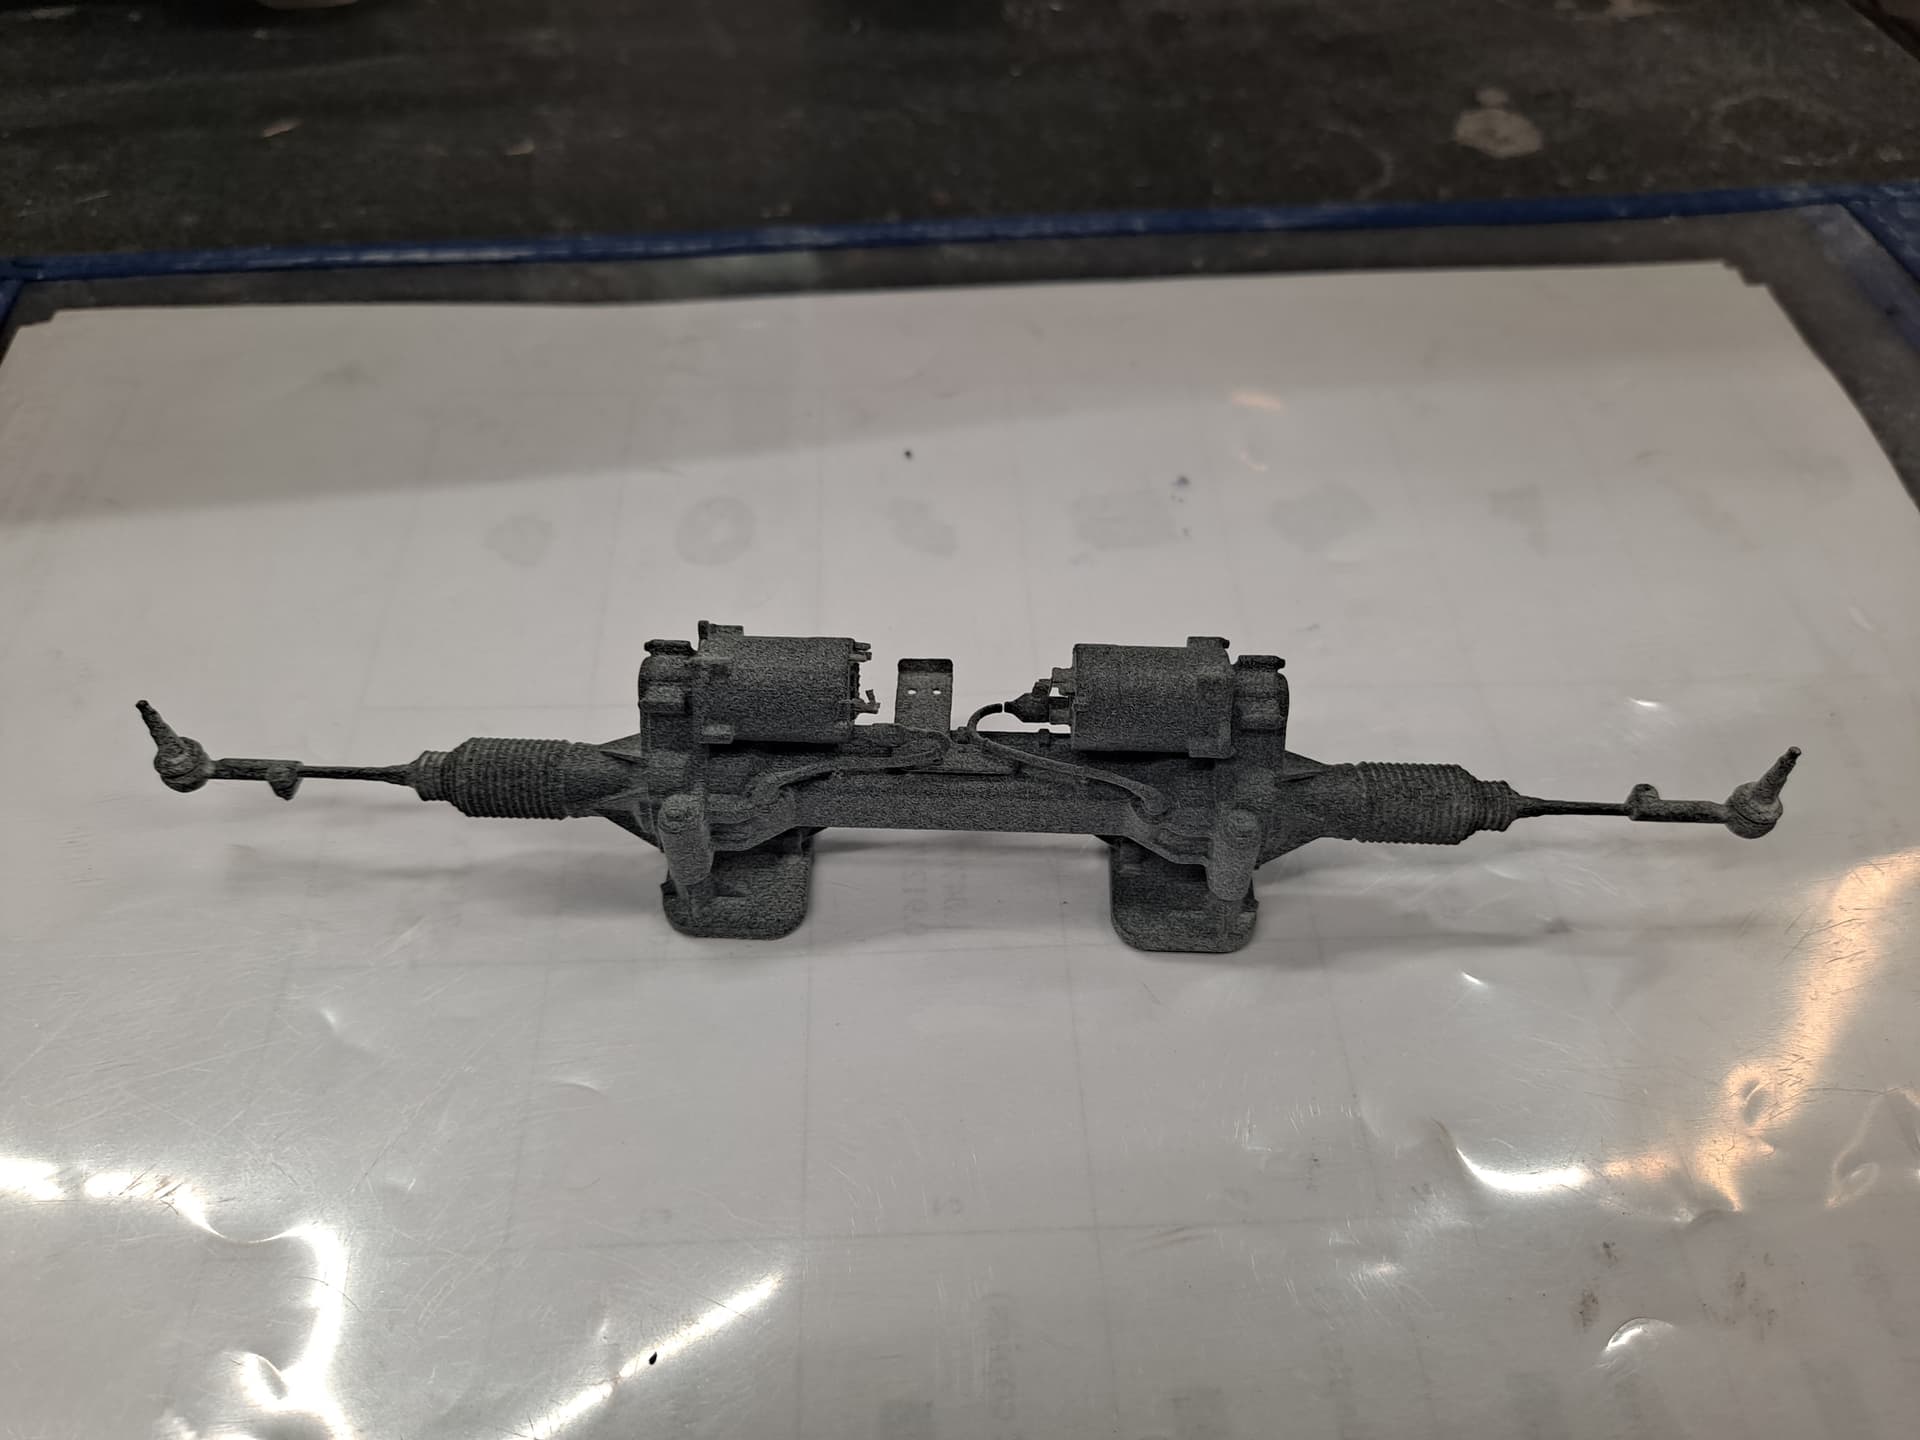
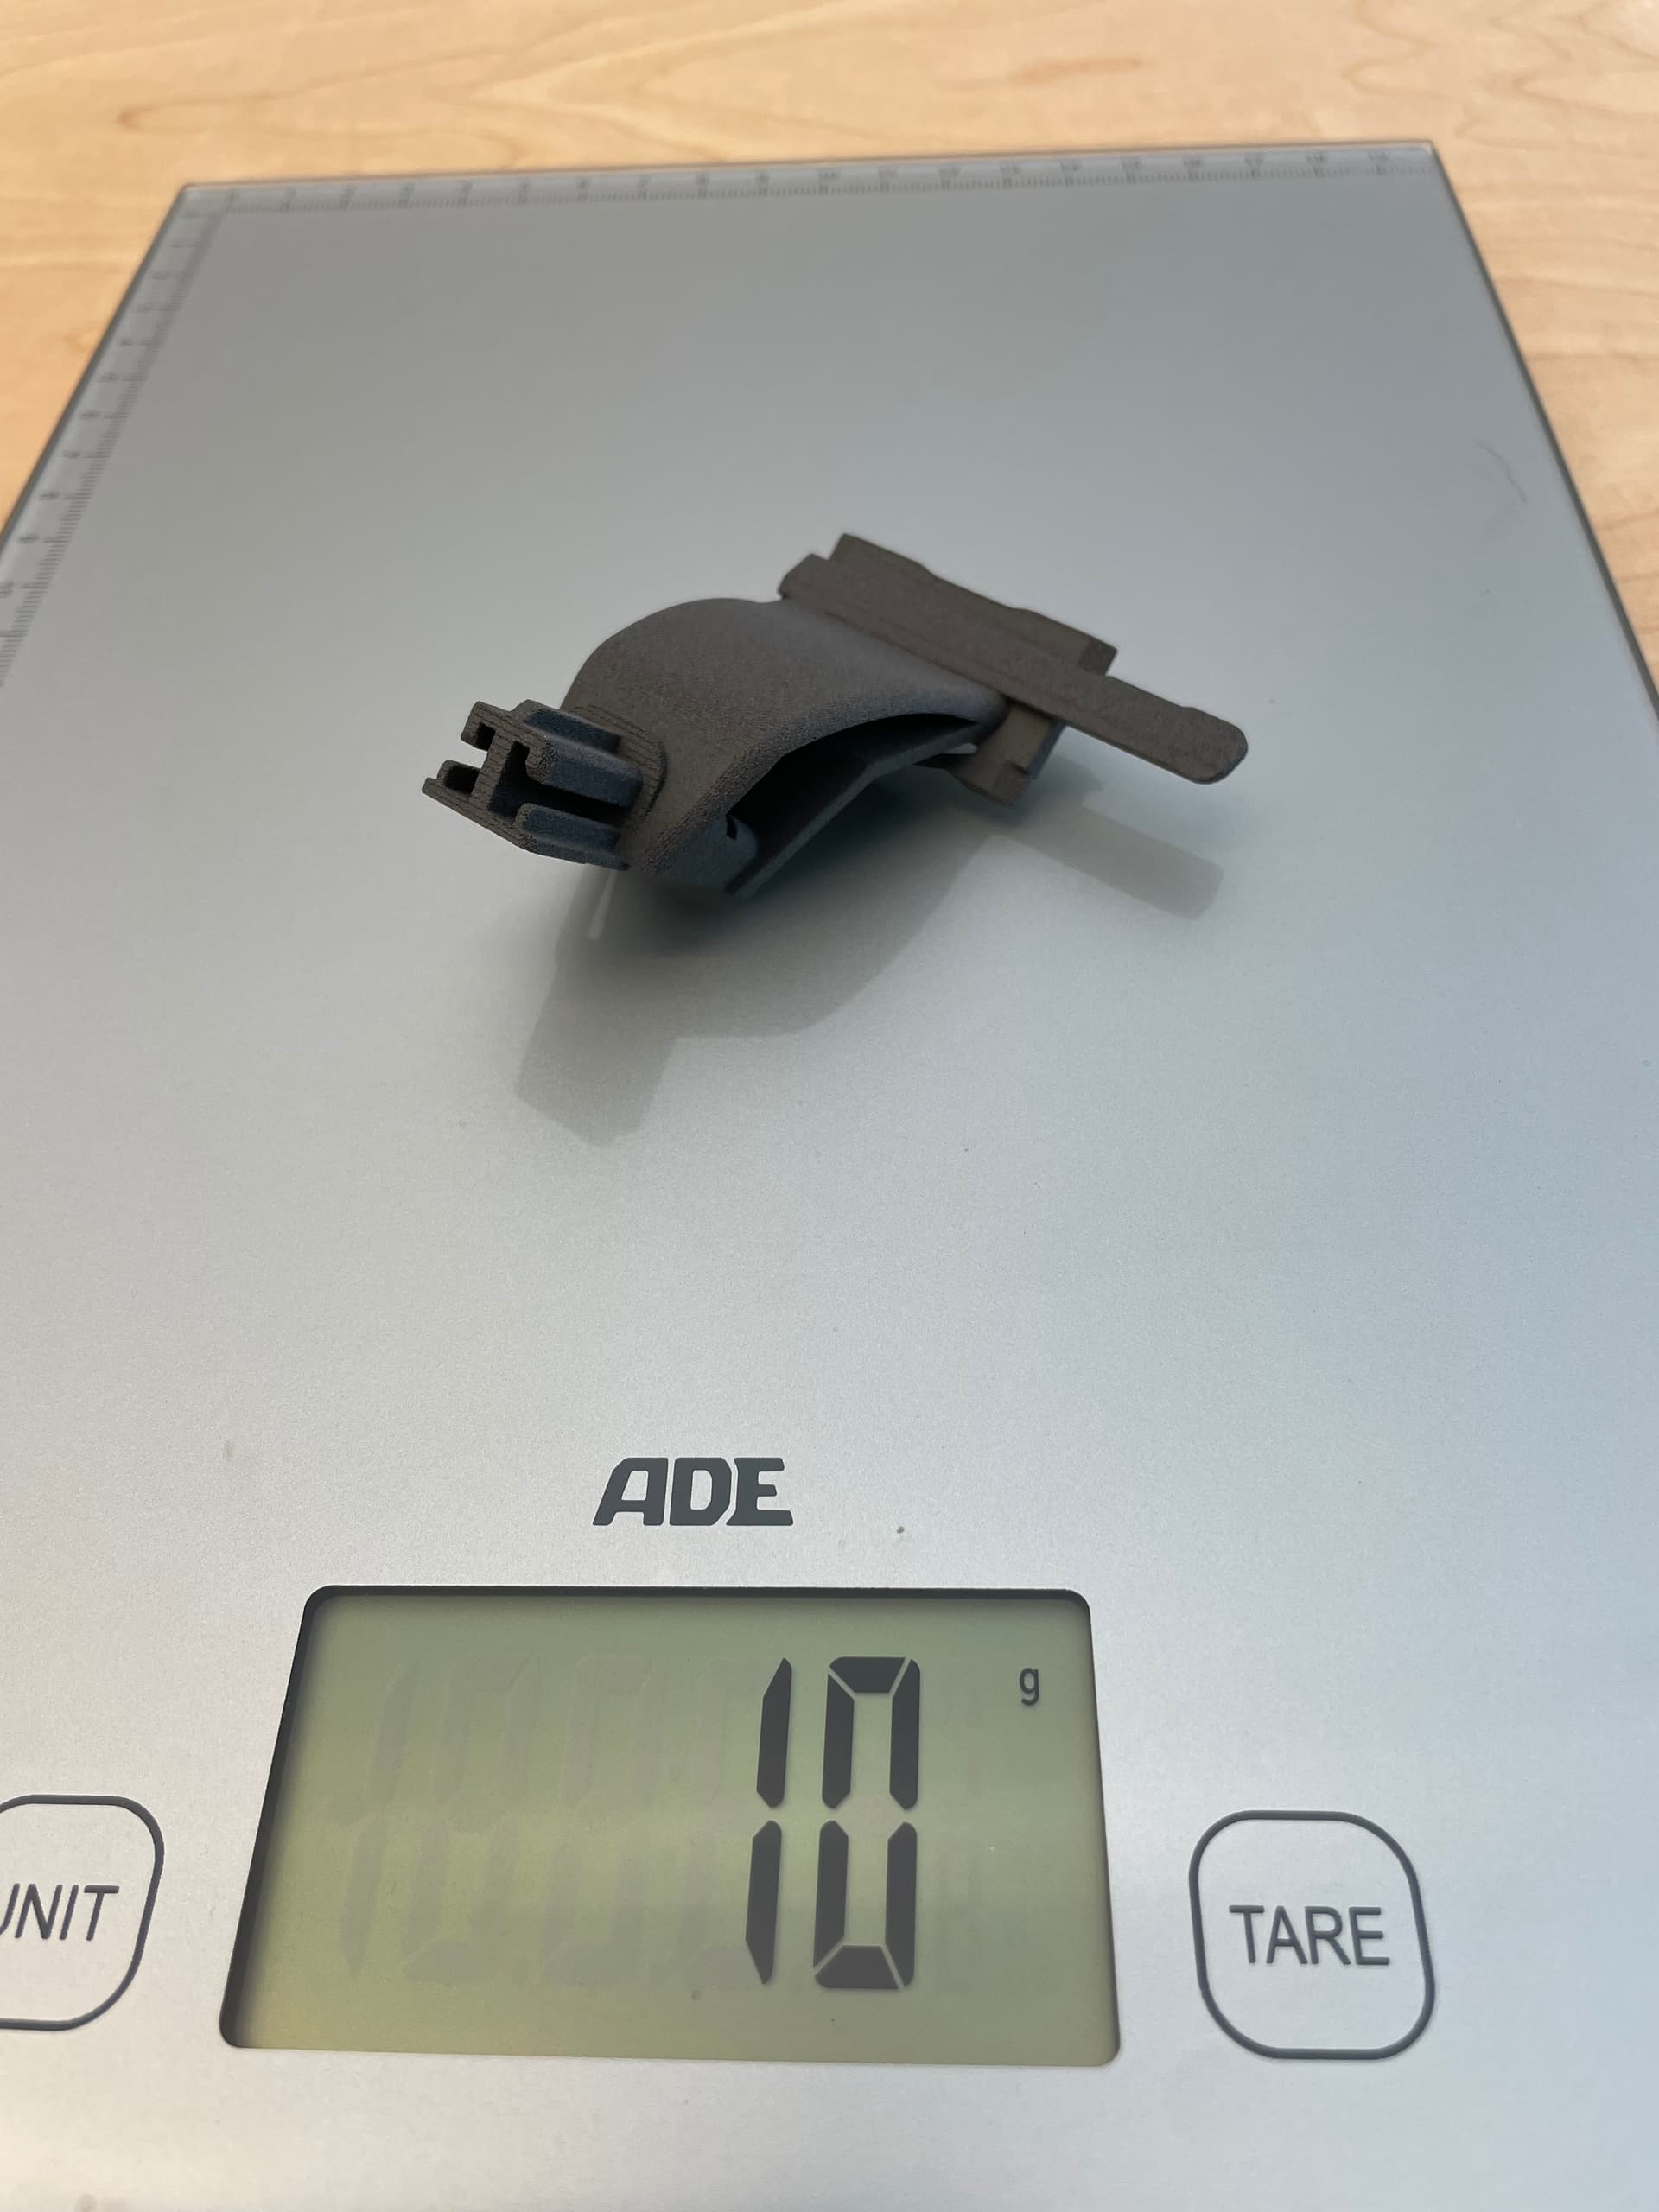
As you can see in the video, we mainly print thinner components. In just over 2 years of experience with our Fuse, we have periodically noticed that some of our parts have broken in the thinner areas. Of course, the worst thing is when this happens at the customer’s site. The time spent on support emails, subsequent delivery of spare parts and a customer who is only partially satisfied are definitely not worth €3.4.

I can only see the following alternatives: either print completely without surface armoring or only print thicker components so that a slightly more brittle powder mixture is not noticeable.
I don’t think the former will be possible on the Fuse. And since the Fuse is a rather smaller system, we will also be printing smaller parts.

We initially found the new PA12 Tough very interesting, but I think the lower thermal load capacity will be a problem for us.

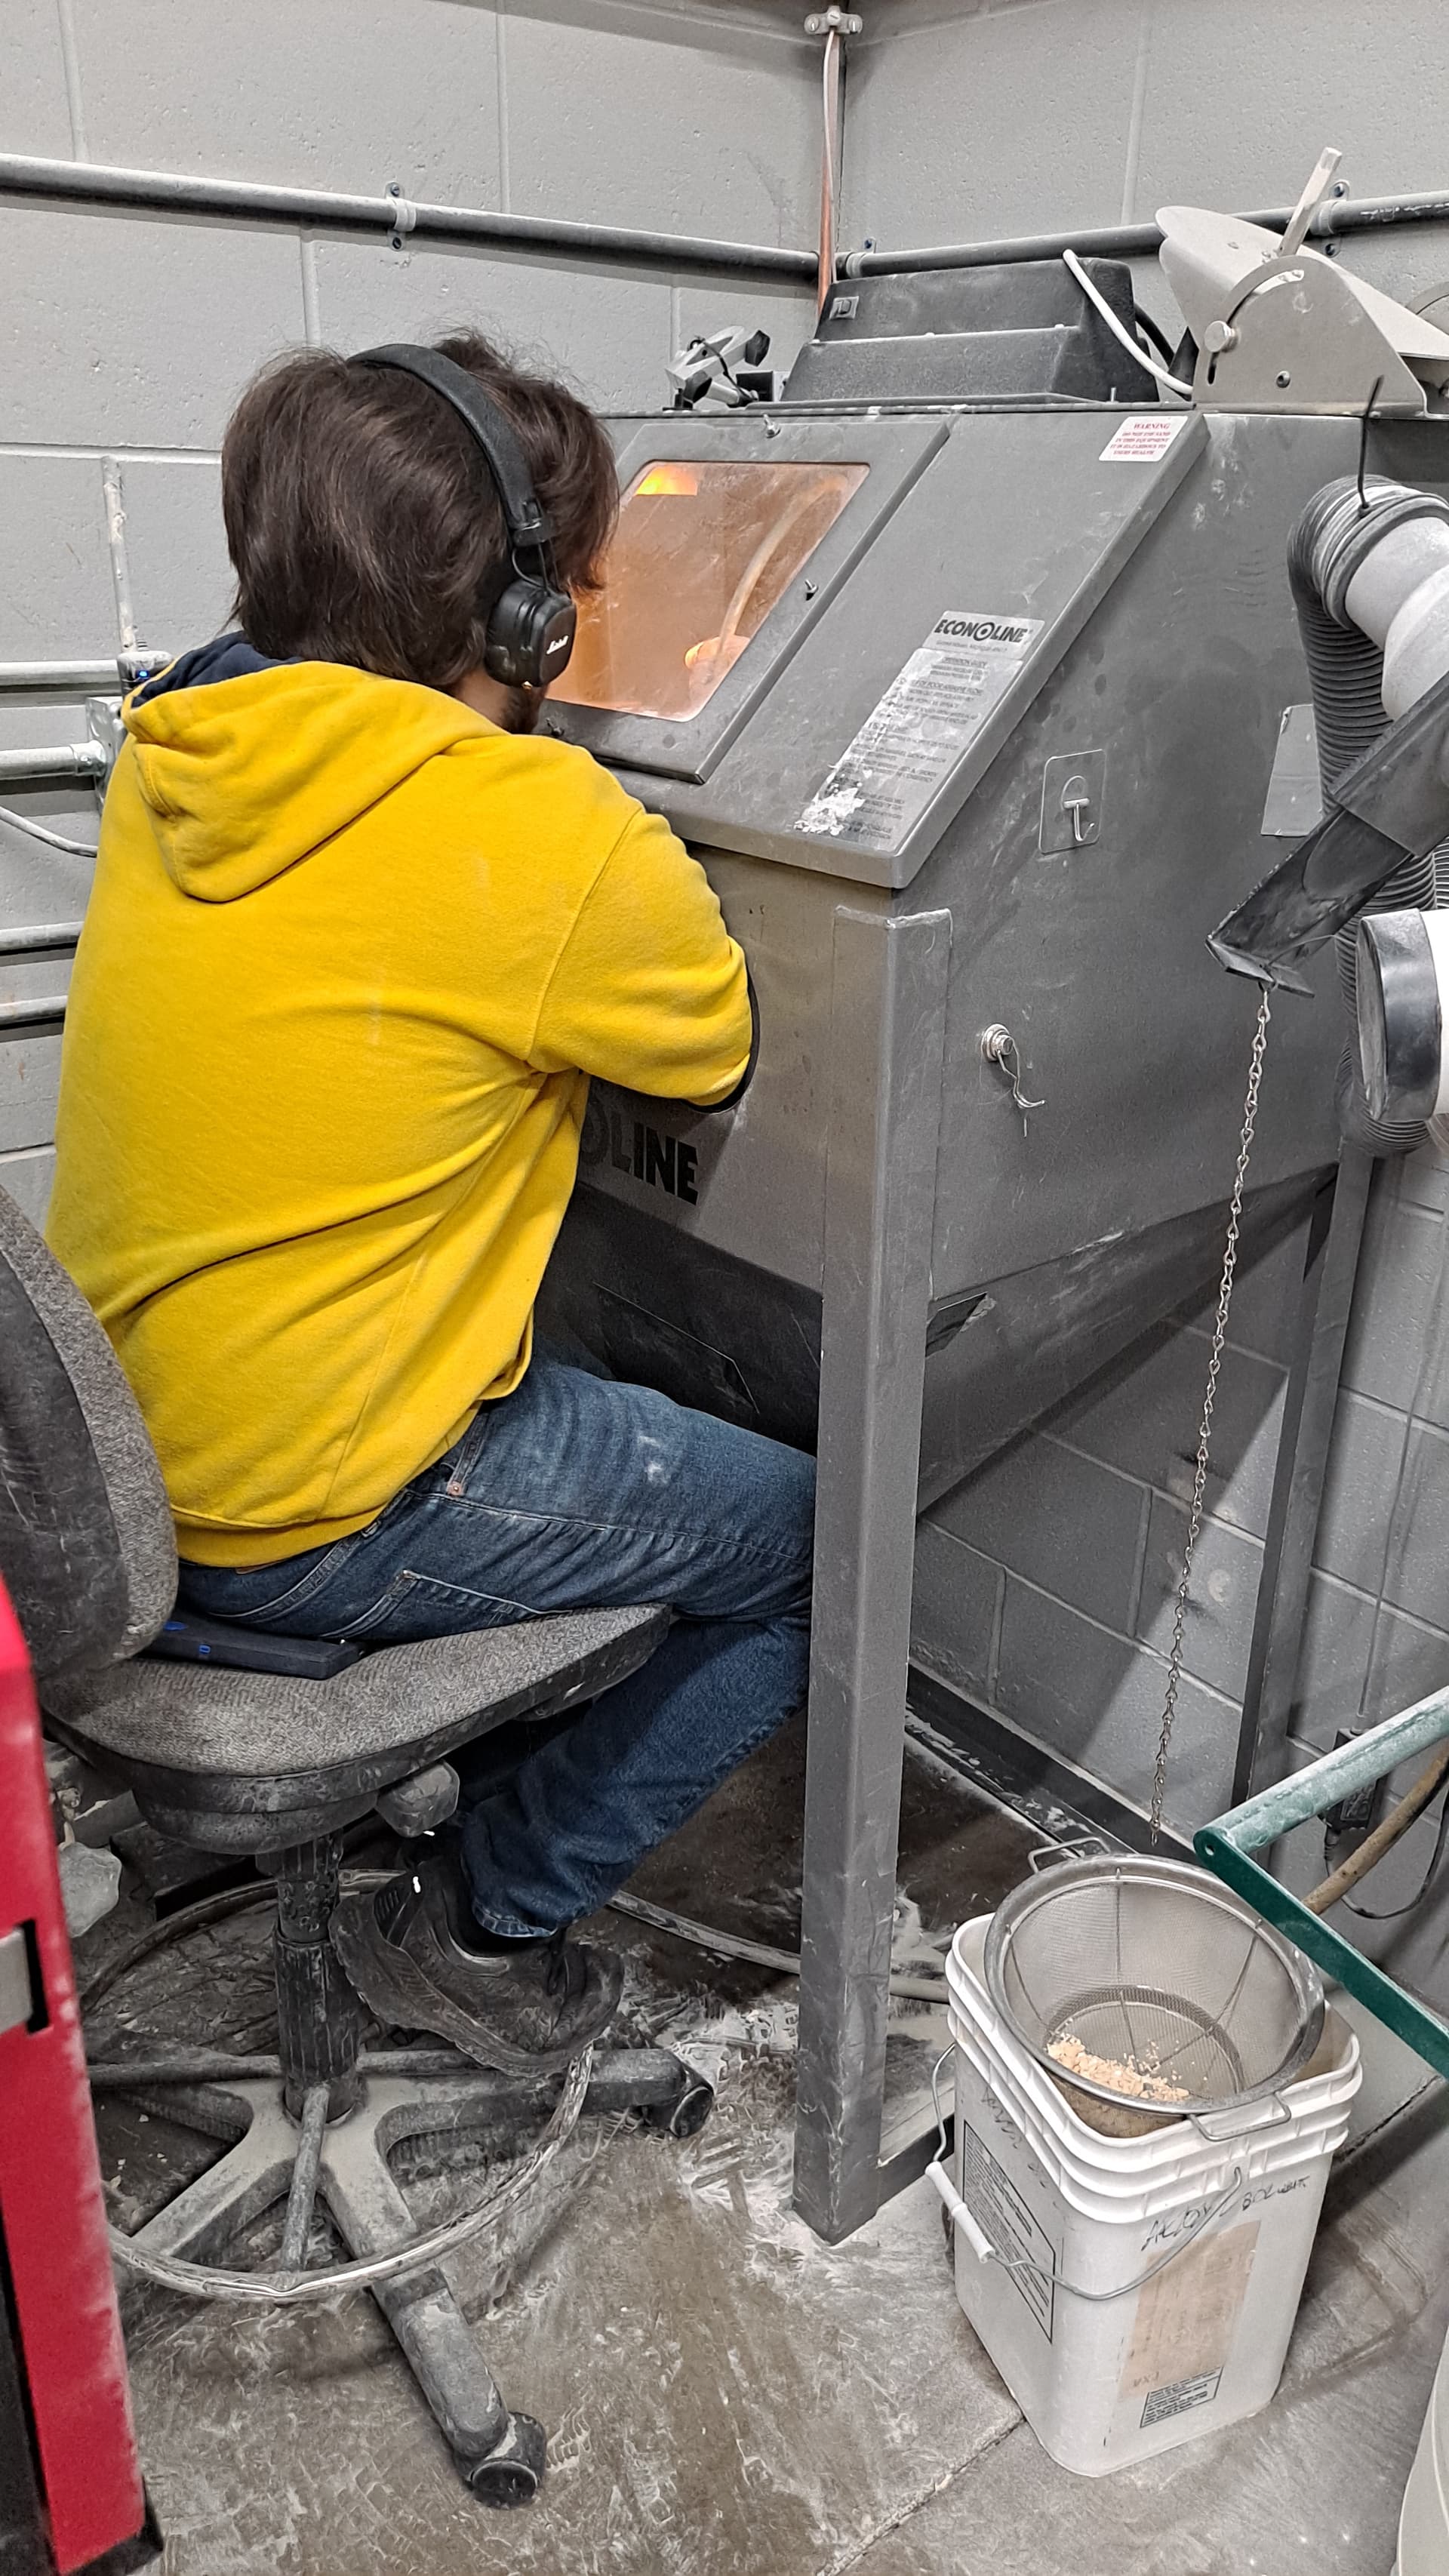
Another point that has not yet been addressed in detail: Time saving. We don’t currently have a Fuse Blast, so the blasting process takes the longest for us. Theoretically, with this workflow and a Fuse Blast, we would be able to process up to 5 Fuse printers per day with one person, every day.
In our video, 100 components were printed in the chamber and unpacking took around 20-25 minutes. Manual brushing of each part, as we used to do, quickly takes 45-60 minutes.

I’ve also wondered a few times whether the quality problems that some users have with the Fuse are possibly due to the parts being cleaned too thoroughly and therefore more and more powder being reused over time, which perhaps shouldn’t be reused at all. This could perhaps be the reason for quality problems that have slowly crept in over a longer period of time.

A startup that is reasonably well known here in Germany, about which Formlabs once wrote use cases, used a rotating drum to remove powder from parts in the sift for a while, according to a description by a third party. This removed powder from the parts extremely thoroughly without a great deal of work, but this led to a deterioration of the products, so that this system was discarded relatively quickly.

3 Likes

@CARLAYERS this is some great info! I hadn’t thought about the armor but it makes complete sense.

Has anyone passed this by Formlabs to get their perspective? Would be good to hear from them regarding armor ending up in the sift.

3 Likes

Hello, it’s also very helpful to let the build chamber cool down completely. Even if the sift still shows 25°C, it’s still more than 35°C inside. The powder is much easier to remove when everything is cold, and only a very thin layer remains on the component. Probably as shown in the first video. Another thing is time. If you spend too much time cleaning the parts, you also lose money—sometimes more than the powder is worth. Regards.

2 Likes

Same here, I can’t afford to loose money on wasted powder.

2 Likes

I would love a lower cost version of this.
UNPIT - AM Efficiency

We currently use a a rotary brush like some of the others. I have even printed custom adapters to use different style brushes meant for drills but it is still a lengthy process.

1 Like

Hi SMute - curious to understand your running low on used powder. Is it that:

  1. You’re running high packing density (20-30%)
  2. You’re running low refresh rate (<30%)
  3. Something else?

Thanks!

1 Like

My prints generally run in the 25-52% range packing density. For instance, the last three full chamber prints were IIRC 30%, 28%, and 52% packing densities. I’m beginning to figure out I need to do a 40-50% refresh rate (40-50% fresh powder) to maintain equilibrium and not run out of used powder.

3 Likes

Thanks! That does make sense - the vast majority of users run much lower PD. Anecdotally, air blasting like @MattRForerunner suggested can work well for certain types of parts if you really need more powder back faster - I’ve attached a chart below for a test build I ran where blue is manual time with a tool (brush), red is with air blasting. The other benefit is that air blasting should not remove the semi-sintered powder on your part, so you should be getting back only good powder.

@Mario_Martinez - I’m curious what your circumstance is as well. What typical packing densities / refresh rates do you run?

3 Likes

I wonder if this feature could be incorporated into the blast. My understudying is the Blast will clean the parts and separate out the powder from the media, but that powder is now contaminated. Would it be possible for the blast to do an initial blasting cycle to remove recoverable powder and cloister that away, followed by the standard cleaning cycle? This way there would be virtually no cleaning of the parts in the sift, only knocking off the big chucks, then straight to the blast.

1 Like

Here is an example of what we run the most for now, we are waiting for a part since our Fuse is down.

1 Like

Hello,
The biggest problem will be cleaning the Blast every time. After a standard cleaning cycle, there will still be some abrasive left over somewhere, which could contaminate the powder. Considering the time required to clean the blast machine, is it even worth saving or reclaiming powder?

Alternatively, you could try using different blasting media. For example, the one used in the polishing system. These are plastic balls with a much longer service life than the normal blasting media. And they are much larger, at approximately 600-800 μm. The sieve is also a different size, at 385 μm. This is likely easier to separate from the powder.

Grüße

3 Likes