Hi PreForm users! PreForm 3.53 just dropped, and comes with a new feature, the Measure Tool! Quickly validate dimensions and clearances by measuring precise distances between any two points in your scene, with ΔX, ΔY, and ΔZ components in the summary panel, eliminating the need to switch to external CAD software for simple dimensional checks.
At the top right of your viewport, you’ll notice a new Measure button (Keyboard shortcut: M)

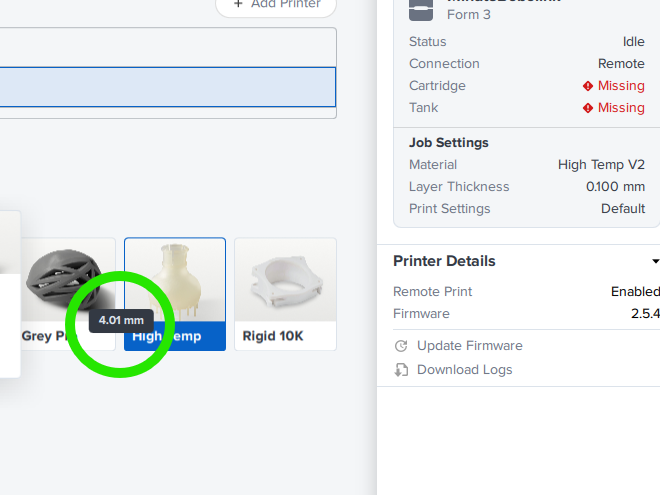
When clicked, you will notice a preview pin on the surface of the mesh under your mouse.

Clicking once will place the first pin, and clicking again will complete a measurement. Holding down shift for either measurement point will enable vertex snapping, so you can more accurately select corners and edges.

Over on the side panel, you will see the measurement along with a breakdown of the ΔX, ΔY, and ΔZ components, with buttons to copy the numerical values to your clipboard. Clicking the ruler icon ![]() will quick-toggle between mm/inches. (The default unit shown will depend on the units the measured model is set to)
will quick-toggle between mm/inches. (The default unit shown will depend on the units the measured model is set to)


The measurement will persist on your models where you placed them, so you can translate, rotate, and scale your measurements and have the values update in real-time.

You can use this feature to measure minimum feature thicknesses, part clearances, hole sizes, tolerances, distance between support points, and more! It can also be used alongside the Section in all Axes feature from the previous release to measure hard-to-reach areas of your builds.

Please give this feature a try and leave your thoughts/feedback below! Happy to chat further with our incredible users and learn how we can make PreForm better for your workflows.
Watch the full “What’s New in 3.53” video here: