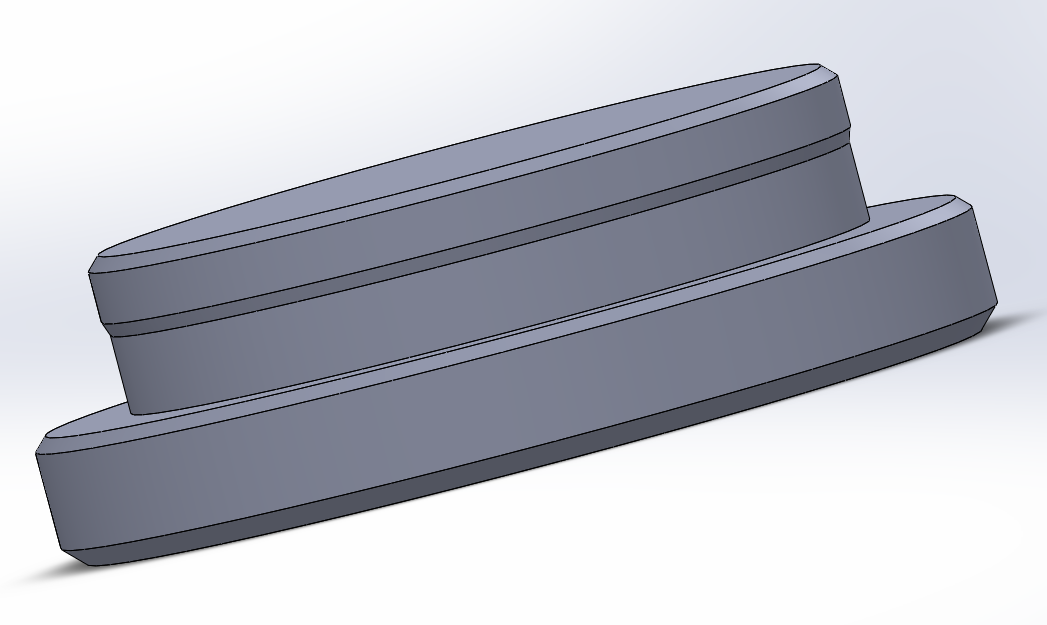
I am investigating the possibility of mass-producing circular end caps (image below) for a client with tight mechanical tolerances, +0,04mm, -0,00mm on a 14mm diameter for a snap fit into a tube with matching geometry. I am using standard black resin v4 knowing it is not ideal for snap fit, but black color is a requirement, post-processing and painting is not an option. First tests made it clear that washing and curing the parts exactly the same way each time was essential for reproduciblity. Altering soak times, cure temperature and times yielded errors > 0.1mm.
So I went and bought me a Form Wash and Cure (needed them anyway). With stable settings I get 100% yield within specification, 49 caps printed in a 7x7 grid directly on the platform. It is really the only way I can be financially competitive by reducing material cost and print time. We are talking about 2000-4000 units / batch. Also time for post processing must be essentially zero, so removing supports and sanding is not an option.
Washing the parts still on the platform then letting dry completely, I remove the caps by gently tapping a sharp spatula. With this method I sometimes chip the edge of the cap, I would say out of the 49 caps 30 are good, 10 are borderline and 9 are wasted.
I need a way to increase yield before I accept this customer request. So I would appreciate any tips on removing parts printed directly on the platform without chipping the edge? Altering the part is not an option for aesthetic reasons as it is externally visible.
As @mitzekotze wrote, I also think that for such a high volume (for a 3D printer) is is absolutely worth it to fine-tune Z offset to get as low BP adhesion as possible.
As for actually detaching the parts, we use a sharpened wood chisel for sensitive parts like this, but is takes time to get the parts cleanly off. I think with this method (and time) you’ll increase yield dramatically.
A faster method could be to play with temperature differential or temperature dilatation. Putting the parts in a freezer helps in removing suborn parts as the parts themselves are stiffer and might already have started to detach due to the fact that their dilatation is very different than that of aluminium.
You can also heat up the BP (60° ?) and then use a compressed air can upside down to blow very cold/liquid gas while aiming in between the parts and the BP. This can pop the parts right off, but doesn’t work with all geometries and all resins.
Use razor blades instead of a spatula. Slide one spatula around the edge, then push the blade under the part. Use a second blade or small spatula under the first inserted razor blade between the blade and the BP. I never break parts similar to yours when using this method.
I came up with an alternate solution. I added a single support in the CAD. Selected “on buildplatform”, generated supports as shown in the image below.
This only increased material consumption by 5%. But instead yield is 100%, quality is much better with no chip marks or scratches. Labor is in fact also reduced. It took longer to pry the parts of the plate, than a quick sanding of the support marks.
As an added bonus I can now fit 91 caps on a single plate compared to 49.
Negative draft angles (need for 3.split mold) and also tolerances (-0.00 / + 0,04mm) typically impossible or at the very least very difficult / expensive to achieve with injection molding makes this a poor choice.
With some minimal part redesign you could make an injection mold for this part for probably 3-4 thousand dollars, but your part in say an ABS plastic would be very low cost, probably less than 20 cents each, and you wouldn’t have to do any labor to make them, just order them from the molder. If you don’t want to make an injection mold at the very least I would look at making a multi cavity silicone mold and then casting these parts in urethane. The process would allow you to make parts much faster than you are currently printing them on the Form2, and at a lower cost for materials. Urethane would also be tougher than anything you can print using currently available materials.
Go to the education pull down on this website and watch a few of the videos.